
Quilted Christmas Throw Ideas: 10 Cozy Handmade Designs to Sew This Season
There’s something especially comforting about pulling a handmade quilt over your knees in December, when the evenings are colder, the lights are on, and the house naturally starts to feel more settled. A Quilted Christmas Throw is a smaller quilt designed for sofas, armchairs, guest beds, and everyday winter use, usually made with a pieced or appliquéd top, batting for warmth, and a backing stitched together through quilting. Christmas versions bring the season into that familiar structure with red-and-green patchwork, plaid flannel, snowflakes, stars, Christmas trees, metallic accents, and softer winter neutrals.
Quilted Christmas Throw
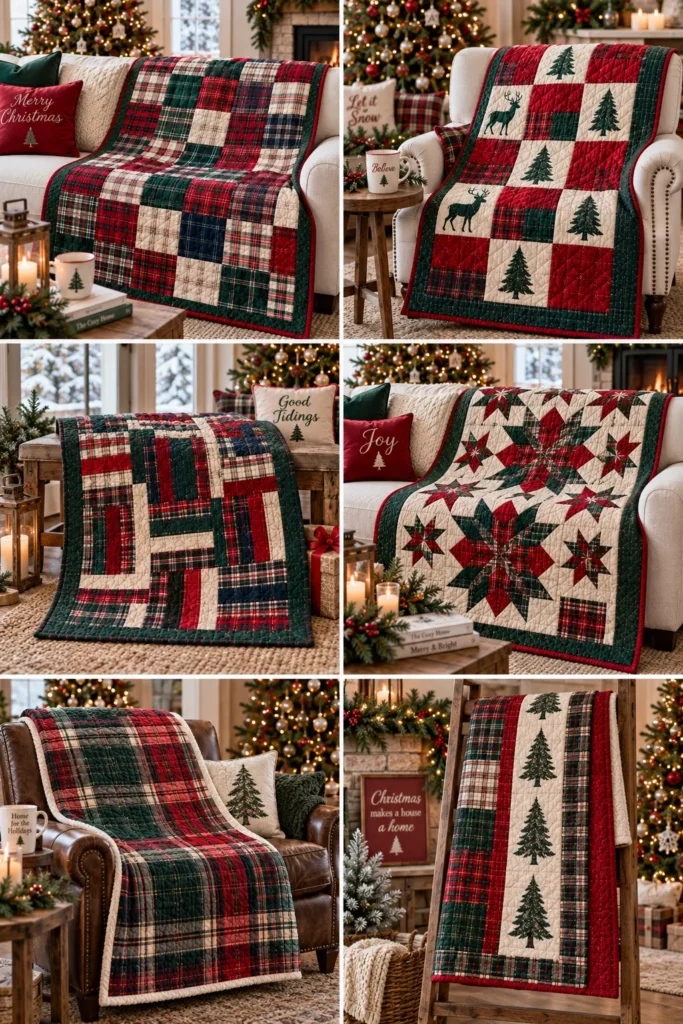
This collection of Quilted Christmas Throw ideas brings together ten designs, from traditional to modern. There’s classic red-and-green patchwork and cozy plaid flannel for a familiar Christmas look, a Christmas tree throw for unmistakable festive décor, and blue-and-silver snowflakes for something cooler and more elegant. You’ll also find a quick Jelly Roll design, rustic buffalo plaid, a neutral Scandinavian version, timeless star blocks, a scrappy holiday quilt for using fabric leftovers, and a reversible throw that gives you two completely different seasonal looks from one project.
See also: Jelly Roll Quilted Jackets and Vests – Farmhouse Quilt Jackets & Vests – Sashiko Quilt Jackets and Vests – Fall Quilted Jacket and Vest – Nakshi Kantha Jackets and Vests
Why Make a Quilted Christmas Throw
A Christmas throw earns its place because it is decorative and genuinely useful at the same time. It adds color to a sofa or folded chair throughout December, but it’s also there when someone wants an extra layer while watching a film, reading, or sitting beside the tree. Compared with a full bed quilt, a throw is quicker to piece, easier to quilt on a domestic sewing machine, and requires less fabric, so it is a manageable seasonal project even when Christmas is already approaching. It also makes an unusually personal gift: a well-made throw can come back out every December for years and gradually become part of the family’s holiday routine.
What Makes These Christmas Throws Different
The variety comes from both construction and mood. Some designs make Christmas obvious through trees, snowflakes, bright red and green, and traditional star blocks, while others rely on texture and color rather than literal motifs. The buffalo plaid throw leans rustic and farmhouse, the Scandinavian version pares everything back to muted neutrals, and the blue-and-silver design feels more like winter than Christmas alone. Jelly Roll strips speed up the piecing, scraps make every quilt unique, and reversible construction gives one throw two distinct faces. That range means the same basic object—a soft quilted layer for the sofa—can feel traditional, playful, rustic, elegant, or completely modern.
Tips for Choosing Fabrics and Colors
For a throw you’ll use rather than simply display, start with good-quality quilting cotton, flannel, or a thoughtful mix of the two. Prewash flannel because it can shrink noticeably, and choose batting based on how warm you want it: cotton gives a soft, traditional feel, while a cotton-blend batting can add more loft without becoming cumbersome.
Traditional red, pine green, cream, and gold immediately read as Christmas; navy, icy blue, silver, and white create a quieter winter palette; and oatmeal, flax, charcoal, muted red, and forest green suit Scandinavian and farmhouse designs. Whatever palette you choose, include a clear mix of light, medium, and dark values so the blocks remain visible. Small and medium-scale prints are usually easier to work with than oversized Christmas motifs, and a restrained backing or binding can give a very colorful top somewhere to rest.
1. Classic Red and Green Patchwork Christmas Throw Quilt
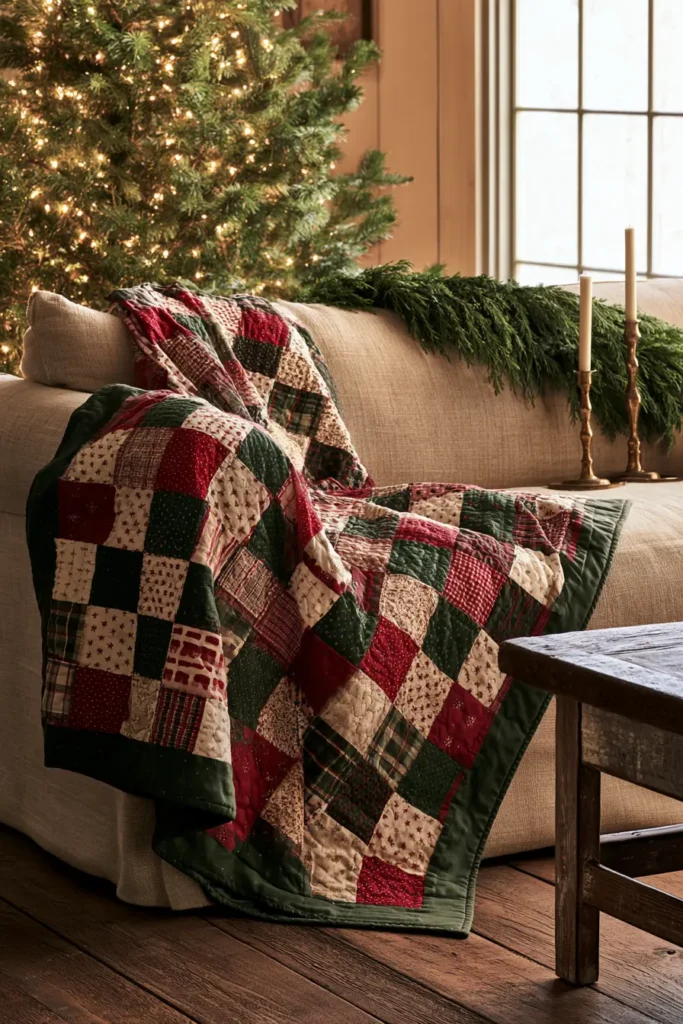
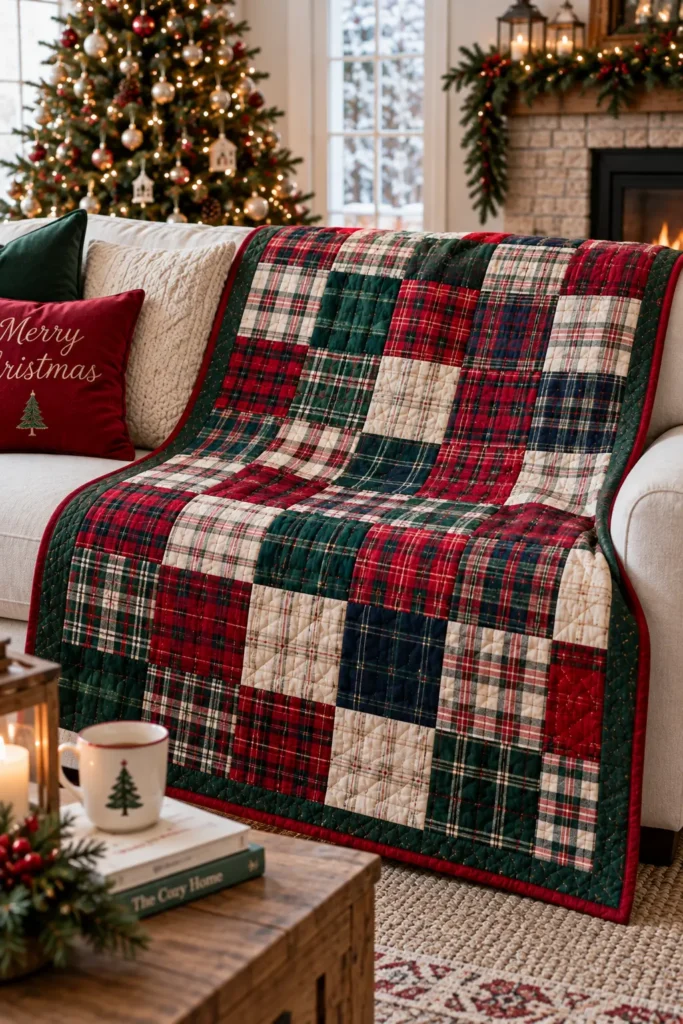
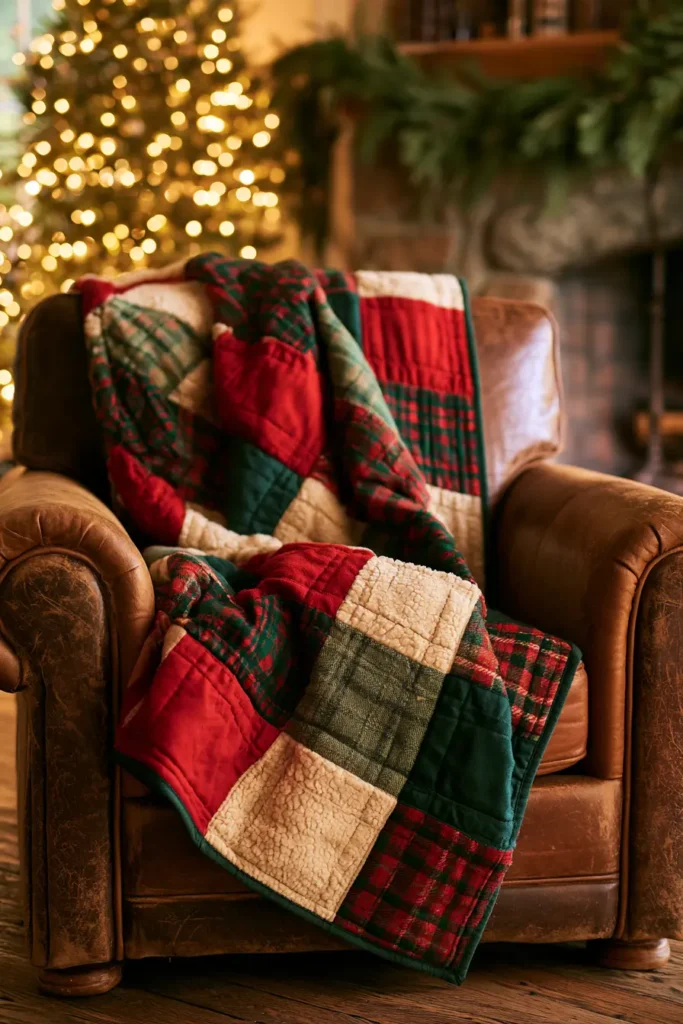
Few Christmas quilts feel as instantly familiar as red-and-green patchwork. Small squares of cranberry, cherry, pine, holly green, cream, and touches of gold turn a simple grid into something that looks at home beside a Christmas tree, folded across the back of a sofa, or layered over the end of a guest bed. The construction is wonderfully straightforward: piece the squares into rows, join the rows into a quilt top, add batting and backing, quilt through all three layers, and finish the edges with binding.
For this version, the finished throw measures approximately 54 × 63 inches—large enough for a comfortable sofa throw without becoming difficult to quilt on a domestic sewing machine. The design uses 168 five-inch squares arranged 12 across by 14 down. After ¼-inch seams, each square finishes at 4½ inches, giving a clean traditional patchwork grid with enough room for the individual fabrics to show.
The Classic Red-and-Green Palette
Red and green have been associated with Christmas for generations, helped by familiar winter greenery such as holly and evergreen branches. In patchwork, though, the two colors need a little help.
Many medium reds and medium greens have surprisingly similar values. Put them beside one another and the patchwork can lose definition even though the colors themselves are very different.
The simplest solution is to include plenty of cream, ivory, warm white, or pale gold. These lighter squares create breathing room between the stronger colors and make the red and green appear richer.
A balanced palette for this throw might be:
- Cranberry red
- Cherry red
- Brick red
- Deep pine
- Forest green
- Holly green
- Cream
- Warm ivory
- Pale antique gold
Aim for approximately one-third light fabrics rather than making the entire quilt red and green.
Design Inspirations – Digitally Modified Images. Texture and color may vary from the actual product.
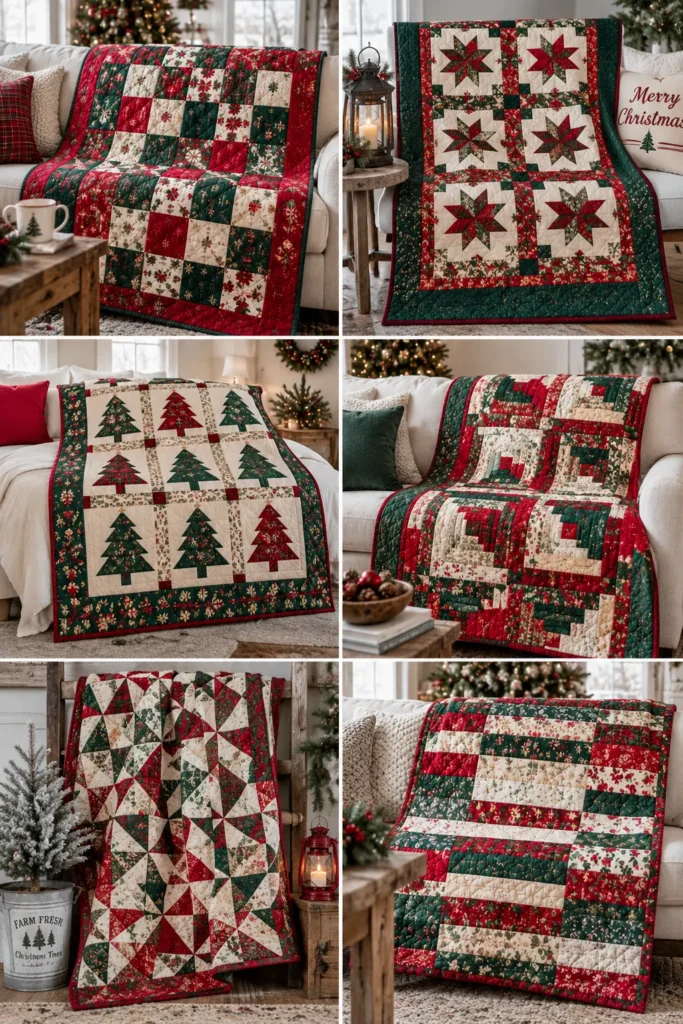
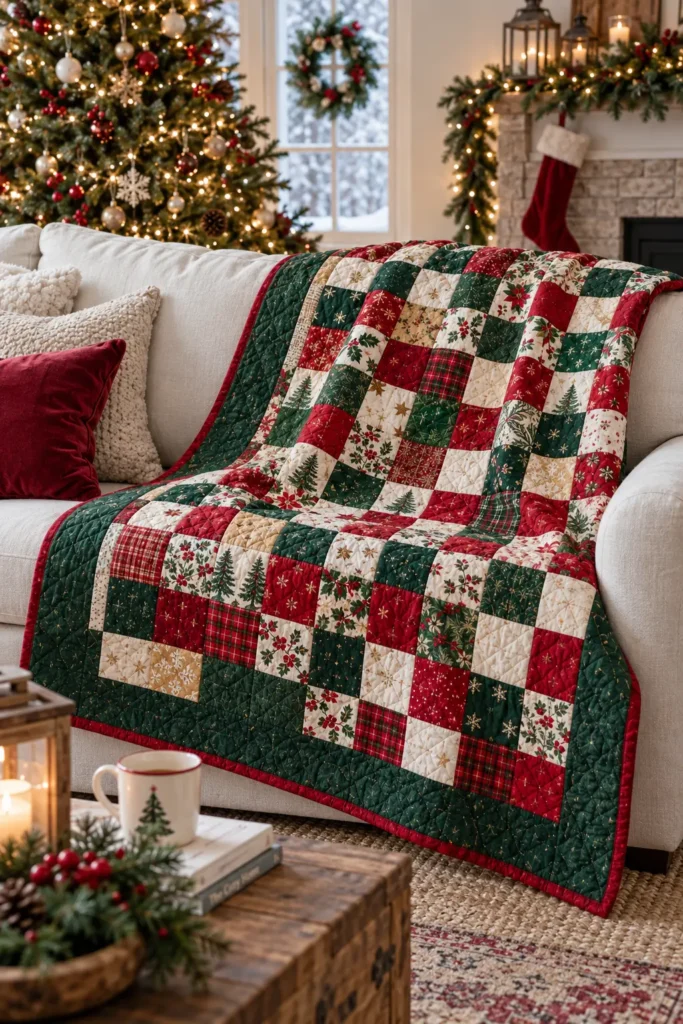
Finished Quilt
- Finished size: approximately 54 × 63 inches
- Block size: 5 inches cut, 4½ inches finished
- Layout: 12 blocks across × 14 blocks down
- Total blocks: 168
- Seam allowance: ¼ inch
- Binding: approximately 260 inches prepared
- Skill level: beginner
- Quilting: straight-line grid, diagonal grid, or gentle free-motion quilting
- Best use: sofa throw, reading chair quilt, guest-room accent, Christmas gift
Materials Needed
- 168 squares measuring 5 × 5 inches
- Or 1 standard 42-piece layer cake, with each 10-inch square cut into four 5-inch squares
- Optional additional cream fabric if the layer cake does not contain enough light prints
- Batting: approximately 60 × 72 inches
- Backing: approximately 3¾ yards of 42-44-inch-wide quilting cotton
- Binding: ½ yard coordinating fabric
- Cotton quilting thread
- Neutral piecing thread
- Rotary cutter
- Cutting mat
- Acrylic quilting ruler
- Sewing machine
- Walking foot if straight-line quilting
- Quilting pins or spray baste
- Iron and pressing surface
- Optional quilt label
A deep solid green or cranberry binding works especially well because it frames the colorful patchwork without competing with it.
Choosing the Prints
Keep most prints small to medium in scale.
Tiny stars, dots, checks, berries, simple florals, narrow stripes, tone-on-tone leaves, and subtle geometrics all remain recognizable in a 4½-inch finished square.
Large novelty prints are harder to use because the cutting can leave you with half a snowman, part of a reindeer, or an unrecognizable section of a larger motif.
A few obvious Christmas prints are charming. Mixing them with more abstract fabrics keeps the quilt festive without making every square compete for attention.
Cutting Measurements
For the quilt top:
- Cut 168 squares at 5 × 5 inches
- Arrange them 12 across × 14 down
If using a layer cake:
- Start with 42 squares at 10 × 10 inches
- Cut each square once vertically and once horizontally
- Each 10-inch square produces four 5-inch squares
- Total: 168 squares
For the backing:
- Cut two pieces approximately 67 inches long
- Join them lengthwise to create a backing wider than the quilt top
- Trim only after quilting
For binding:
- Cut seven strips at 2½ inches × width of fabric
- Join them end to end with diagonal seams
- This gives comfortably more than the roughly 234 inches needed around the finished quilt perimeter
Step-by-Step Guide
Step 1 – Decide on the Final Size and Layout
Use a 12 × 14 grid of 5-inch cut squares.
Once sewn together with ¼-inch seams, each square finishes at 4½ inches.
That gives:
- 12 × 4½ = 54 inches wide
- 14 × 4½ = 63 inches long
This is a practical throw size for a sofa, armchair, or guest bed.
Before cutting anything else, write down the layout dimensions so you don’t accidentally build too many or too few rows.

Step 2 – Sort the Fabrics by Color and Value
Separate the fabrics into four rough groups:
- Reds
- Greens
- Lights
- Accents
Try to make approximately one-third of the quilt light-valued.
A useful test is to photograph the fabrics together and convert the photo to black and white.
If nearly everything turns into the same medium gray, add more creams and pale fabrics.
Step 3 – Cut the 168 Squares
If you’re using yardage, cut 168 squares measuring exactly 5 × 5 inches.
If you’re using a 42-piece layer cake, cut every 10-inch square into four equal 5-inch squares.
Do not prewash individual precut squares. Small precuts can fray and distort considerably in the washing machine.
Instead, use them as supplied and wash the finished quilt later.

Step 4 – Mix the Squares Thoroughly
Shuffle the squares so fabrics from the same original print are not sitting together.
Create separate piles of reds, greens, and lights, then pull from each pile as you lay out the quilt.
This makes it much easier to distribute the colors evenly, rather than discovering halfway through that you’ve used all the cream squares.
Step 5 – Lay Out the Full 12 × 14 Grid
Arrange 12 squares across and 14 squares down on a large table, clean floor, or design wall.
Spread the lighter fabrics throughout the layout.
Avoid placing:
- Identical prints directly beside each other
- Large groups of dark green in one corner
- All bright reds in one row
- Too many novelty motifs together
Step back several feet and look at the quilt as a whole.
The eye should move around the layout rather than being pulled strongly toward one area.

Step 6 – Fine-Tune the Color Balance
Look specifically at the four corners and the center.
If one corner feels darker, swap in a cream or pale gold square.
If several bright cherry-red squares form an accidental line, move one or two elsewhere.
Take a photograph once you’re satisfied.
That photo becomes your reference if the squares get disturbed while sewing.
Step 7 – Stack and Label the Rows
Beginning with Row 1, stack the twelve squares from left to right.
Place a numbered label on the stack.
Repeat for all 14 rows.
You should now have fourteen clearly identified stacks.
Keep the orientation of directional prints in mind as you stack.

Step 8 – Sew the Squares into Rows
Take Row 1 to the sewing machine.
Sew the first two squares right sides together using an accurate ¼-inch seam.
Continue adding squares until all twelve are joined.
Repeat with Rows 2 through 14.
Chain piecing can make this considerably faster, but keep the rows clearly separated so their order doesn’t become confused.
Step 9 – Press the Row Seams in Alternating Directions
Press the seams in Row 1 toward the right.
Press Row 2 toward the left.
Continue alternating:
- Odd rows one direction
- Even rows the opposite direction
This allows adjacent seam allowances to nest neatly when the rows are joined.
Avoid stretching the rows while pressing.

Step 10 – Join the Rows
Place Row 1 and Row 2 right sides together.
Match each block intersection.
Because the seam allowances were pressed in opposite directions, the intersections should nest against one another.
Pin or clip at the intersections and sew with a ¼-inch seam allowance.
Continue adding one row at a time until all fourteen are joined.
Step 11 – Press the Completed Quilt Top
Press the row seams carefully.
You may press them consistently toward one direction or alternate them where bulk becomes noticeable.
Lay the finished top flat and check that it measures close to 54 × 63 inches.
Small variations are normal.
Check especially for:
- Open seams
- Folded seam allowances
- Distorted squares
- Missed intersections
Repair these now rather than after quilting.

Step 12 – Prepare the Backing
Cut two backing lengths approximately 67 inches long from standard 42-44-inch-wide fabric.
Remove the selvages along the edges you will join.
Sew the two pieces together using approximately a ½-inch seam allowance.
Press the backing seam open.
The resulting backing will be substantially wider than the quilt top, which is exactly what you want during quilting.
Trim the backing only after the quilting is finished.
Step 13 – Make the Quilt Sandwich
Lay the backing wrong side up on a large clean surface.
Smooth it flat.
Center the batting over the backing.
Place the quilt top right side up over the batting.
The batting and backing should extend at least 2-3 inches beyond the quilt top on every side.
Smooth from the center outward to remove wrinkles.

Step 14 – Baste the Three Layers
Baste the quilt using:
- Curved safety pins
- Temporary quilt-basting spray
- Thread basting
If using safety pins, place them roughly 4-5 inches apart across the quilt.
Check the back periodically while basting.
The backing must remain smooth without folds or puckers.
Step 15 – Quilt the Throw
For a beginner-friendly finish, quilt with straight lines.
An easy option is to stitch approximately ¼ inch away from each major patchwork seam.
Another is to quilt diagonally across the squares to form an understated diamond grid.
Begin near the center and work outward.
Avoid quilting excessively densely. A throw should remain soft enough to wrap around someone comfortably.
Always follow the batting manufacturer’s maximum recommended quilting distance.

Step 16 – Square and Trim the Quilt
Once quilting is complete, lay the quilt flat.
Using a long ruler and rotary cutter, trim the batting and backing level with the quilt top.
Check each corner with a square ruler if available.
The goal is a clean rectangle with reasonably square corners rather than forcing the quilt into measurements that distort the patchwork.
Step 17 – Make and Attach the Binding
Join the seven 2½-inch-wide binding strips end to end using diagonal seams.
Trim each joining seam to approximately ¼ inch and press open.
Fold the entire binding strip in half lengthwise, wrong sides together, and press.
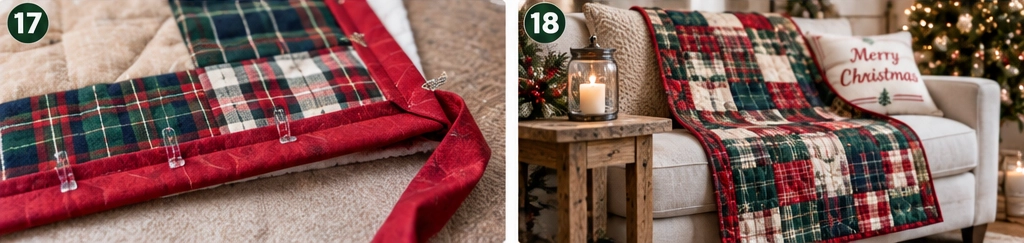
Sew the raw edges of the folded binding to the front of the quilt with approximately a ¼-inch seam allowance.
Miter each corner neatly.
Join the beginning and end of the binding before finishing the final section.
Fold the binding over the raw quilt edge to the back.
Hand-stitch it in place for a traditional finish, or machine-stitch it if you prefer.
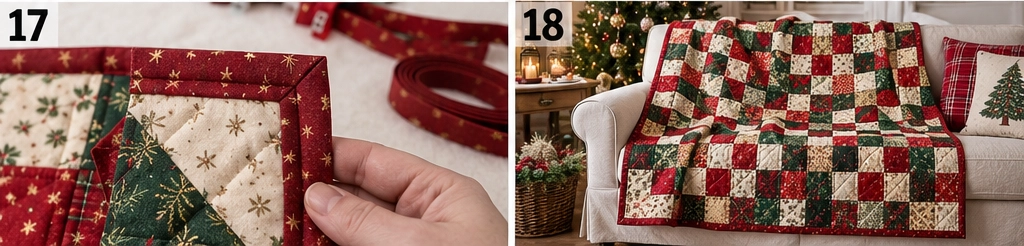
Step 18 – Finish, Wash, and Label the Quilt
Inspect the quilt carefully.
Trim loose threads and check all four binding corners.
Add a label to the back with the year if you’d like the throw to become part of the family’s Christmas collection.
For the first wash, use cool water and consider adding a color-catching sheet, especially when strong reds are involved.
Dry according to the fabric and batting instructions.
Cotton batting and quilting cotton will usually develop a gentle crinkle after washing, softening the perfectly flat new quilt into something warmer and more lived-in.
Assembly at a Glance
- Plan a 54 × 63-inch finished throw.
- Sort reds, greens, lights, and accents.
- Cut 168 squares at 5 inches.
- Mix the fabrics thoroughly.
- Arrange a 12 × 14 patchwork grid.
- Balance the color and value distribution.
- Stack and label all fourteen rows.
- Piece twelve squares into each row.
- Press alternating rows in opposite directions.
- Join all fourteen rows.
- Press and inspect the completed top.
- Piece the oversized backing.
- Layer backing, batting, and quilt top.
- Baste thoroughly.
- Quilt from the center outward.
- Square and trim the edges.
- Attach 2½-inch binding.
- Inspect, label, wash, and finish.
Beginner Tips for Success
- Keep the ¼-inch seam allowance consistent. Small errors multiply across twelve blocks.
- Include approximately one-third light fabrics.
- Grayscale-test the palette if the reds and greens are blending together.
- Photograph the finished layout before stacking the rows.
- Label every row.
- Press rather than dragging the iron across the patchwork.
- Nest alternating seam allowances for cleaner intersections.
- Make the batting and backing several inches larger than the quilt top.
- Begin quilting near the center and move outward.
- Don’t over-quilt a throw that you want to remain soft.
- Check the backing frequently for accidental folds.
- Use a solid or subtle binding when the patchwork itself is already busy.
- Wash strong reds with a color catcher the first few times.
Color Variations to Try
Traditional Christmas
Use cherry red, cranberry, holly green, pine, warm cream, and antique gold.
Deep Vintage Christmas
Try burgundy, dark forest, olive, parchment, faded brick, and aged gold.
Bright Family Christmas
Mix scarlet, emerald, apple green, bright white, candy pink, and touches of turquoise for a cheerful contemporary palette.
Elegant Christmas
Combine wine red, bottle green, ivory, champagne, and restrained metallic gold.
Styling and Gift Ideas
Fold the finished quilt across the back of a cream, camel, charcoal, or leather sofa and let the red-and-green patchwork provide the room’s main Christmas color.
It also works beautifully:
- Folded over an armchair beside the tree
- Across the foot of a guest bed
- Inside a large basket with other winter blankets
- On a window seat
- Draped over a bench in an entryway
As a gift, the straightforward square construction makes it easy to personalize. Add fabrics connected to the recipient—a favorite tartan, scraps from earlier projects, or a few meaningful prints—without changing the construction at all.
With 168 individual squares, even a handful of personal fabrics can become recurring little details throughout the quilt.
Final Thoughts
A classic red-and-green patchwork Christmas throw works because it doesn’t need complicated piecing to feel special. The familiar grid lets the fabric do most of the work: deep cranberry beside pine, bright cherry broken up by cream, and a little gold catching the eye here and there. At approximately 54 × 63 inches, it’s large enough to be genuinely useful without becoming an overwhelming holiday project, and the repetitive construction makes it approachable even for someone relatively new to quilting.
Once finished, it is the kind of Christmas decoration that rarely stays purely decorative. It gets pulled onto the sofa during films, carried to the guest room, folded over cold knees, and washed often enough to soften into something better than it was when new. Keep the palette balanced, give the reds and greens enough pale fabric between them, and sew the ¼-inch seams consistently, and the simplest collection of squares becomes a Christmas quilt that can return year after year.
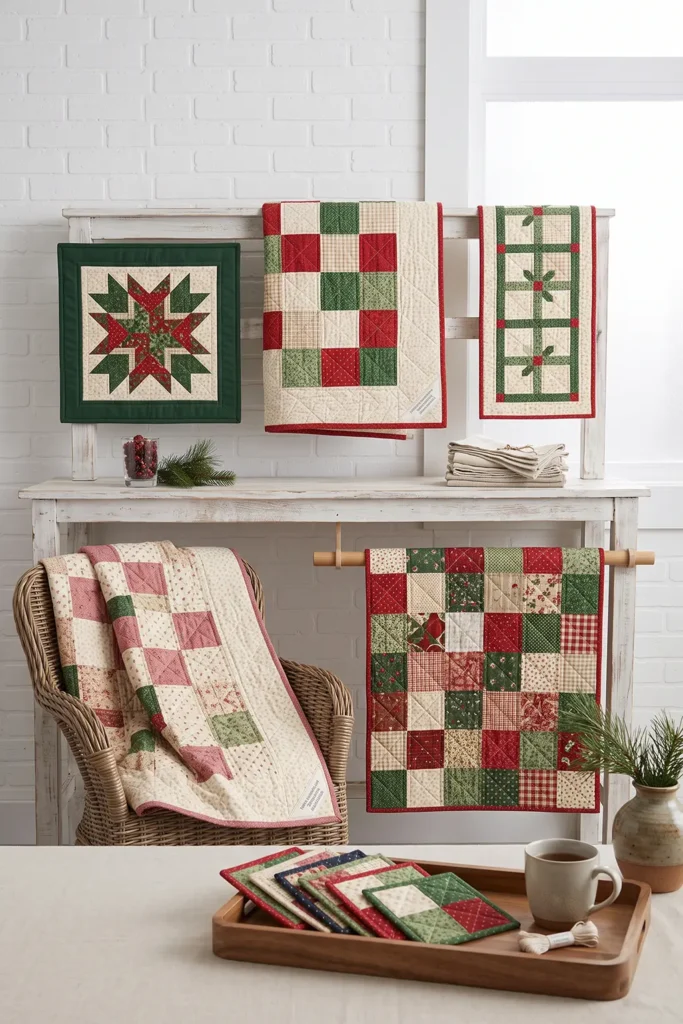
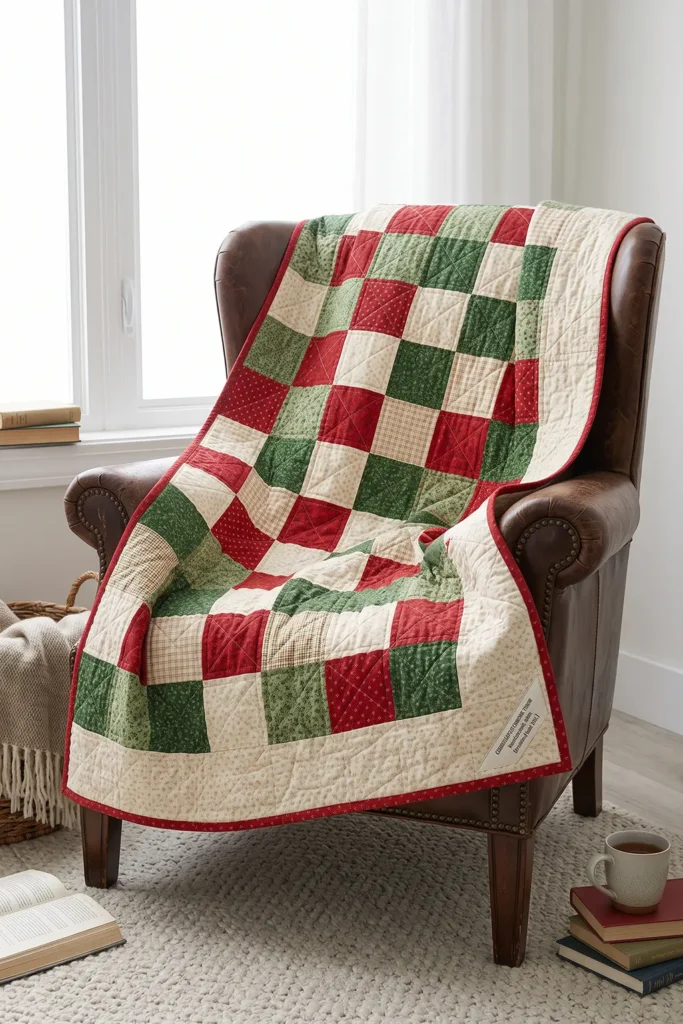
Other Design Inspirations – Digitally Modified Images. Texture and color may vary from the actual product.
2. Cozy Plaid Flannel Quilted Christmas Throw
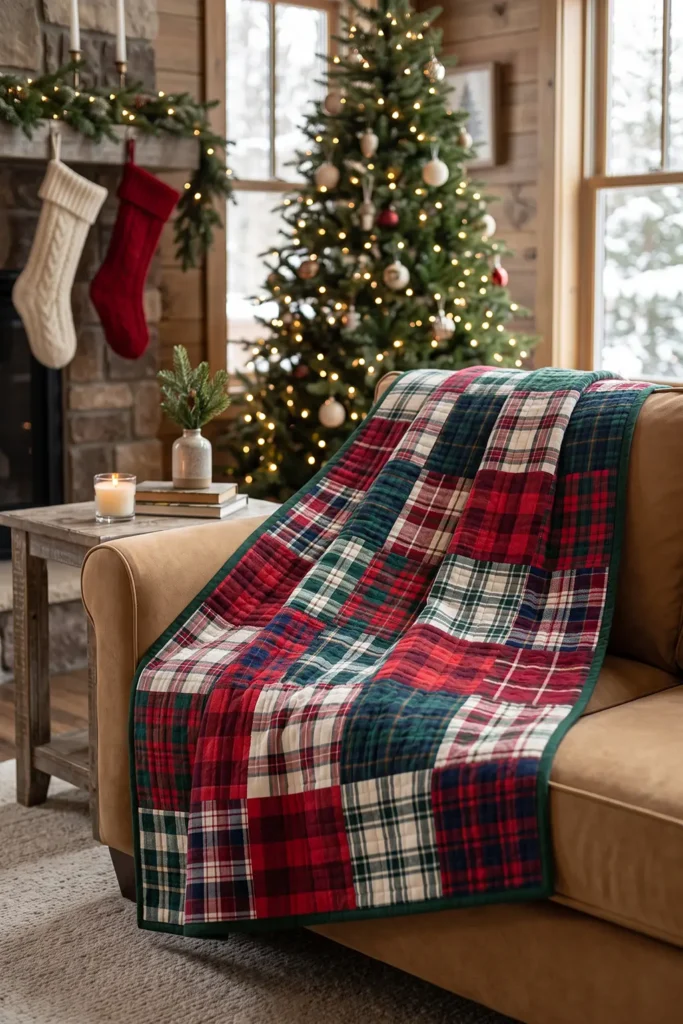
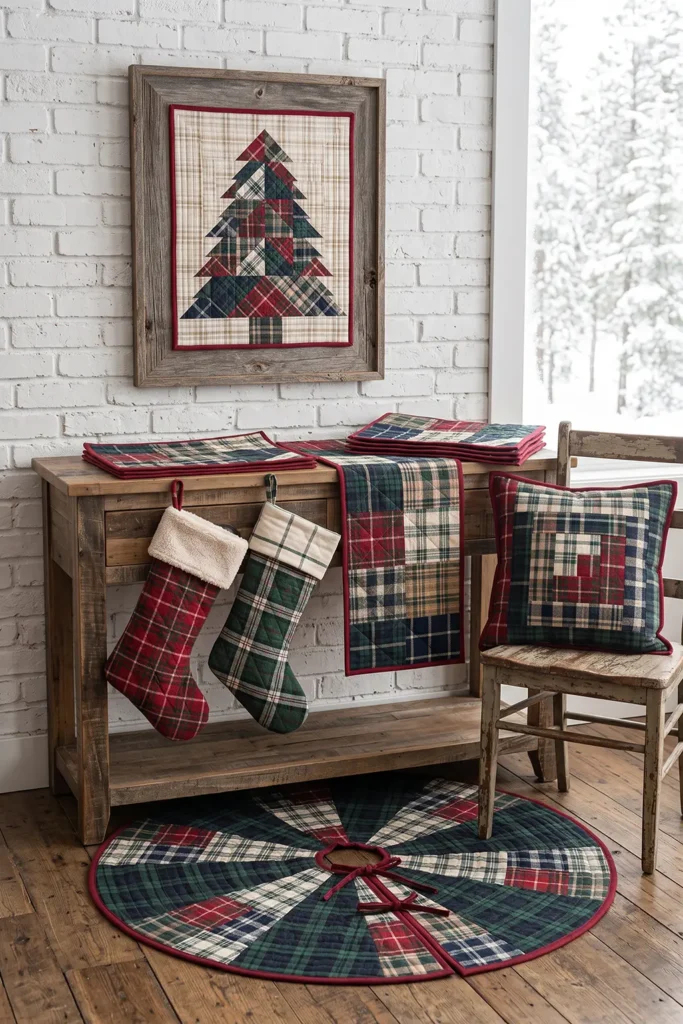
A plaid flannel Christmas throw has a different kind of warmth from a bright patchwork quilt. Instead of lots of tiny pieces and crisp graphic blocks, it leans into brushed texture, deeper color, and the familiar softness of winter shirts, blanket scarves, and old-fashioned holiday blankets. The quilt is still made in the traditional three layers—a pieced top, a batting middle, and a backing—but flannel gives it a slightly heavier, cuddlier feel that suits December especially well.
For this version, the throw finishes at approximately 52 × 65 inches, a comfortable size for a sofa, armchair, or folded guest-bed accent. The design uses 80 seven-inch squares arranged 8 across by 10 down. After ¼-inch seams, each square finishes at 6½ inches, which is large enough for the plaid patterns to show clearly without becoming too bulky or difficult to match.
Why Plaid Flannel Works So Well at Christmas
Plaid has long been tied to winter interiors, wool blankets, rustic cabins, and holiday textiles, so it feels instantly seasonal even before you introduce obvious Christmas motifs. When made in flannel, that association becomes even stronger. The brushed surface softens the color slightly and adds warmth that quilting cotton alone does not quite replicate.
It also creates a throw with a different visual rhythm from a standard patchwork Christmas quilt. Instead of relying on novelty prints or pieced trees and snowflakes, the quilt gets its character from tartans, buffalo checks, windowpane plaids, and quieter woven checks in colors such as cranberry, pine, evergreen, cream, navy, charcoal, and a little gold or camel. The result is festive, but softer and more lived-in.
Design Inspirations – Digitally Modified Images. Texture and color may vary from the actual product.
Finished Quilt
- Finished size: approximately 52 × 65 inches
- Block size: 7 inches cut, 6½ inches finished
- Layout: 8 blocks across × 10 blocks down
- Total blocks: 80
- Seam allowance: ¼ inch
- Binding: approximately 250 inches prepared
- Skill level: beginner to confident beginner
- Best use: sofa throw, reading blanket, cabin-style décor, Christmas gift
- Quilting suggestions: straight-line quilting, stitch-in-the-ditch, wide diagonal grid, or gentle echo quilting
Materials Needed
- 80 flannel squares cut at 7 × 7 inches
- Approximately 3½ yards assorted plaid flannel total, or the equivalent in precut squares
- Include a balance of:
- red plaids
- green plaids
- cream or light neutrals
- darker anchors such as navy, charcoal, or blackwatch
- Batting: approximately 60 × 73 inches
- Backing: about 4 yards flannel or quilting cotton
- Binding: about ⅝ yard quilting cotton or flannel
- Neutral piecing thread
- Quilting thread
- Rotary cutter
- Cutting mat
- Acrylic ruler
- Walking foot
- Quilting pins or spray baste
- Iron and pressing surface
- Optional color catcher for first wash
For a cleaner finish, many quilters prefer quilting-cotton binding even when the quilt top is flannel. It adds a little stability to the edges and reduces bulk.
Choosing the Plaids
Not every plaid behaves the same way in a quilt. Very large tartans can lose their character when chopped into squares, while very dark plaids of similar value can all merge into one muddy area.
A strong combination usually includes:
- 2-3 red plaids
- 2-3 green plaids
- 2-3 lights or creams
- 2 darker grounding plaids such as navy-green tartan or charcoal check
- optional 1-2 warm accent plaids in mustard, camel, or gold
Try to mix scale as well as color. One bold tartan, several medium plaids, and a few quieter checks produce more depth than ten fabrics of exactly the same kind.
A Note on Prewashing Flannel
Flannel generally shrinks more than quilting cotton, and the brushing on the surface can release lint in the first wash.
That makes prewashing especially important here.
Wash and dry the flannel before cutting, then press it well. This helps prevent the finished throw from distorting after its first laundering and removes much of the loose lint before you start sewing.
Cutting Measurements
For the quilt top:
- Cut 80 squares at 7 × 7 inches
- Arrange them in 8 rows across × 10 rows down
Because each square finishes at 6½ inches:
- 8 blocks across = 52 inches
- 10 blocks down = 65 inches
For the backing:
- Cut two lengths approximately 73 inches long
- Join them lengthwise to make a backing larger than the quilt top
- Leave the backing untrimmed until after quilting
For the binding:
- Cut seven strips at 2½ inches × width of fabric
- Join them end to end with diagonal seams
- This provides comfortably more than the roughly 234 inches required around the quilt perimeter
Step-by-Step Guide
Step 1 – Choose the Plaid Palette
Begin by deciding on the overall mood of the quilt.
For a traditional Christmas look, combine cranberry, cherry red, pine green, deep evergreen, cream, and touches of navy or gold. If you want something slightly more rustic, include buffalo plaid and softer oatmeal tones. Keep the palette cohesive before you start cutting.

Step 2 – Prewash and Press the Flannel
Wash all flannel fabrics before cutting.
Use a gentle cycle, dry them thoroughly, and press them flat. Flannel can shrink noticeably, and prewashing now is far better than having the finished throw pull or ripple unevenly later. Trim off any loose threads and square the fabric if the edges have shifted.
Step 3 – Decide on the Grid and Finished Size
This throw uses an 8 × 10 grid of 7-inch squares.
After sewing with ¼-inch seams, each square finishes at 6½ inches, producing a quilt that measures approximately 52 × 65 inches. Write down those numbers before cutting so the layout stays consistent.

Step 4 – Cut the 80 Squares
Cut 80 squares measuring exactly 7 × 7 inches.
If you are cutting from yardage, keep a careful eye on grain and plaid alignment. Straight cuts matter more with plaids because even a slight tilt can become obvious once several blocks are sewn together.
Step 5 – Sort the Squares by Color and Value
Separate the squares into light, medium, and dark groups.
Also keep an eye on dominant colors:
- reds
- greens
- neutrals
- dark grounding tones
This prevents all the darker tartans from ending up together and makes it easier to spread the visual weight evenly across the quilt.

Step 6 – Lay Out the Full 8 × 10 Grid
Arrange the squares on a design wall, bed, or clean floor in 8 columns and 10 rows.
Try not to place identical plaids directly beside one another. Distribute the lights throughout the layout so they break up the stronger reds and greens. Step back and look at the whole arrangement from a distance.
Step 7 – Adjust the Balance and Plaid Scale
Fine-tune the layout.
If one corner feels very dark, swap in a cream plaid. If a large tartan is competing with another bold plaid right next to it, move one of them elsewhere. Aim for a pleasing mix of bold and quiet prints across the surface of the quilt.
Take a photo when the arrangement feels right.

Step 8 – Stack and Label the Rows
Starting at the top, stack the squares from each row in order from left to right.
Label them Row 1 through Row 10. This step matters because plaids can look deceptively similar once stacked, and it is very easy to rotate or reorder them accidentally.
Step 9 – Sew the Squares into Rows
Take Row 1 and sew the squares together one by one using a consistent ¼-inch seam allowance.
Repeat for all ten rows. Chain piecing works well here, but make sure the row order stays clear. Because flannel grips slightly against itself, it often feeds quite well under the machine, though a steady pace helps maintain accuracy.

Step 10 – Press the Row Seams Carefully
Press the seam allowances of Row 1 to the right, Row 2 to the left, and continue alternating.
This nesting method helps the intersections line up more neatly when the rows are joined. Press rather than dragging the iron, since flannel can stretch if handled roughly while hot.
Step 11 – Join the Rows into the Quilt Top
Sew Row 1 to Row 2, matching the intersections as you go.
Continue until all ten rows are joined. Because the seams were pressed in alternating directions, the allowances should nest comfortably. Check every few rows that the quilt remains square and that no row has been flipped.

Step 12 – Press and Inspect the Quilt Top
Give the completed top a final press and inspect it carefully.
Check for:
- open seams
- mismatched joins
- twisted blocks
- uneven outer edges
The top should measure close to 52 × 65 inches. Minor variation is normal, but large discrepancies are easier to correct now than later.
Step 13 – Prepare the Backing
Cut two backing lengths about 73 inches long.
Remove the selvages from the edges that will be joined, then sew the lengths together using a ½-inch seam allowance. Press the seam open. The backing should be several inches larger than the quilt top on all sides to allow for quilting and trimming.

Step 14 – Layer the Quilt Sandwich
Lay the backing wrong side up on a clean flat surface.
Smooth it well. Place the batting on top, then center the quilt top right side up over the batting. Make sure the backing and batting extend at least 3-4 inches beyond the top on every side.
Step 15 – Baste the Three Layers
Secure the three layers using safety pins, spray baste, or thread basting.
If using pins, space them about 4-5 inches apart. Flannel has a little more friction than quilting cotton, which can help keep the layers stable, but it is still worth checking the back to make sure no folds have developed.

Step 16 – Quilt the Throw
Quilt through all three layers.
A plaid flannel quilt suits simple quilting very well. Good options include:
- straight lines about 1 inch away from selected seam lines
- a wide crosshatch spaced 4-5 inches apart
- gentle diagonal lines across the squares
Avoid overly dense quilting. This kind of throw should remain soft and cozy rather than stiff.
Step 17 – Square the Quilt and Attach the Binding
After quilting, trim away the excess batting and backing.
Use a long ruler to square the edges and corners. Then sew the prepared 2½-inch binding to the front of the quilt with a ¼-inch seam allowance, mitering the corners neatly. Fold the binding to the back and finish it by hand or machine.
Step 18 – Finish, Wash, and Enjoy the Crinkle
Trim loose threads and inspect the binding.
For the first wash, use cool water and a color catcher, especially if strong reds are included. Once washed and dried, the flannel softens even further, and the quilting develops that gentle puckered crinkle that makes a Christmas throw feel instantly broken in.
Assembly at a Glance
- Choose a Christmas plaid color palette.
- Prewash, dry, and press all flannel.
- Plan a throw measuring about 52 × 65 inches.
- Cut 80 squares at 7 inches.
- Sort by light, medium, dark, and dominant color.
- Lay out the full 8 × 10 grid.
- Adjust the balance of color and plaid scale.
- Stack and label all ten rows.
- Sew the squares into rows.
- Press row seams in alternating directions.
- Join the rows into the quilt top.
- Press and inspect the finished top.
- Piece the oversized backing.
- Layer backing, batting, and top.
- Baste the quilt sandwich.
- Quilt with simple cozy stitching.
- Trim and bind the edges.
- Wash, soften, and finish.
Beginner Tips for Success
- Prewash the flannel. It shrinks more than quilting cotton.
- Keep the ¼-inch seam allowance accurate, especially with larger grids.
- Mix bold plaids and quieter checks for more visual depth.
- Include some light or cream plaids so the quilt does not become too dark.
- Avoid placing several very similar dark tartans together.
- Take a photo of the layout before stacking the rows.
- Press rather than drag the iron to avoid stretching the flannel.
- Use cotton binding if you want a slightly firmer edge.
- Keep the quilting reasonably open so the throw stays soft.
- Use a walking foot for smoother quilting over thicker flannel layers.
- Check the backing often during basting and quilting.
- Use a color catcher in the first wash if the palette includes strong red fabrics.
Color Variations to Try
Traditional Holiday Plaid
Cranberry, cherry red, pine, evergreen, cream, and navy.
Rustic Cabin Christmas
Buffalo plaid red and black, forest green tartan, oatmeal, charcoal, and camel.
Frosty Winter Plaid
Deep blue, silver grey, soft cream, spruce green, and icy white.
Soft Vintage Christmas
Muted brick red, olive green, faded navy, parchment, and warm taupe.
Styling and Gift Ideas
A plaid flannel Christmas throw looks especially good in spaces that already have a little winter texture—wood, leather, wool, brushed cotton, evergreen garlands, or soft neutral upholstery.
It works beautifully:
- folded across the back of a sofa
- draped over a reading chair
- at the foot of a guest bed
- in a basket near the fireplace
- on a bench in an entryway or sunroom
Because the construction is so straightforward, it also makes a very practical handmade gift. The cozy scale, familiar plaid patterns, and softness of flannel give it a blanket-like comfort that many people reach for immediately.
Final Thoughts
A cozy plaid flannel quilted Christmas throw feels festive in a quieter, more tactile way than many holiday quilts. It relies less on novelty motifs and more on texture, warming colors, and the familiarity of winter plaids. With a finished size of roughly 52 × 65 inches and a simple 8 × 10 square layout, it is manageable to piece, easy to customize, and substantial enough to become a real household blanket rather than just a seasonal display piece.
That everyday usefulness is part of its appeal. It is the kind of throw you wrap around your shoulders, take to the sofa, fold at the end of the bed, and wash often enough to soften each year. Keep the color balance varied, prewash the flannel, and quilt it lightly enough to preserve its drape, and the finished quilt will feel less like a decoration and more like part of Christmas itself.
Other Design Inspirations – Digitally Modified Images. Texture and color may vary from the actual product.
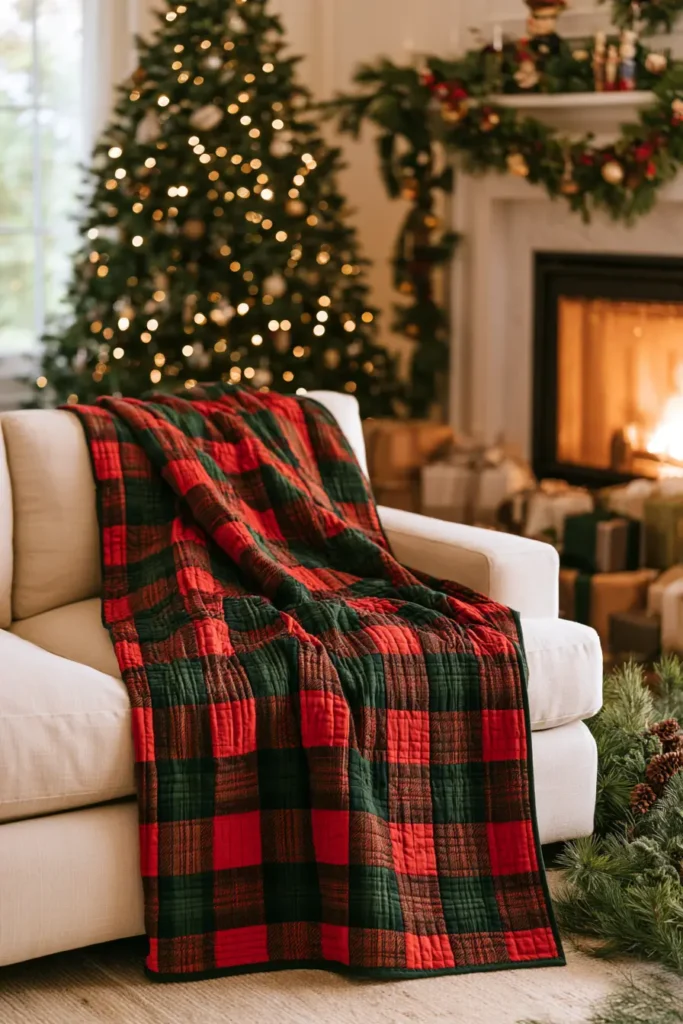
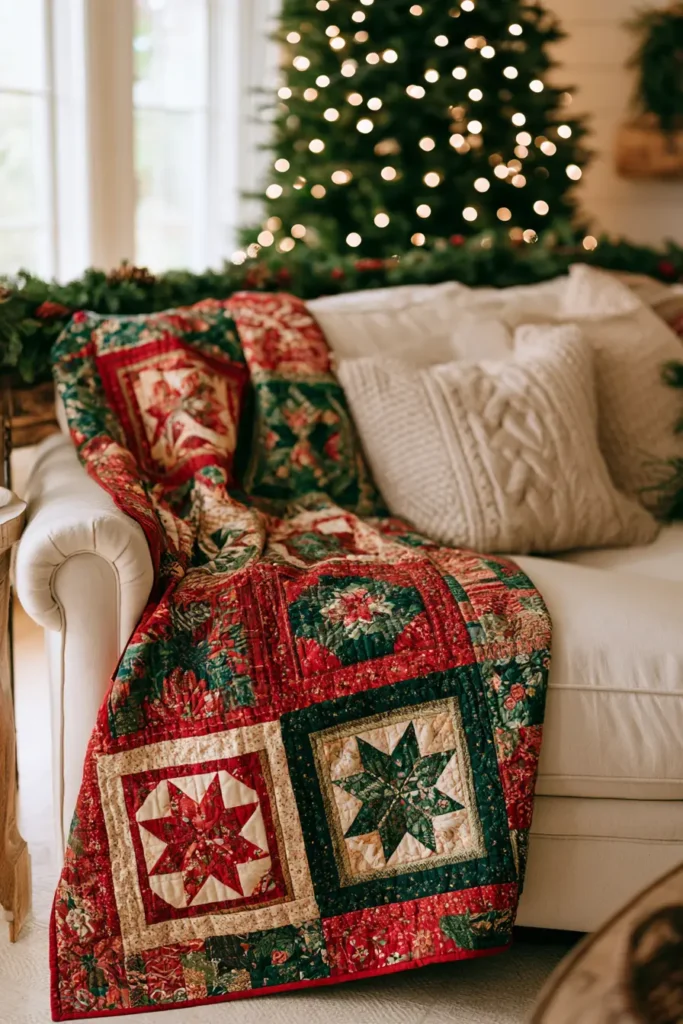
3. Christmas Tree Patchwork Quilted Throw for Festive Décor
Design Inspirations – Digitally Modified Images. Texture and color may vary from the actual product.
Other Design Inspirations – Digitally Modified Images. Texture and color may vary from the actual product.
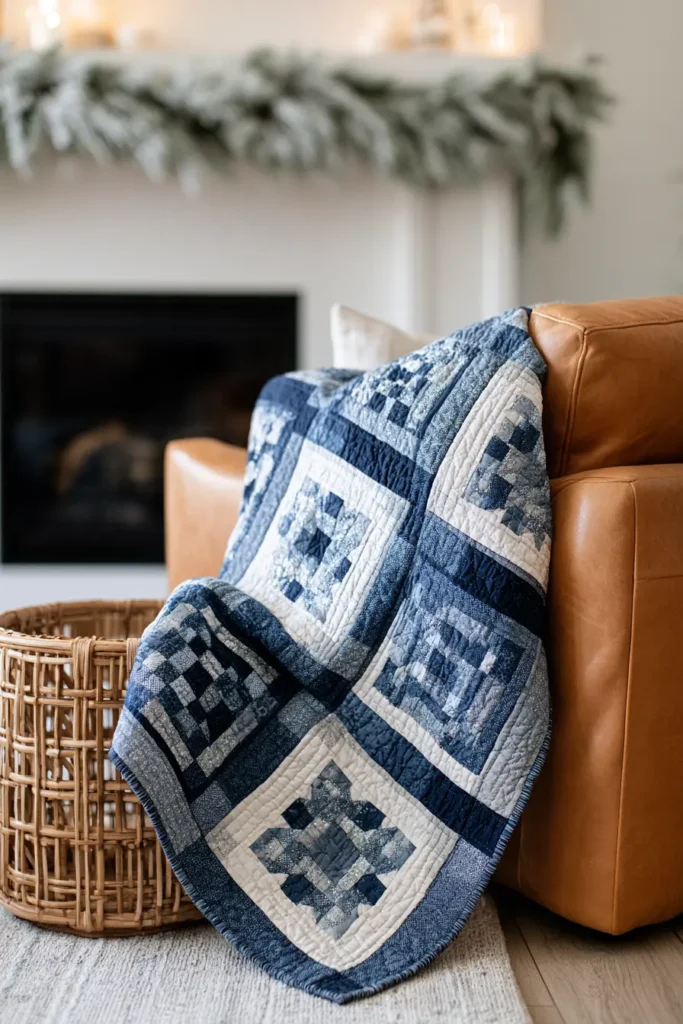
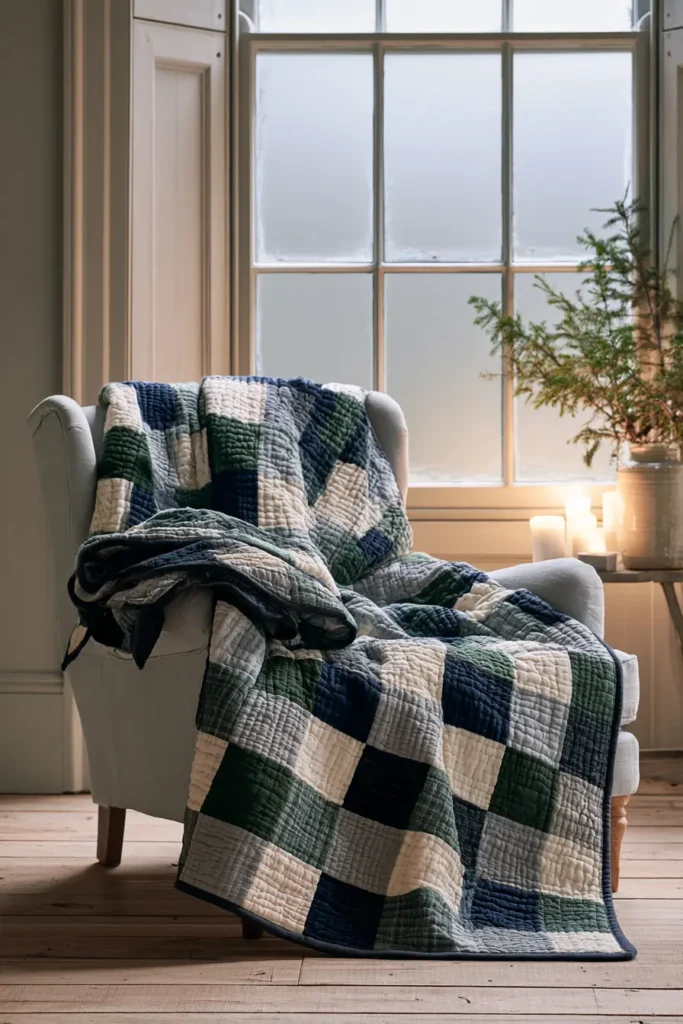
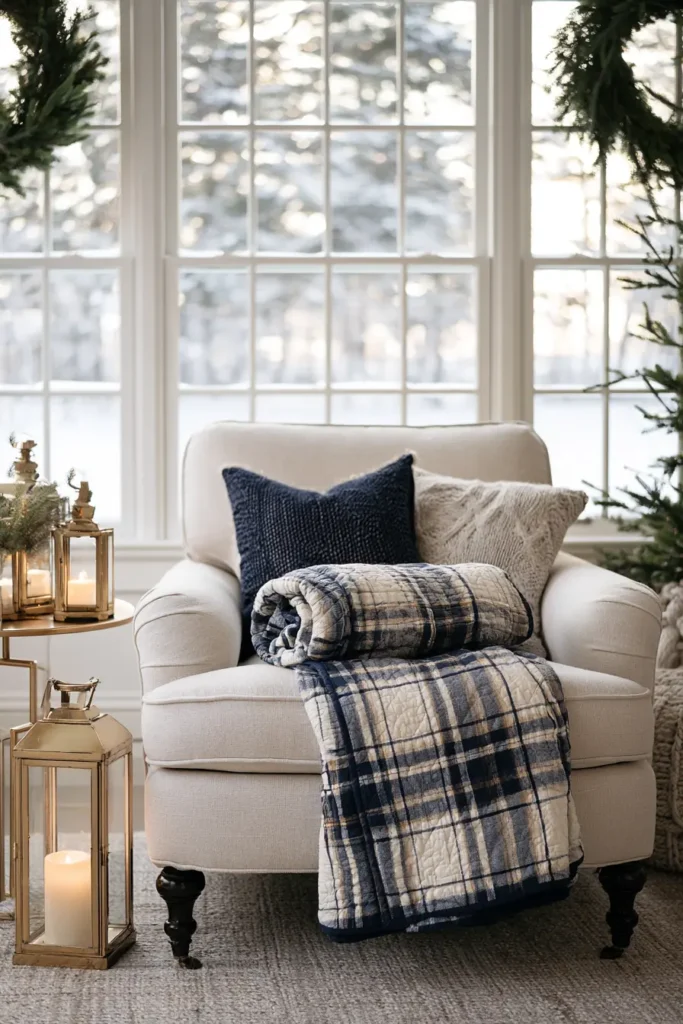
4. Blue and Silver Snowflake Quilted Christmas Throw for Winter Elegance
Design Inspirations – Digitally Modified Images. Texture and color may vary from the actual product.
Other Design Inspirations – Digitally Modified Images. Texture and color may vary from the actual product.
5. Jelly Roll Christmas Throw Quilt for Quick Holiday Sewing
Design Inspirations – Digitally Modified Images. Texture and color may vary from the actual product.
Other Design Inspirations – Digitally Modified Images. Texture and color may vary from the actual product.
6. Rustic Farmhouse Quilted Christmas Throw with Buffalo Plaid
Design Inspirations – Digitally Modified Images. Texture and color may vary from the actual product.
Other Design Inspirations – Digitally Modified Images. Texture and color may vary from the actual product.
Design Inspirations – Digitally Modified Images. Texture and color may vary from the actual product.
Other Design Inspirations – Digitally Modified Images. Texture and color may vary from the actual product.
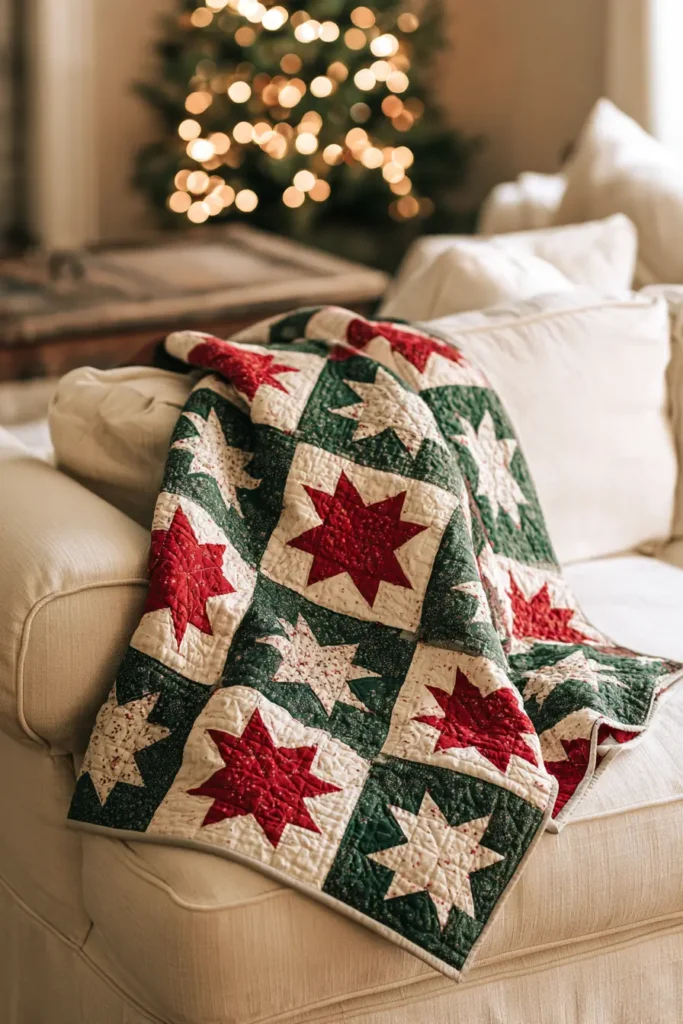
8. Star Block Quilted Christmas Throw for Timeless Holiday Style
Design Inspirations – Digitally Modified Images. Texture and color may vary from the actual product.
Other Design Inspirations – Digitally Modified Images. Texture and color may vary from the actual product.
9. Scrappy Quilted Christmas Throw Using Holiday Fabric
Design Inspirations – Digitally Modified Images. Texture and color may vary from the actual product.
Other Design Inspirations – Digitally Modified Images. Texture and color may vary from the actual product.
10. Reversible Quilted Christmas Throw for Two Festive Looks
Design Inspirations – Digitally Modified Images. Texture and color may vary from the actual product.
Other Design Inspirations – Digitally Modified Images. Texture and color may vary from the actual product.
Conclusion
The charm of a Quilted Christmas Throw is that it doesn’t have to choose between decoration and usefulness. Draped across the arm of a sofa, folded at the end of a guest bed, or pulled over someone’s lap on a cold December evening, it becomes part of the way the house actually gets used at Christmas. Quilting also improves with familiarity: cotton softens, stitched surfaces develop gentle texture, and a throw that looked brand-new in its first December often feels better after several seasons of washing and use.
The best design depends on the kind of Christmas atmosphere you want to create. Choose red-and-green patchwork, Christmas trees, or star blocks for a traditional festive room; plaid flannel or buffalo check for something warm and rustic; and blue-and-silver snowflakes or Scandinavian neutrals for a cleaner winter look. A Jelly Roll throw is useful when sewing time is short; a scrappy version makes good use of leftover holiday fabrics; and a reversible quilt gives you two seasonal moods without making two separate throws. Whichever direction you take, a handmade Christmas throw is simple enough to live with every day and special enough to become one of those pieces you look forward to bringing out each year.

