
Star Quilt Wall Hanging Ideas Featuring Classic Patchwork and Bold Geometric Designs
Star Quilt Wall Hanging Ideas bring one of quilting’s most recognizable motifs into the home as decorative textile art. Built from diamonds, triangles, squares, and carefully arranged contrasts, star blocks create striking geometric focal points that can suit everything from a cozy farmhouse entryway to a contemporary living room. Traditional designs introduce the character of heritage patchwork, while modern interpretations experiment with asymmetry, generous negative space, and bold color blocking. Layered fabrics, batting, and quilting stitches add tactile depth, making these pieces as interesting up close as they are from across a room. Because wall hangings are generally smaller than bed quilts, they also offer a manageable format for exploring distinctive star patterns, fabric combinations, and decorative finishing techniques.
Star Quilt Wall Hanging Ideas
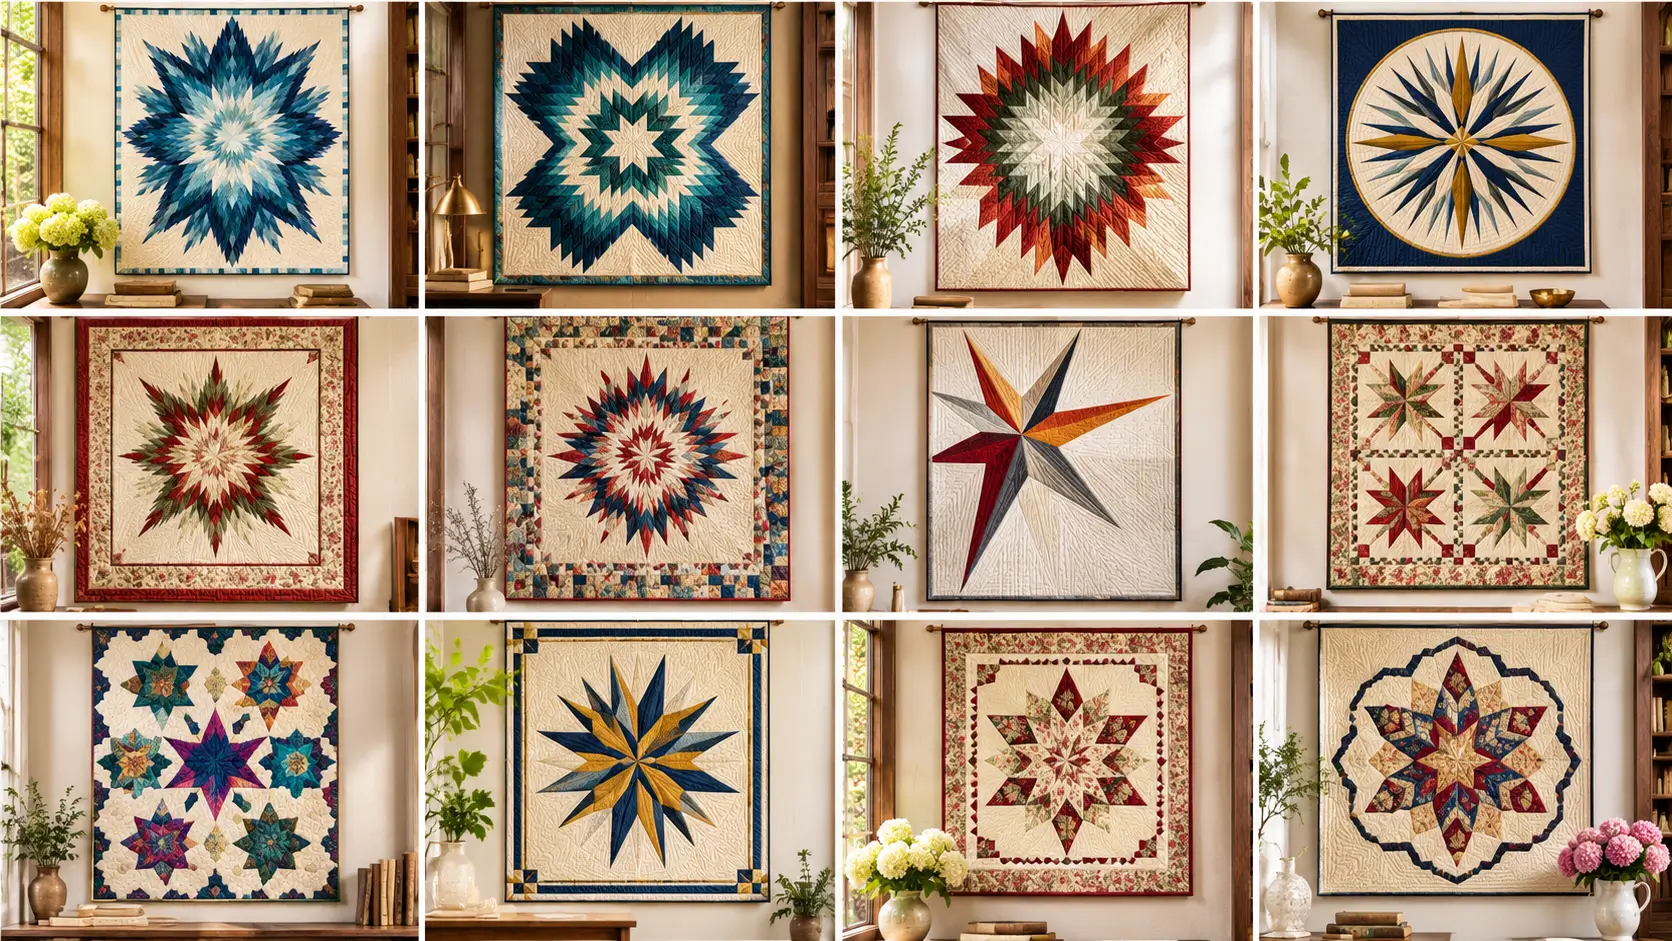
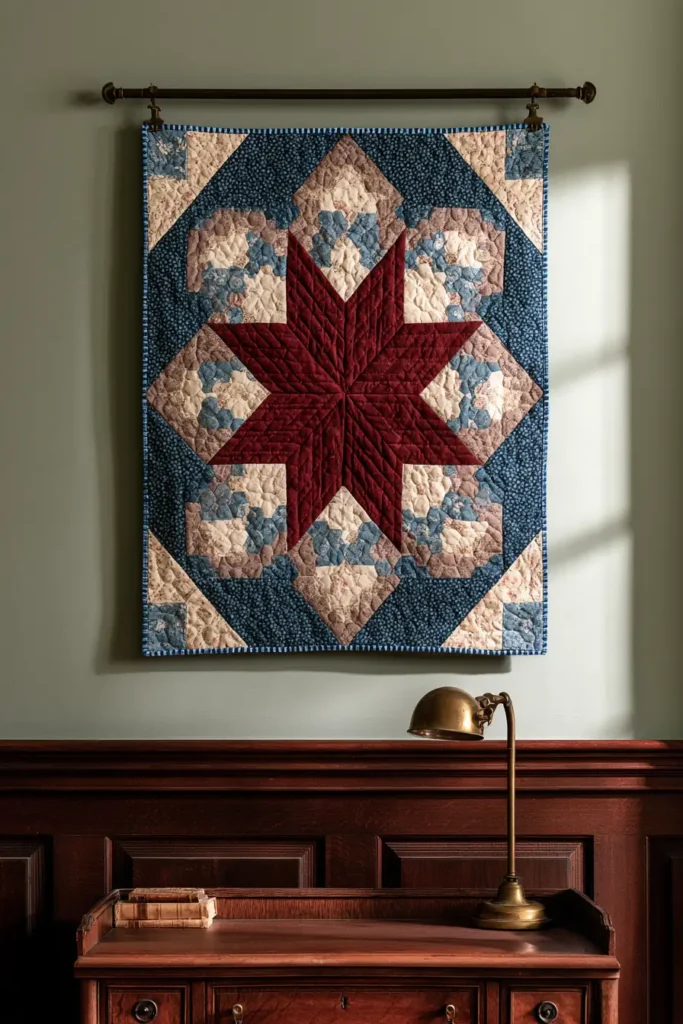
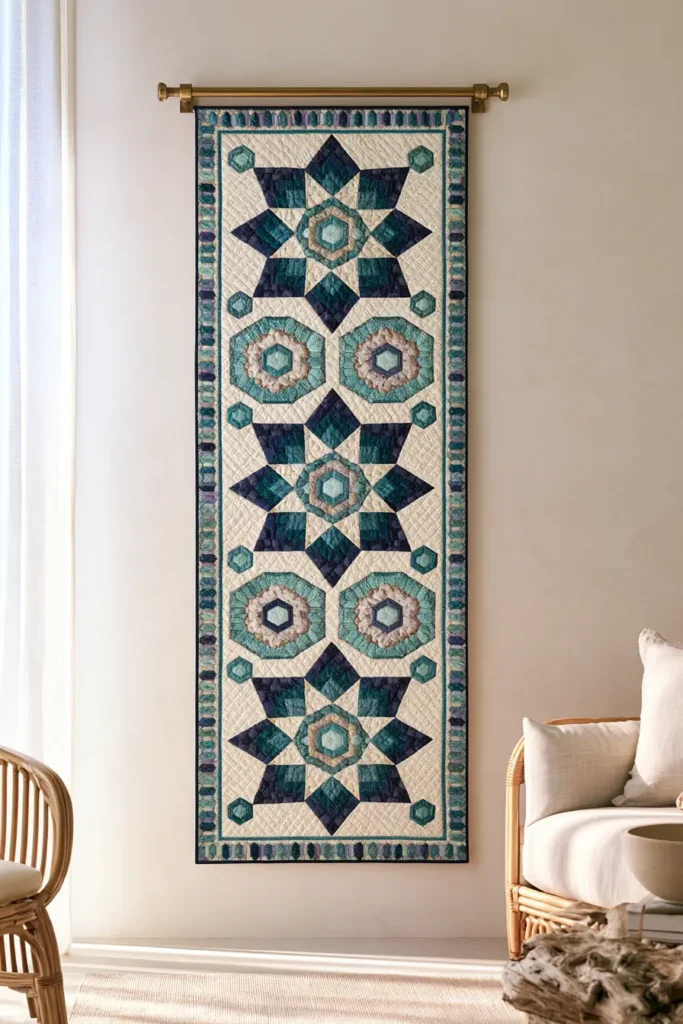
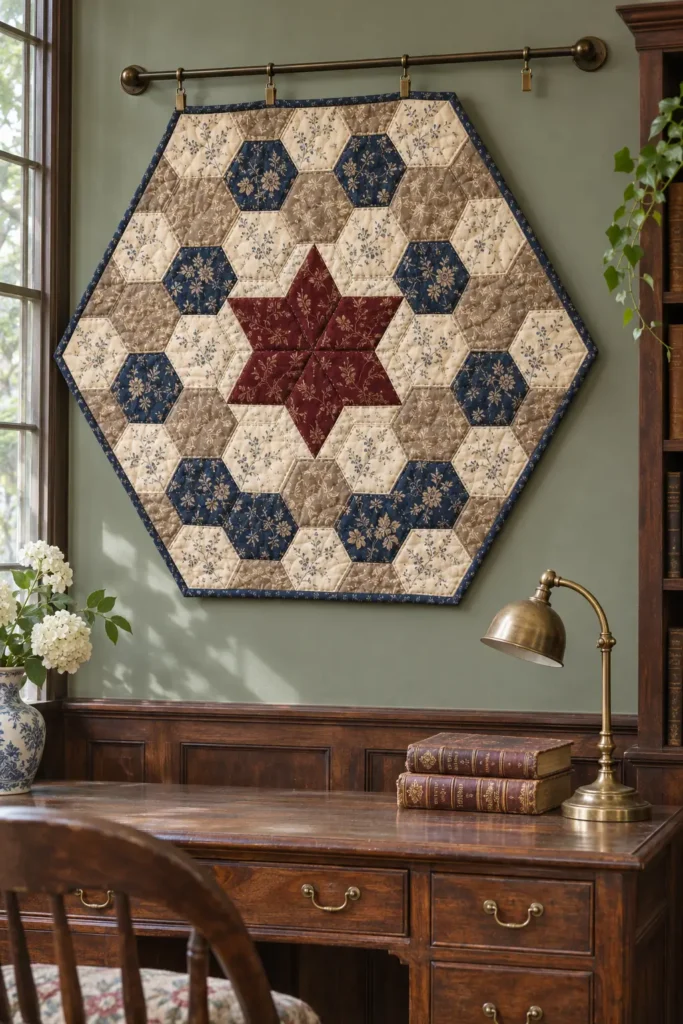
The designs in this collection demonstrate how dramatically a familiar star motif can change through construction, color placement, and presentation. Some feature radiating diamonds and finely pieced points, while others build geometric shapes from rectangular strips, tiny squares, or intentionally irregular patches. Fabric choices range from faded floral calico and reclaimed indigo denim to crisp solids, natural linen, and richly colored jewel-tone patchwork.
Quilting texture adds another dimension, whether through closely spaced straight lines, delicate stitching around traditional points, or softly frayed rag-quilt seams. The collection also explores different ways to display these textiles, from individual statement pieces to dowel-mounted hangings and coordinated miniature quilt gallery walls. Together, these approaches offer inspiration for choosing star patterns, fabrics, and finishes that complement different interior styles.
Explore More Quilt Wall Hanging Ideas: How to Hang a Quilt Wall Hanging – Christmas Quilt Wall Hanging Ideas – Jelly Roll Quilt Wall Hanging Ideas – Star Quilt Wall Hanging Ideas
Why Make Star Quilt Wall Hangings?
Star quilt wall hangings offer a way to display the beauty of patchwork without committing to a full-sized bed quilt. Their recognizable geometry makes them effective decorative focal points, while the smaller format provides opportunities to explore traditional blocks, modern compositions, and fabric combinations on a more manageable scale. A single carefully pieced star can add structure to an otherwise plain wall, while repeated blocks or several coordinated mini quilts introduce rhythm and color. Wall hangings also provide a practical use for suitable fabric remnants, vintage-inspired prints, and reclaimed textiles that might not be available in quantities sufficient for a larger quilt.
Techniques such as English paper piecing, Log Cabin construction, and improvisational piecing can be explored in decorative formats, although intricate designs may still require considerable precision. Beyond the patchwork itself, quilting stitches, batting, and layered fabrics create surface texture that changes how light falls across the finished piece. These qualities make star quilt wall hangings appealing for everyday decorating, seasonal displays, and thoughtful handmade gifts.
What Makes These Designs Different?
The most important differences among these star quilt wall hangings lie in their underlying geometry and construction methods. A Lone Star develops its radiating appearance from diamond-shaped patches arranged around a central point, while a Feathered Star uses small, precisely pieced triangles to create intricate serrated details along larger star shapes. Mariner’s Compass designs also rely on radial geometry, but their sharply angled points form a distinctive circular medallion composition.
Traditional Ohio Star blocks follow a nine-patch structure with characteristic triangular star-point units, and checkerboard sashing can introduce a secondary geometric pattern between repeated blocks. Other designs create stars through less conventional arrangements: contrasting light-and-dark Log Cabin blocks combine to reveal a larger star, while numerous small squares form the stepped silhouette of a pixelated design.
Six-point English paper-pieced stars use diamond-shaped fabric pieces folded around removable templates and stitched together, with hexagons providing complementary patchwork. Modern Wonky Stars take a different approach, using intentionally irregular points, off-center placement, and open negative space to create an informal composition. Texture and presentation introduce further distinctions. Exposed, clipped seams give denim-and-flannel rag quilts their soft, frayed character, while wooden dowels and knotted macramé fringe add a bohemian finish to conventional patchwork. A miniature quilt gallery wall changes the presentation altogether by arranging several separate star quilts into one coordinated display.
Choosing Fabrics and Building a Balanced Color Palette
Fabric selection plays a major role in determining whether a star quilt appears traditional, contemporary, rustic, or refined. Stable quilting cotton is particularly useful for precise diamond, square, and triangle piecing because it presses neatly and helps maintain accurate seams. Small-scale floral calicos and vintage-inspired prints complement traditional Ohio Star arrangements, while solids and subtle tone-on-tone fabrics allow modern geometric shapes and negative space to remain visually clear. Color value—the relative lightness or darkness of a fabric—is just as important as hue.
Strong value contrast helps Log Cabin stars emerge from rectangular patchwork and allows pixelated designs to retain their stepped outlines when viewed from a distance. In contrast, a Lone Star with an ombré effect benefits from carefully graduated shades that move smoothly from lighter to darker tones. Natural linen and warm brass-gold fabric accents can soften a navy Mariner’s Compass, while jewel-tone fabrics create a cohesive palette across separate miniature quilts. Denim and flannel introduce appealing differences in texture and weight, but their shrinkage, stability, and laundering requirements should be considered before combining them.
Print scale deserves equal attention: oversized florals may overwhelm tiny geometric pieces, while very small prints can lose their detail from across a room. The most effective palette is not necessarily the most colorful one, but the combination that preserves the star’s structure and complements its intended setting.
Planning Size, Shape, and Wall Display
The proportions of a star quilt wall hanging should reflect both its patchwork design and the space where it will be displayed. Square formats work especially well for centered stars and medallion-style compositions, allowing the geometry to radiate outward without feeling crowded. Rectangular layouts provide more flexibility for repeated blocks, directional patchwork, and modern off-center designs that rely on additional negative space. A Mariner’s Compass may feature a circular central motif while retaining a conventional square or rectangular outer shape.
Compact wall hangings can brighten entryways, hallways, and reading corners, while larger geometric compositions may serve as focal points above a console table or other suitable furniture. Several miniature star quilts can also be arranged together, with consistent spacing and a shared color palette creating visual unity. Structural stability is particularly important for vertical displays. Appropriate batting, stable backing fabrics, secure binding, and properly attached hanging sleeves or tabs help a quilt retain its shape without excessive sagging. Heavier denim-and-flannel constructions or decorative macramé fringe may require additional support, while a visible wooden dowel can become part of the intended design.
Mounting hardware should suit the wall surface and textile weight, and important star details should remain recognizable from the normal viewing distance. Seasonal pieces can be stored flat or loosely rolled where practical to reduce permanent creases and protect delicate stitching or decorative finishes.
Quilting Texture, Decorative Details, and Common Mistakes
Quilting stitches and finishing details can strengthen a star wall hanging’s visual character, but they should complement the patchwork rather than overwhelm it. Straight-line quilting works particularly well with modern geometric designs, creating subtle directional texture across solid backgrounds and negative space. Echo quilting can emphasize the radiating geometry of a large star, while restrained stitching helps preserve the visibility of intricate Feathered Star points and other finely pieced details.
Quilting density also affects how a piece hangs: closely spaced stitches can produce an attractive textured surface, but excessive density may introduce stiffness or distortion, particularly in smaller wall hangings. Common design problems include insufficient contrast between star points and background fabrics, overly busy prints that obscure small geometric units, and uneven color placement that weakens the intended pattern. Accurate seam alignment matters in traditional star construction, whereas intentionally irregular Wonky Star points should appear deliberate rather than resembling accidental piecing errors. Rag quilting requires a different kind of care, with exposed seam allowances clipped and frayed without weakening the stitching that holds the pieces together.
Decorative elements such as dowels, hanging tabs, and macramé fringe should be securely attached and proportionate to the quilt. Before finalizing a design, it is useful to consider how the patchwork looks from several feet away, since details that appear prominent on a worktable may become difficult to distinguish once the quilt is hanging on a wall.
About the Design Inspiration Images
The images in this article are intended as design inspiration for star quilt wall hangings. Some may be AI-generated, digitally edited, or developed as visual concepts, and certain ideas draw on established quilting traditions or existing designs encountered in other sources. They should not be assumed to show physically completed or tested quilts. An image may not have a matching downloadable pattern, verified cutting plan, or step-by-step tutorial. Use the colors, patchwork layouts, textures, and display ideas as starting points for your own original interpretations, while respecting the work and rights of other designers.
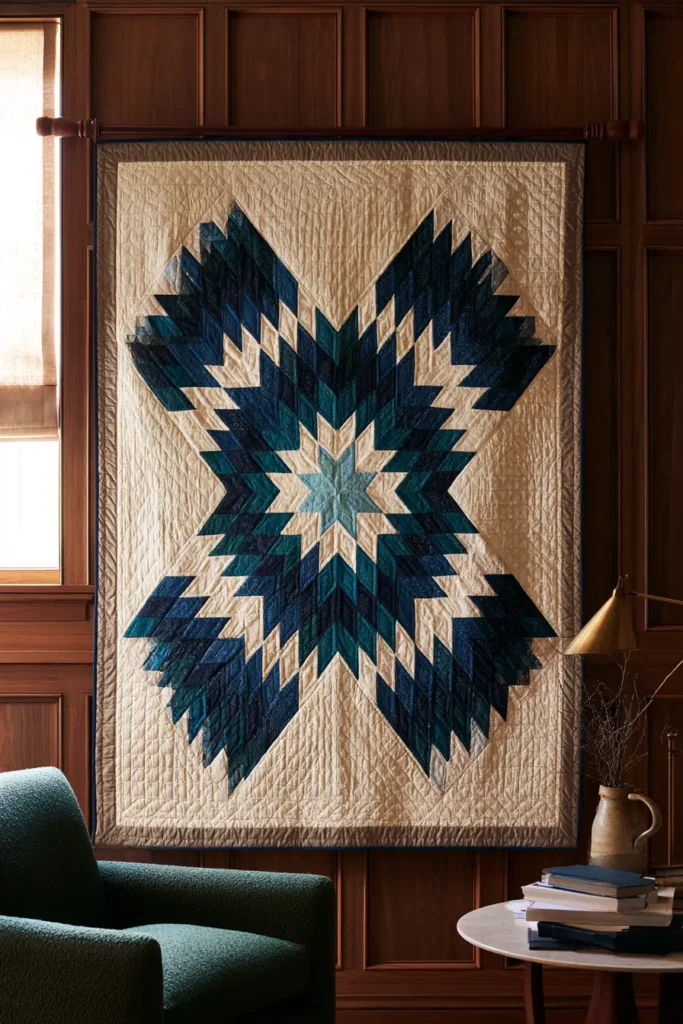
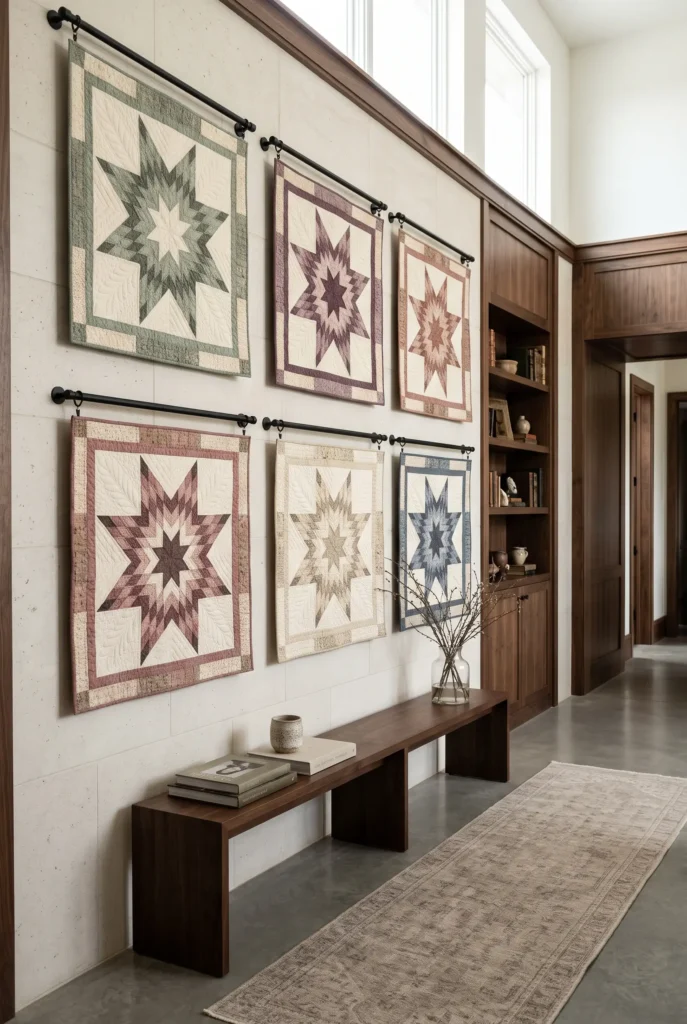
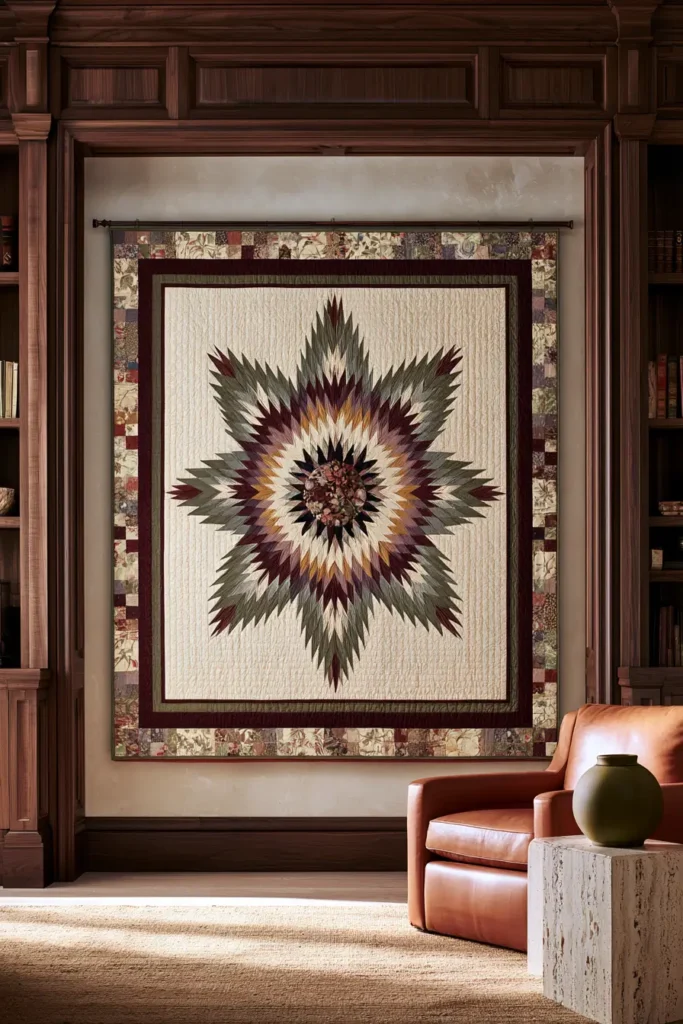
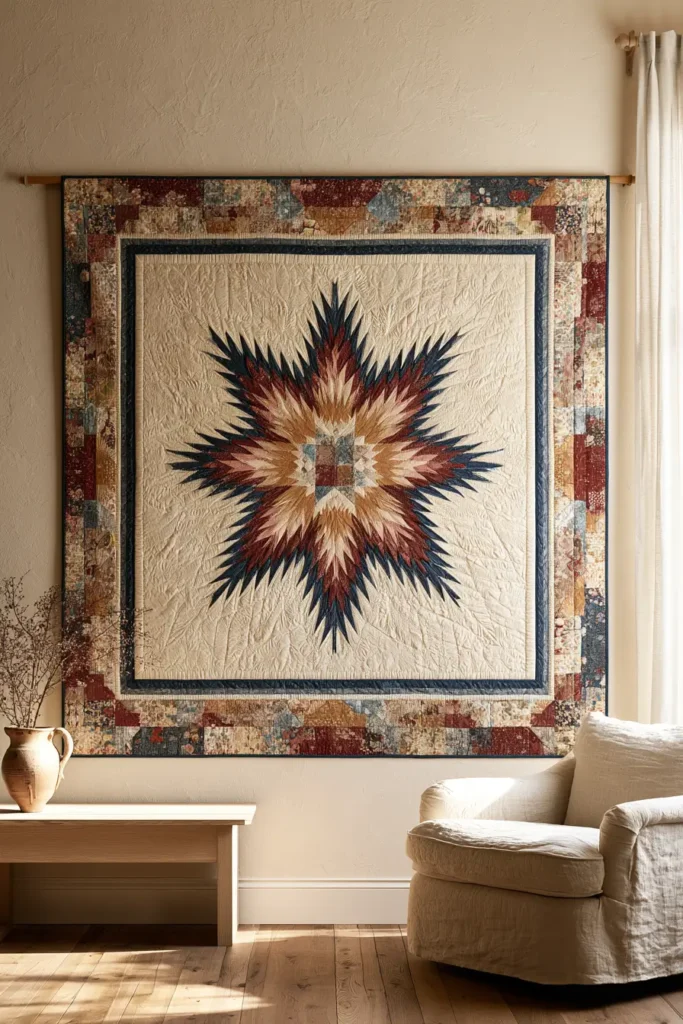
1. Lone Star Quilt Wall Hanging with Radiating Ombré Diamond Patchwork
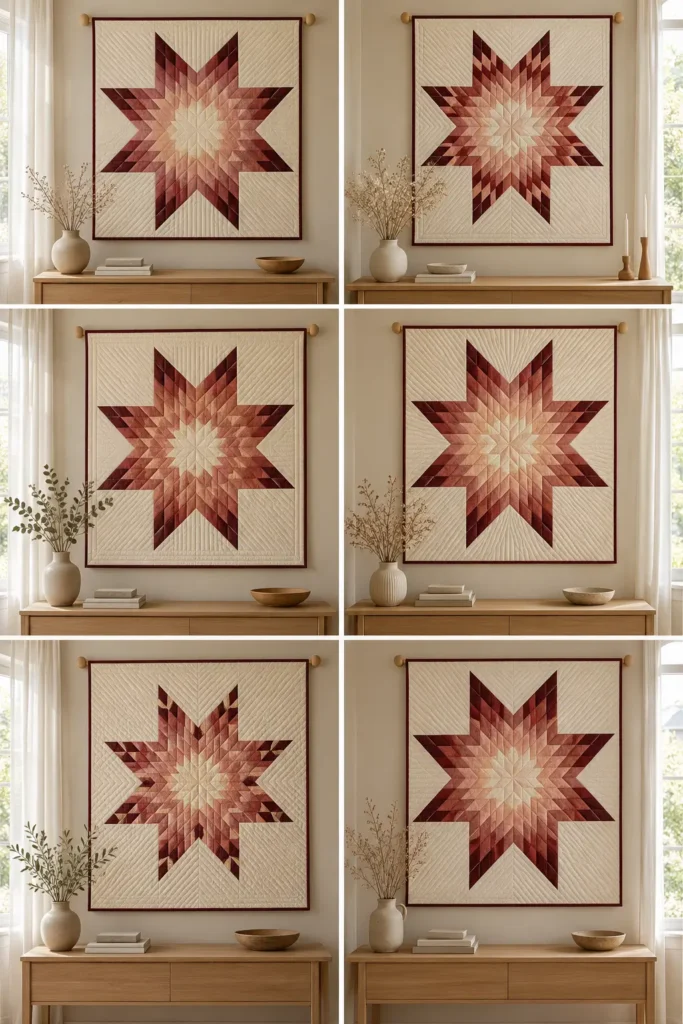
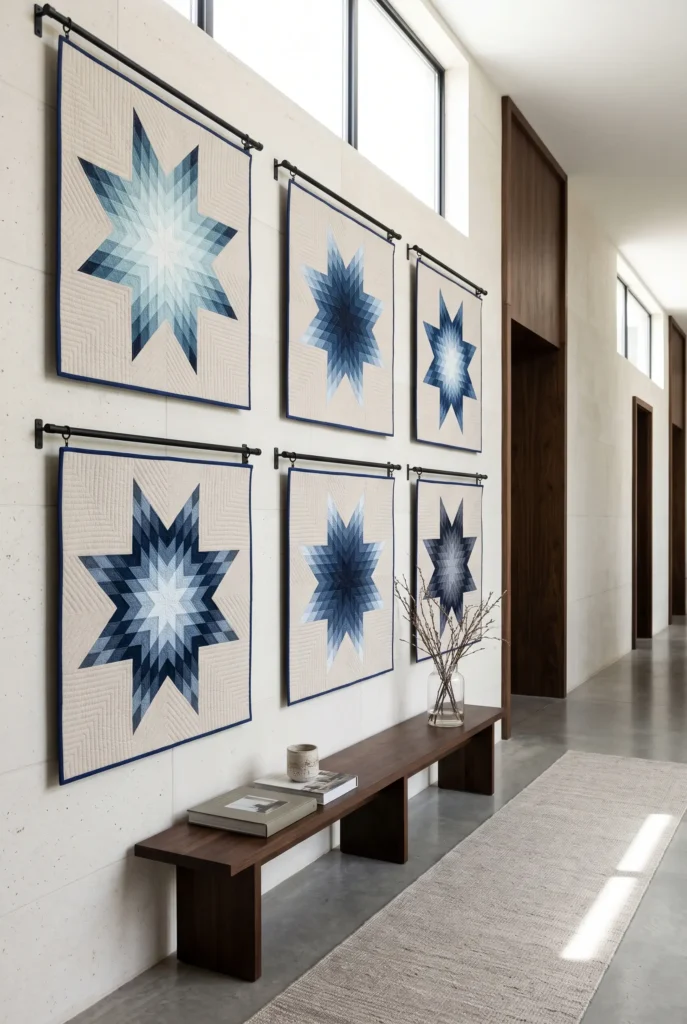
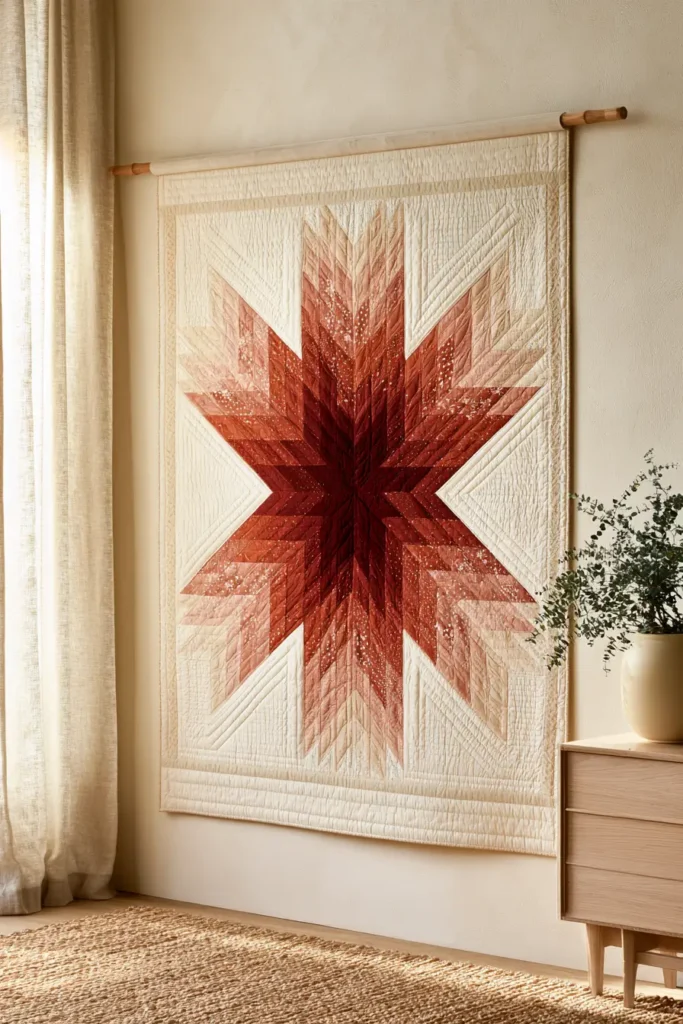
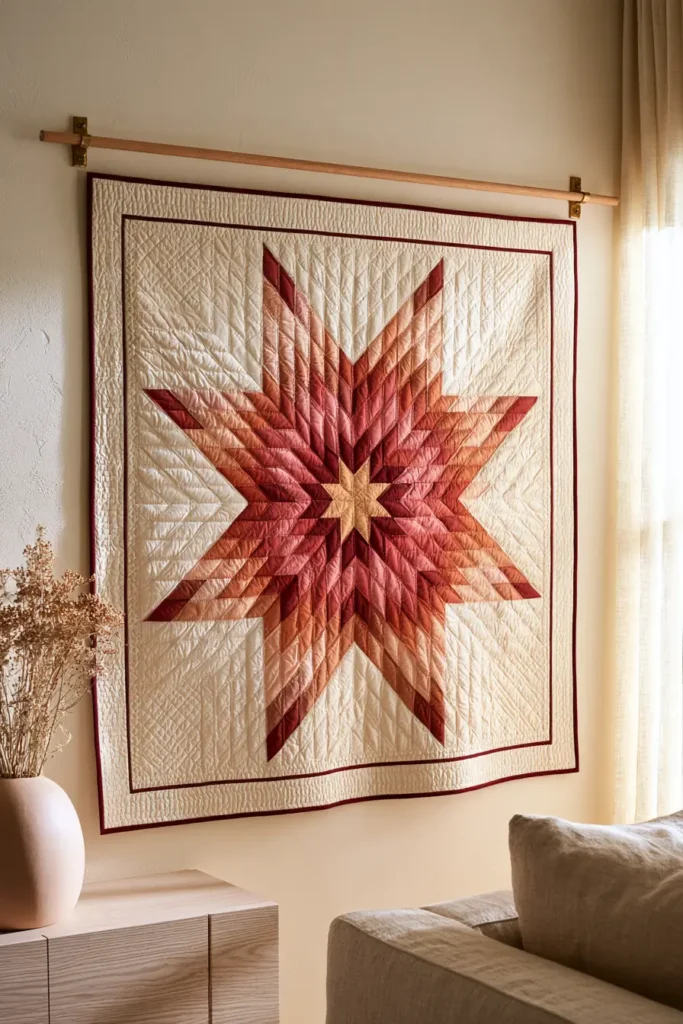
A Lone Star Quilt Wall Hanging with Radiating Ombré Diamond Patchwork brings one of quilting’s most recognizable geometric patterns into a decorative format. The design is built around a large eight-point star, with diamond-shaped fabric pieces arranged in repeating sections that radiate from the center. Unlike simpler star blocks formed from squares and triangular corner units, the Lone Star develops its distinctive appearance through continuous diamond geometry. Carefully graduated colors introduce another visual dimension, allowing lighter and darker fabrics to form flowing bands across the star without disrupting its sharp, symmetrical structure.
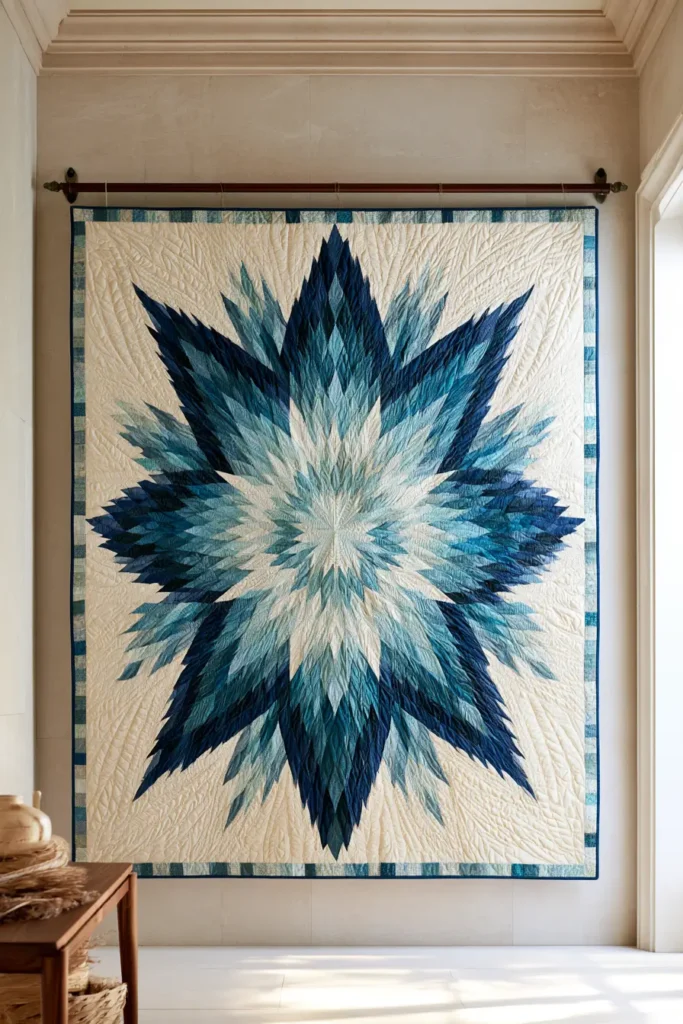
The appeal of this design lies in the balance between traditional craftsmanship and contemporary color styling. A warm arrangement of champagne, blush, dusty rose, terracotta, and burgundy can create a soft, inviting focal point, while sea-glass blue, teal, sapphire, and deep indigo offer a cooler interpretation. Both approaches work particularly well against a restrained neutral background that leaves the eight star points clearly visible. Although Lone Star quilts have a long-established place in patchwork traditions, their precise diamond construction and flexible color treatments make them equally suitable for modern interiors. The smooth radiating geometry also distinguishes them from Feathered Stars with finely serrated triangle details and Mariner’s Compass designs with pointed directional rays arranged around circular medallions.
Design Inspirations – Digitally Modified Images. Texture and color may vary from the actual product.
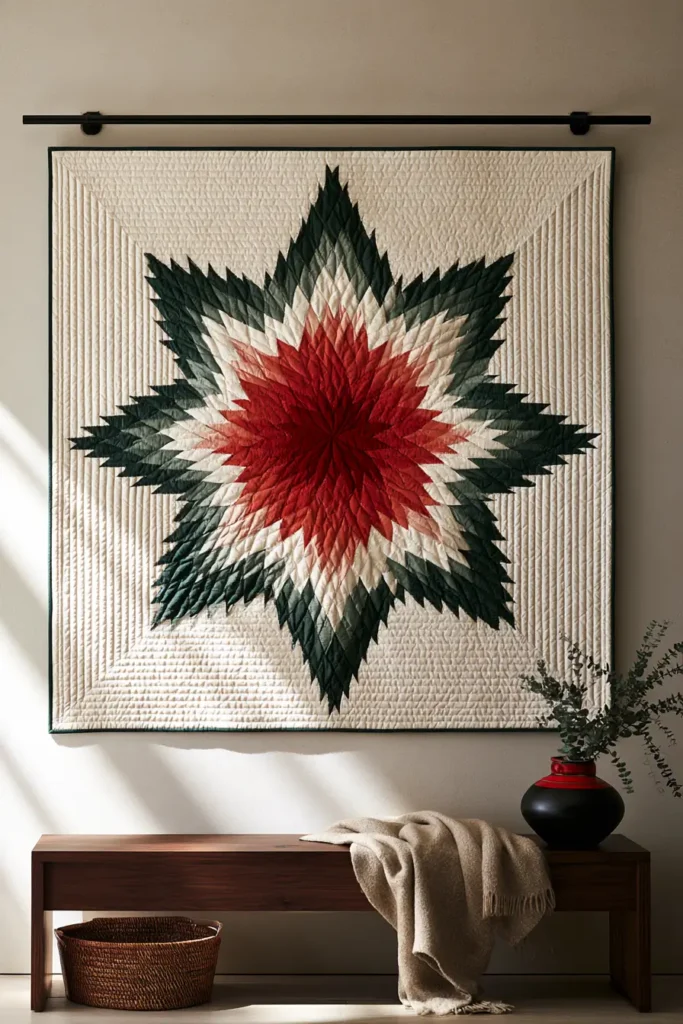
Creating a Smooth Ombré Across Radiating Diamonds
Color placement is the defining feature of an ombré Lone Star. Rather than scattering light and dark fabrics randomly, the design relies on a controlled progression across successive rows of diamonds. One attractive approach begins with pale cream or blush near the center, gradually introducing muted rose, coral, terracotta, and deeper burgundy toward the outer points. Repeating this sequence consistently across the eight sections creates visual continuity and reinforces the star’s symmetrical movement.
The reverse arrangement can also work, with a darker center transitioning toward lighter outer points. What matters most is the relationship between neighboring fabric values. Abrupt changes can interrupt the ombré effect, while colors that are too similar may flatten the diamond pattern. Before settling on a palette, arranging fabric samples from lightest to darkest can reveal whether the transitions feel smooth and balanced.
Print scale deserves attention as well. Solids, subtle batiks, and low-contrast tone-on-tone quilting cottons are particularly suitable because they allow the individual diamond shapes to remain recognizable. Large floral prints or strong directional patterns may compete with the geometry, especially when the diamonds are relatively small. A quiet ivory, cream, or natural linen-colored background can provide useful negative space, separating the outer star points from the surrounding quilt.
Choosing Fabrics and Maintaining Accurate Diamond Geometry
Stable quilting cotton is a practical choice for this style because it presses neatly and provides a relatively consistent surface for precise patchwork. The diamonds may be assembled through different established piecing methods, including approaches using accurately prepared strip-pieced sections. Regardless of the method, the important consideration is keeping the diamond angles, rows, and intersections consistent.
Lone Star construction can be demanding because diagonal fabric edges may stretch during handling. Gentle pressing, careful pinning or another suitable alignment method, and avoiding unnecessary pulling help preserve the intended geometry. Even small alignment errors can become more noticeable as the diamond rows expand outward from the center.
Fabric weight should remain reasonably consistent across the star. Combining very lightweight cotton with heavy upholstery fabric, for example, may introduce uneven seam bulk and make accurate piecing more difficult. If using a cotton-linen blend or another fabric with different handling characteristics, consider whether stabilization or separate testing would be appropriate.
The surrounding background panels also influence the overall result. They should support the star’s angular silhouette without introducing distracting seams or competing patterns. A narrow contrasting border can frame the color progression, while a broader neutral outer border gives the star additional breathing room.
Quilting Texture, Borders, and Wall Display
Quilting should complement the Lone Star’s radial structure rather than obscure its carefully arranged diamonds. Subtle stitching along selected patchwork seams can reinforce the geometry, while angular echo quilting around the star creates additional texture within the neutral background. Straight-line quilting may also work in the surrounding sections, provided its direction does not compete with the central motif.
For a decorative wall hanging, relatively low-loft batting can help preserve a flatter appearance while still giving the stitched surface gentle dimension. The backing, batting, quilting density, and finishing should work together to support the textile without excessive stiffness or distortion.
A square format is particularly suitable for an eight-point Lone Star because it allows the points to radiate evenly within the surrounding background. The completed design can be displayed using a securely attached hanging sleeve and an appropriately supported wooden or metal rod. Neat binding and a stable upper edge help maintain the quilt’s proportions when suspended vertically.
In a bright living room, a warm rose-and-terracotta Lone Star can complement pale oak furniture and natural linen upholstery. A sapphire-and-teal variation may suit a refined reading room with walnut furniture and warm neutral walls. In either setting, the star itself should remain the central decorative feature.
Common Mistakes That Can Weaken the Design
One of the most common problems with an ombré Lone Star is selecting colors that look attractive individually but do not create a convincing progression when arranged together. Testing fabric placement before piecing helps identify unexpected jumps in value or overly similar adjacent shades.
Inaccurate diamond intersections can also interrupt the star’s symmetry. This is particularly noticeable near the center, where multiple angled sections converge. Maintaining consistent seam allowances and handling diagonal fabric edges carefully can reduce distortion.
Another mistake is allowing the background or border fabrics to compete with the central geometry. Busy prints, excessively wide contrasting borders, or unrelated decorative motifs may draw attention away from the star’s color movement.
Finally, remember that a wall hanging is viewed from a distance. A diamond arrangement that looks beautifully detailed on a worktable may lose definition once displayed. Strong overall contrast, controlled color gradation, and appropriate patch scale help preserve the recognizable eight-point silhouette.
Helpful Note: Before choosing the final fabrics, photograph the proposed color arrangement in grayscale. This makes it easier to evaluate the progression of light and dark values independently of hue, helping identify sections where the ombré transition may appear uneven.
Other Design Inspirations – Digitally Modified Images. Texture and color may vary from the actual product.
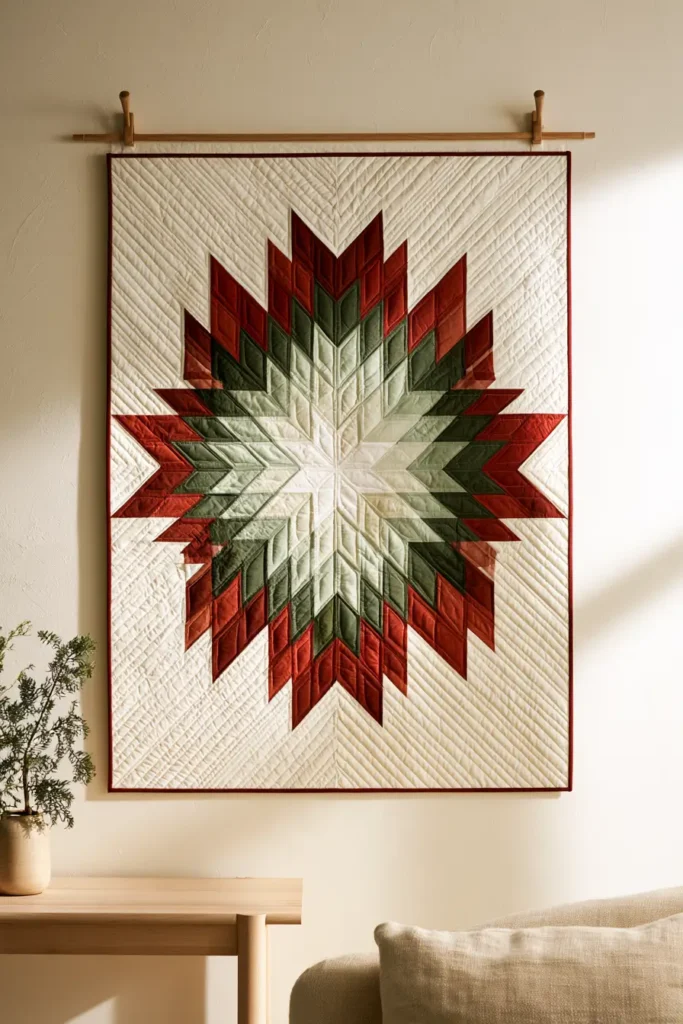
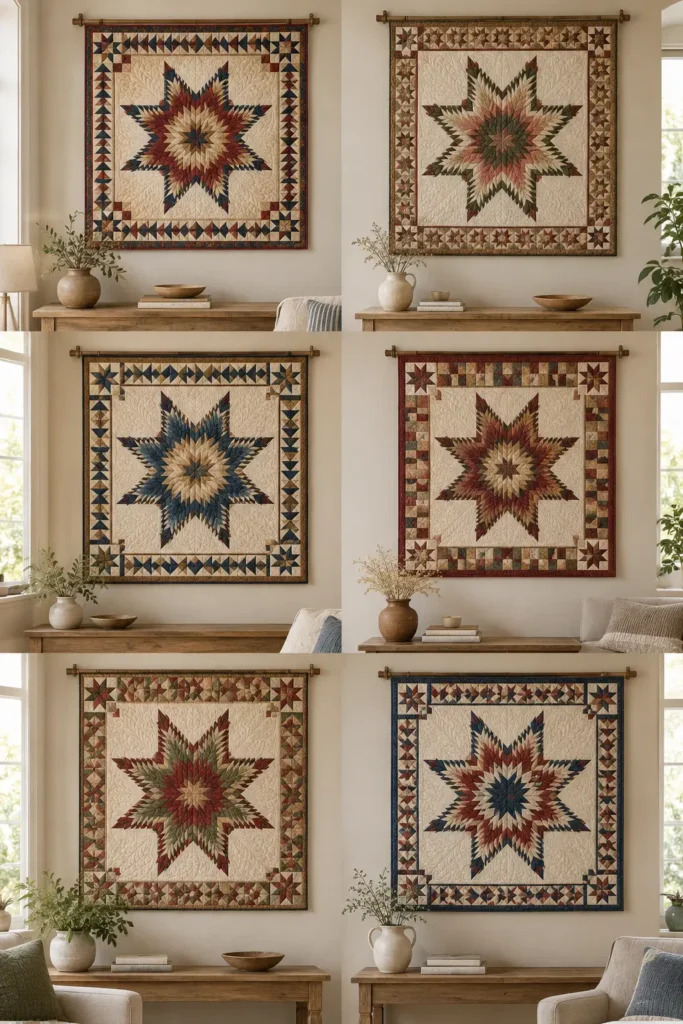
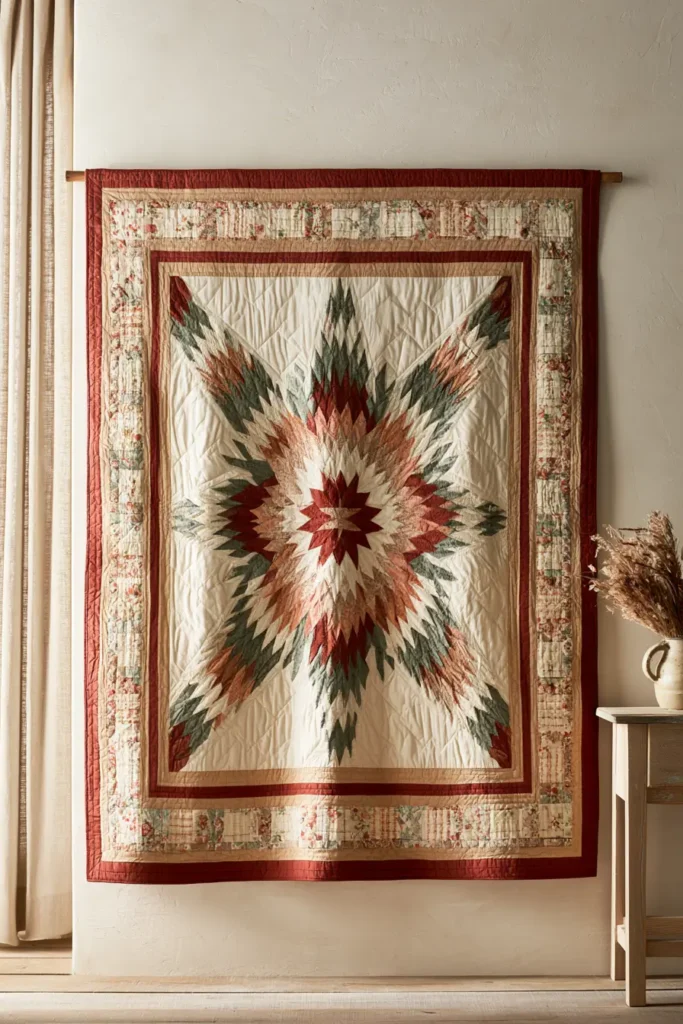
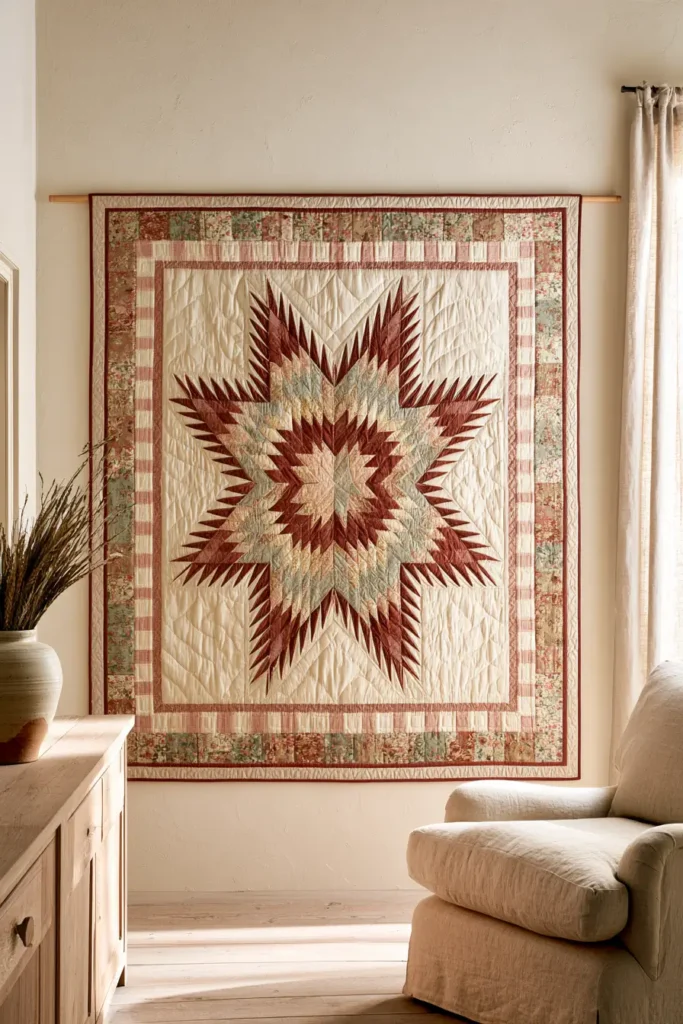
2. Traditional Feathered Star Quilt Wall Hanging with Serrated Points and Vintage Patchwork Borders
A Traditional Feathered Star Quilt Wall Hanging with Serrated Points and Vintage Patchwork Borders celebrates the intricate geometry of heritage-inspired quilting. Its most distinctive feature is the series of small, precisely pieced triangles that create feather-like, serrated edges along the larger star points. These delicate triangular details introduce a rhythmic, almost lace-like appearance while preserving the strong symmetry of a traditional eight-point star. Unlike the broad radiating diamonds of a Lone Star or the comparatively simple triangular units of an Ohio Star, the Feathered Star draws much of its visual character from the careful arrangement of numerous smaller patchwork pieces.
Vintage-inspired fabrics bring warmth and depth to this detailed construction. Antique indigo, faded dusty rose, muted burgundy, soft mustard gold, and creamy ivory create a collected appearance reminiscent of traditional patchwork textiles. A central star framed by carefully arranged patchwork borders can look particularly striking against a quiet cream background, where its serrated edges remain clearly visible. Small floral calicos, reproduction-style prints, and subtly aged color combinations reinforce the traditional aesthetic without requiring genuinely fragile antique fabrics. The result is a decorative quilt that rewards close inspection while retaining enough geometric contrast to be appreciated from across a room.
Design Inspirations – Digitally Modified Images. Texture and color may vary from the actual product.
Understanding the Serrated Feathered Star Construction
The Feathered Star differs from simpler star blocks through the additional triangular units placed along the edges of its major points. These small pieces form repeated serrations, creating the impression of delicate feathers extending outward from the larger star structure. Maintaining a consistent rhythm between these units is essential because uneven spacing or poorly aligned intersections can interrupt the characteristic feathered outline.
For a wall hanging, the scale of the feathered details deserves particular consideration. If the triangles are extremely small, their individual shapes may become difficult to recognize once the quilt is displayed vertically. Conversely, oversized feathering can make the star appear heavier and less intricate. A balanced design preserves the relationship between the large star points, the smaller surrounding triangles, and the central patchwork area.
Many traditional Feathered Star arrangements incorporate a central square or decorative patchwork section. This provides an opportunity to introduce a contrasting fabric or a restrained floral print without overwhelming the surrounding geometry. Cream or ivory background sections can help separate the delicate triangular edges, allowing their alternating colors to remain visually distinct.
Precise piecing is especially important where multiple small units meet. Consistent seam allowances, careful pressing, and controlled handling of diagonal fabric edges help preserve the intended shapes. The technique demands patience, but the fine geometric detail is also what distinguishes the design from more straightforward star blocks.
Choosing Vintage Fabrics and Coordinating Patchwork Borders
Fabric selection should reinforce the traditional character while keeping the intricate star geometry readable. Stable quilting cotton is particularly suitable for the small triangular units because it presses neatly and is generally easier to control than loosely woven or stretchy textiles.
A palette of antique indigo, dusty rose, faded burgundy, warm ochre, and ivory offers a rich vintage appearance. For a softer interpretation, muted sage, antique plum, aged lavender, and cream can create a similarly traditional effect. The strongest contrast should appear where it helps define the feathered edges, rather than being distributed randomly throughout the quilt.
Small-scale floral calicos, delicate botanical prints, and subtle tone-on-tone fabrics work well with the detailed piecing. Large, high-contrast prints may obscure the small triangles, making the serrated edges appear visually fragmented. Consider reserving more noticeable prints for the central patchwork or selected border sections, where the fabric design has room to remain recognizable.
The borders provide another opportunity to establish the quilt’s vintage identity. Individually pieced squares, narrow fabric strips, small geometric units, or a carefully coordinated scrappy arrangement can frame the central star without competing with it. Repeating a few colors from the star within the border creates continuity, while a narrow solid inner border can provide a useful visual separation.
Avoid making every border equally busy. A detailed Feathered Star already contains substantial geometric activity, so alternating decorative patchwork with quieter fabric sections can produce a more balanced composition.
Quilting Texture and Decorative Wall Display
Quilting stitches should enhance the Feathered Star’s intricate construction rather than conceal it beneath heavy surface patterns. Fine echo quilting around the larger star outline can emphasize its geometry, while restrained stitching within the background adds texture without overwhelming the small serrated points. Subtle straight-line or crosshatch quilting may complement the vintage character, particularly in areas of open background fabric.
Low-loft batting can be a practical choice for a wall hanging because it provides gentle stitched relief without creating unnecessary bulk. However, the appropriate batting and quilting density should be chosen together, taking into account the fabric weight and the desired hanging behavior.
A square composition generally suits a centered Feathered Star, providing balanced space around its eight main points. The surrounding borders should be wide enough to frame the design while allowing the star to remain the dominant feature.
For display, a securely attached hanging sleeve and a suitable wooden or metal rod can help support the quilt evenly. Stable backing, neatly finished binding, and a straight upper edge contribute to a tidy presentation. The textile should hang relatively flat so the small triangular details remain visible.
This style pairs naturally with vintage-inspired rooms, traditional farmhouse interiors, and reading spaces featuring wooden furniture, linen upholstery, or muted botanical accents. The decorative setting should remain restrained enough for the intricate patchwork to receive the attention it deserves.
Practical Tips for Accurate Points and Visual Balance
One of the most common challenges in Feathered Star construction is maintaining consistent alignment across numerous small triangular units. Even minor inaccuracies can accumulate, affecting the rhythm of the serrated edges. Careful preparation, checking unit dimensions against a reliable pattern, and avoiding excessive stretching during pressing can help reduce distortion.
Color contrast is another important consideration. When the feathered triangles and adjacent fabrics are too similar in value, the detailed edges may disappear into the surrounding patchwork. Testing the fabric arrangement in grayscale can reveal whether the small units remain distinct.
Excessively busy border fabrics can also weaken the composition. If the outer patchwork attracts more attention than the central star, consider reducing the print contrast or introducing a narrow neutral separating border.
Finally, avoid excessive quilting density around the smallest pieced sections. Closely spaced stitching may introduce unwanted stiffness or distortion, particularly in a compact wall hanging. The goal is to secure and texture the quilt while allowing its carefully constructed geometry to remain clear.
Helpful Note: Before selecting fabrics for the smallest feathered triangles, place several candidate prints beside a contrasting background and view them from a few feet away. Fabrics that appear beautifully detailed up close may blend together at normal wall-viewing distance. Strong value separation and restrained prints often preserve the feathered effect more effectively than additional colors.
Other Design Inspirations – Digitally Modified Images. Texture and color may vary from the actual product.
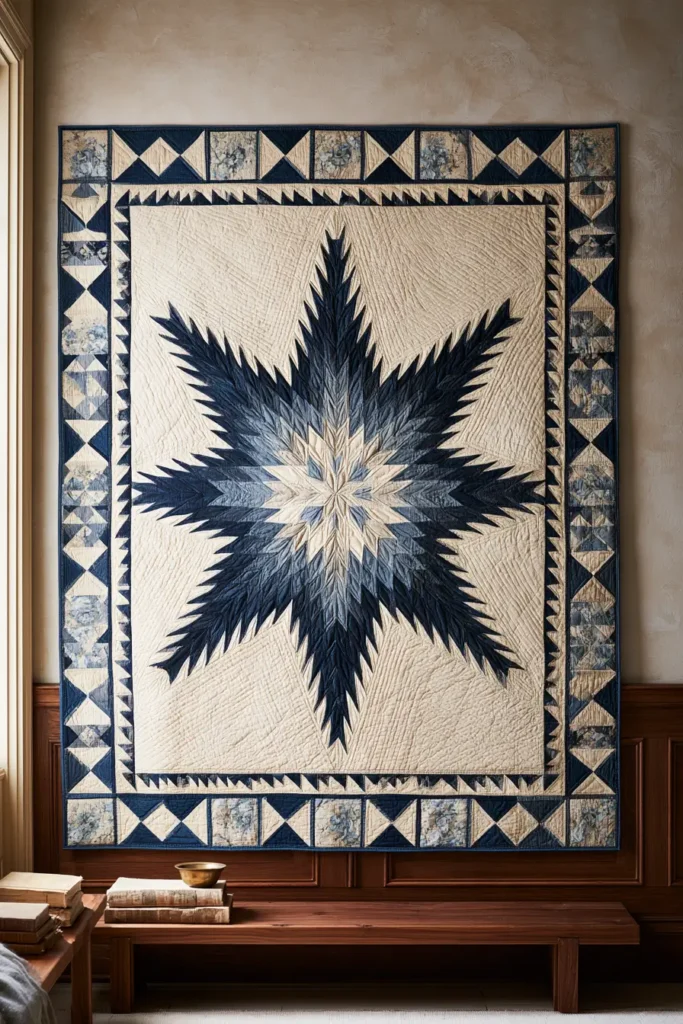
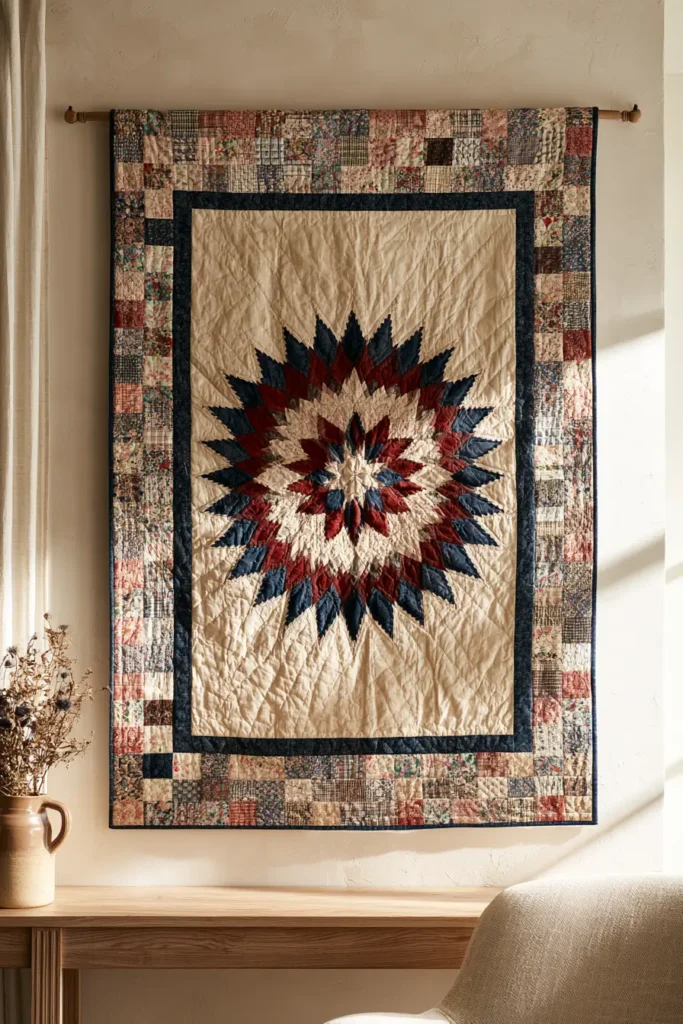
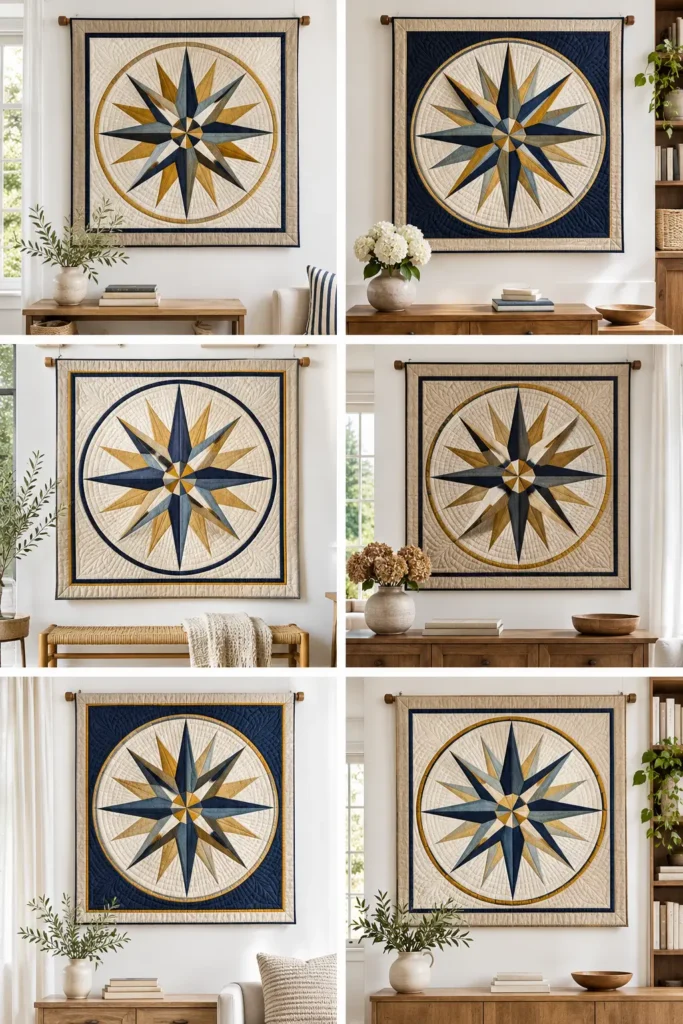
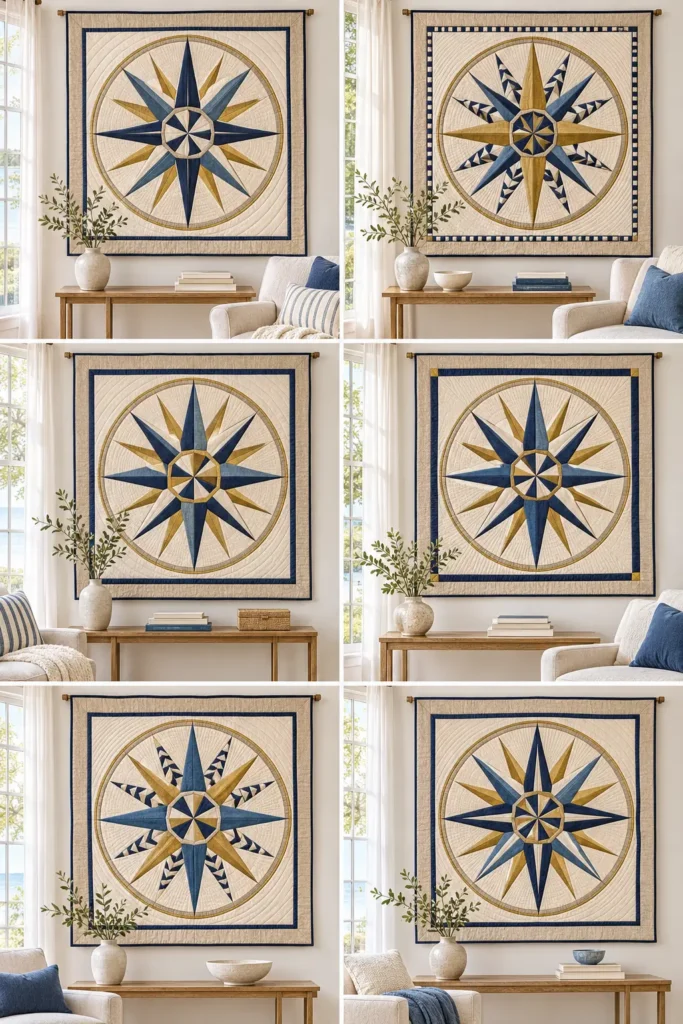
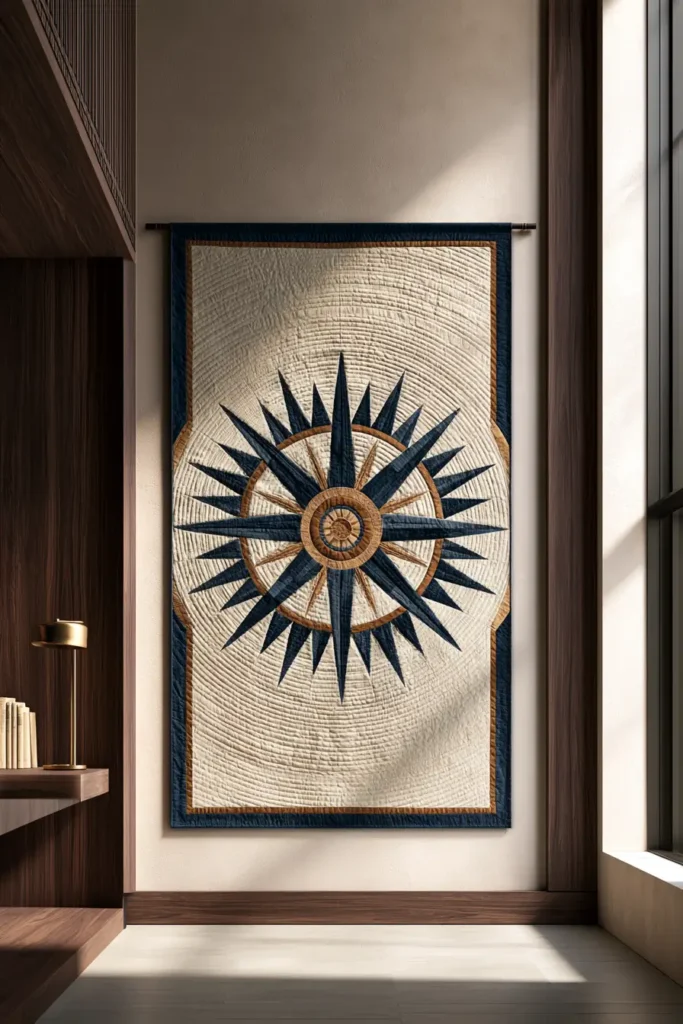
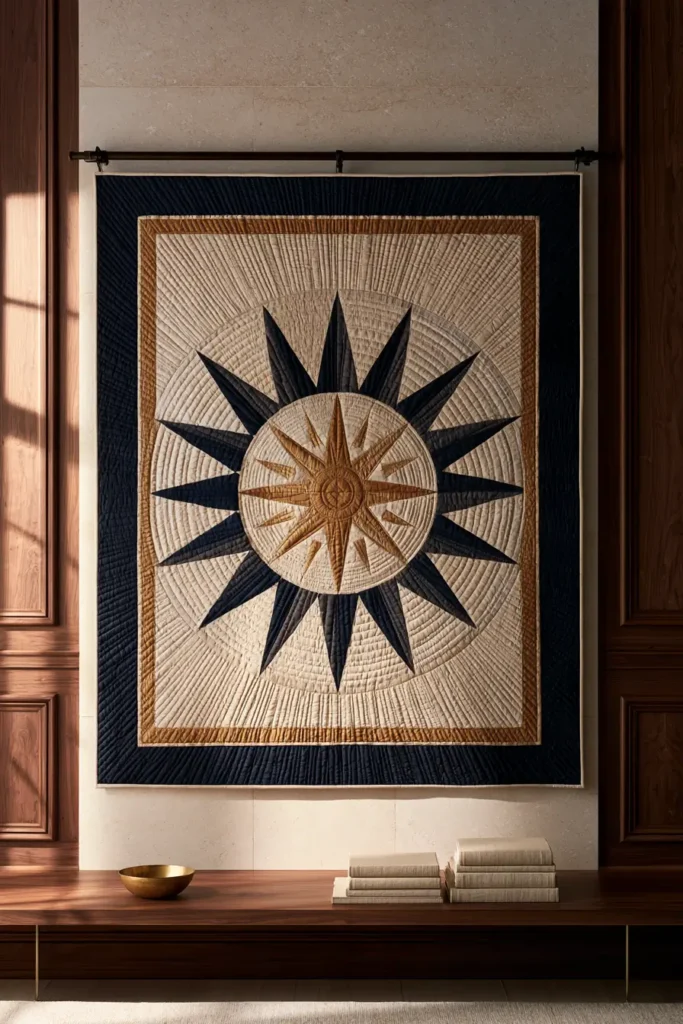
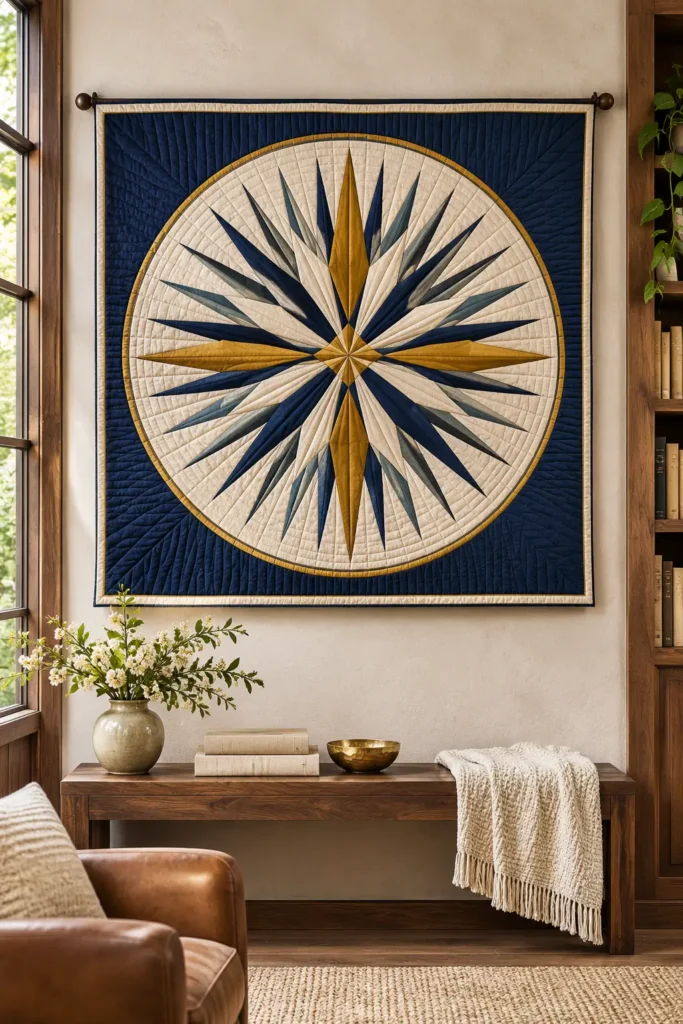
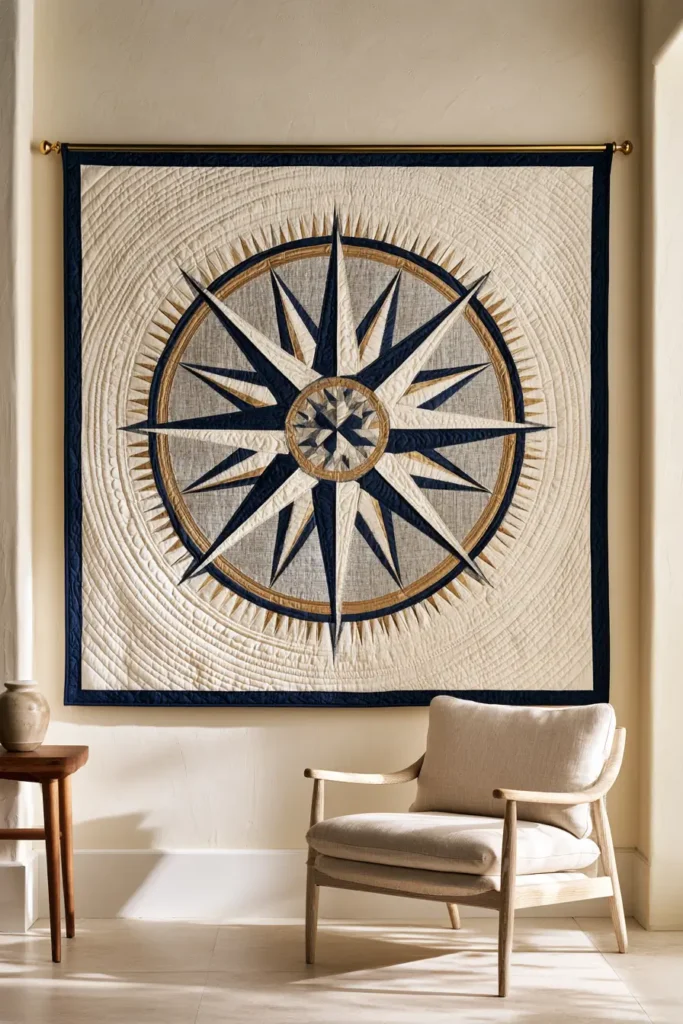
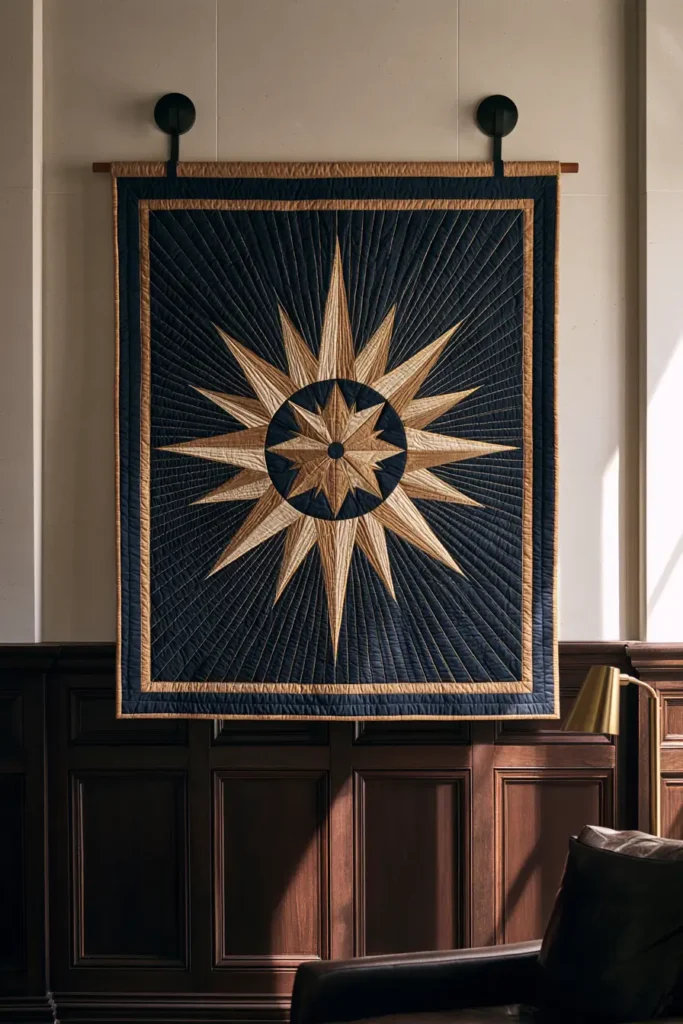
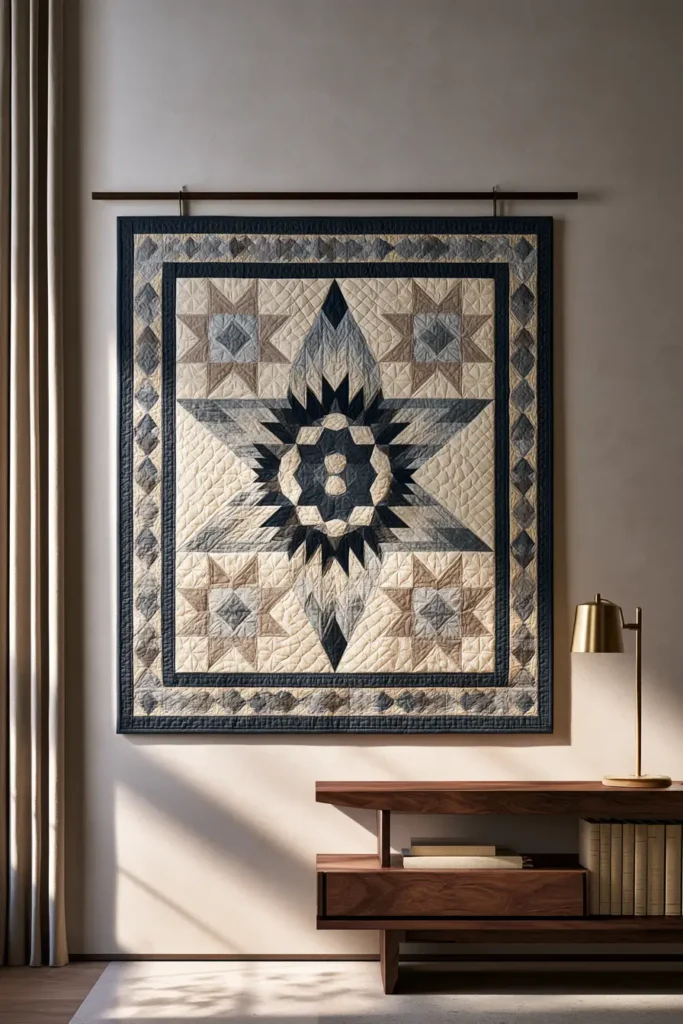
A Mariner’s Compass Star Quilt Wall Hanging with a Circular Medallion in Navy, Brass, and Linen brings the precision of traditional compass-rose geometry into an elegant decorative textile. Its defining feature is a circular arrangement of long, sharply pointed fabric sections radiating from a central point, often with shorter intermediate rays creating additional geometric detail. Unlike a Lone Star built from repeating diamond patchwork or a Feathered Star distinguished by finely serrated triangular edges, the Mariner’s Compass emphasizes slender directional points arranged around a central axis. The resulting composition has a distinctive nautical character without requiring literal maritime decorations.
The combination of deep navy, warm brass-gold, and natural linen gives this traditional quilt pattern a refined, contemporary appearance. Midnight blue and maritime navy establish strong geometric contrast, while muted brass and antique-gold fabric accents introduce warmth. A natural flax-colored linen background softens the saturated colors and helps the angular compass points remain clearly recognizable. Framing the star within a circular medallion adds another layer of visual structure, particularly when the circle sits inside a square quilt with carefully balanced borders. This combination of precise geometry, restrained color, and subtle woven texture makes the design especially suitable for coastal-inspired interiors, traditional reading rooms, and sophisticated living spaces.
Design Inspirations – Digitally Modified Images. Texture and color may vary from the actual product.
Creating Precise Compass Points and a Circular Medallion
The Mariner’s Compass relies on carefully arranged angular fabric sections that converge toward the center of the design. Traditional interpretations often feature prominent directional points alternating with smaller intermediate rays, although the exact number and proportions vary between patterns. For this design, the longer navy and brass-gold points should establish the principal geometry, while narrower contrasting sections introduce depth without making the composition overly complicated.
Accurate alignment is particularly important because even small variations in the angle or width of the points can disrupt the circular symmetry. The pointed sections may be assembled using accurately drafted templates or foundation paper piecing, depending on the chosen pattern. Foundation paper piecing can be especially helpful for maintaining sharp angles and consistent placement, but it is not the only suitable construction method.
The circular medallion should remain visually distinct from the quilt’s outer shape. A practical interpretation places the compass rose inside a defined circular field, which is then incorporated into a square background. Depending on the construction plan, the circular section may be joined through curved piecing or attached using an appropriate appliqué method. These approaches require different preparation and should not be treated as interchangeable.
A narrow contrasting ring can help separate the compass points from the surrounding background. Navy framing around a pale linen circle creates a particularly strong effect, while a brass-gold accent band provides a warmer alternative. The goal is to emphasize the compass rose without allowing the circular border to compete with its sharply pointed geometry.
Color placement determines how clearly the compass rays emerge from the medallion. Deep midnight navy offers a strong foundation, particularly when paired with warm ivory or natural flax-colored fabric. Brass-gold accents should be interpreted as matte golden, ochre, or antique-brass-colored textiles rather than actual metallic hardware or stiff decorative materials.
One attractive arrangement uses alternating navy and brass-gold directional points against a pale linen field. Smaller ivory or muted gold sections can provide separation between the longer rays. Another approach gives navy greater dominance within the central star while using brass-gold sparingly along selected points and the circular border.
The important consideration is maintaining enough value contrast between adjoining pieces. Brass-gold and warm linen can become difficult to distinguish if they are too similar in lightness. Introducing a deeper navy separator or choosing a slightly richer ochre can restore definition without adding unrelated colors.
Stable quilting cotton is particularly suitable for the tightly angled compass sections because it presses neatly and supports accurate seam placement. Natural linen or a cotton-linen blend can provide attractive woven texture in the background, although loosely woven linen may require additional stabilization. Prewashing compatible fabrics and considering differences in shrinkage can also help prevent distortion.
Print selection should remain restrained. Solids, subtle tone-on-tone fabrics, and lightly textured woven surfaces allow the intricate compass geometry to remain the main feature. Large florals, busy nautical prints, or oversized stripes may distract from the pointed sections and reduce the clarity of the medallion.
Quilting Texture, Borders, and Wall Display
The quilting should reinforce the relationship between the sharp compass rays and the smooth circular medallion. Fine stitching along selected point boundaries can emphasize the angular construction, while concentric echo quilting around the medallion provides a contrasting sense of movement. Subtle straight-line quilting in the outer background can introduce additional texture without overwhelming the central star.
For a decorative wall hanging, low-loft batting is worth considering because it provides gentle stitched relief while helping the textile maintain a relatively flat profile. The appropriate batting and quilting density should be selected together, with attention to the weight of the fabrics and the intended hanging method.
A square quilt format works particularly well for a centered circular medallion. The surrounding corners provide visual breathing room, while narrow navy and linen-colored borders can frame the composition without introducing competing patterns. Binding in deep navy gives the finished edges definition and ties them visually to the compass points.
A securely attached fabric hanging sleeve and an appropriately supported wooden or metal rod can help distribute the quilt’s weight evenly. The hanging should remain sufficiently flat for the circular outline and radial points to retain their intended proportions.
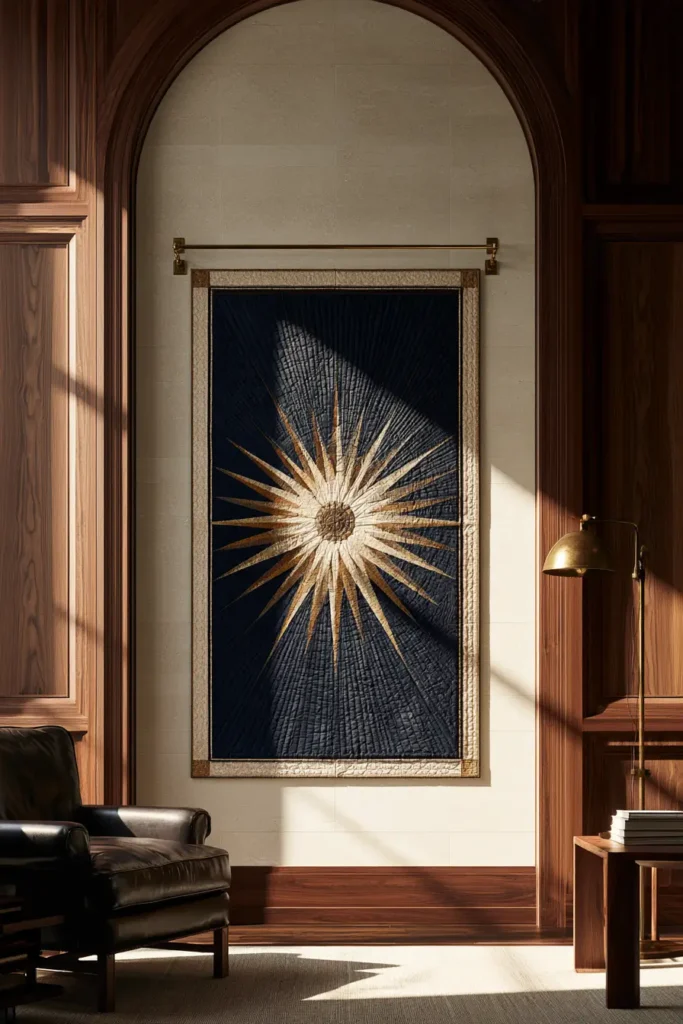
In a coastal-inspired living room, this design can complement pale oak furniture, ivory linen upholstery, and natural woven textures. A darker reading room with walnut paneling and leather furniture offers a contrasting setting in which the navy-and-brass palette feels rich and architectural. In either environment, restrained surrounding décor allows the compass geometry to remain the principal attraction.
Common Mistakes That Can Weaken the Compass Design
The most significant challenge is preserving consistent radial geometry. Inaccurate angles, mismatched point widths, or poorly aligned central intersections can make the compass appear uneven. Working from a reliable pattern and checking the alignment of the pointed sections before final assembly can help maintain symmetry.
Fabric contrast is another common issue. When the lighter rays blend into the linen background, the circular star loses definition. Testing the proposed color arrangement from several feet away can reveal whether all major compass points remain recognizable.
The circular medallion also requires careful handling. Uneven curved seams, poorly controlled fabric stretching, or an inaccurately positioned circle may create puckering or visual distortion. Choosing a suitable construction method and avoiding unnecessary stretching helps maintain the intended shape.
Finally, overly elaborate borders and decorative quilting can compete with the star. The strongest interpretation allows the navy, brass-gold, and linen fabrics to define the compass while keeping the surrounding patchwork relatively quiet.
Helpful Note: Before finalizing the palette, arrange navy, brass-gold, and linen fabric samples in alternating pointed shapes. View the arrangement in grayscale as well as in color. If the lighter rays disappear into the background, increase their value contrast before committing to the full medallion.
Other Design Inspirations – Digitally Modified Images. Texture and color may vary from the actual product.
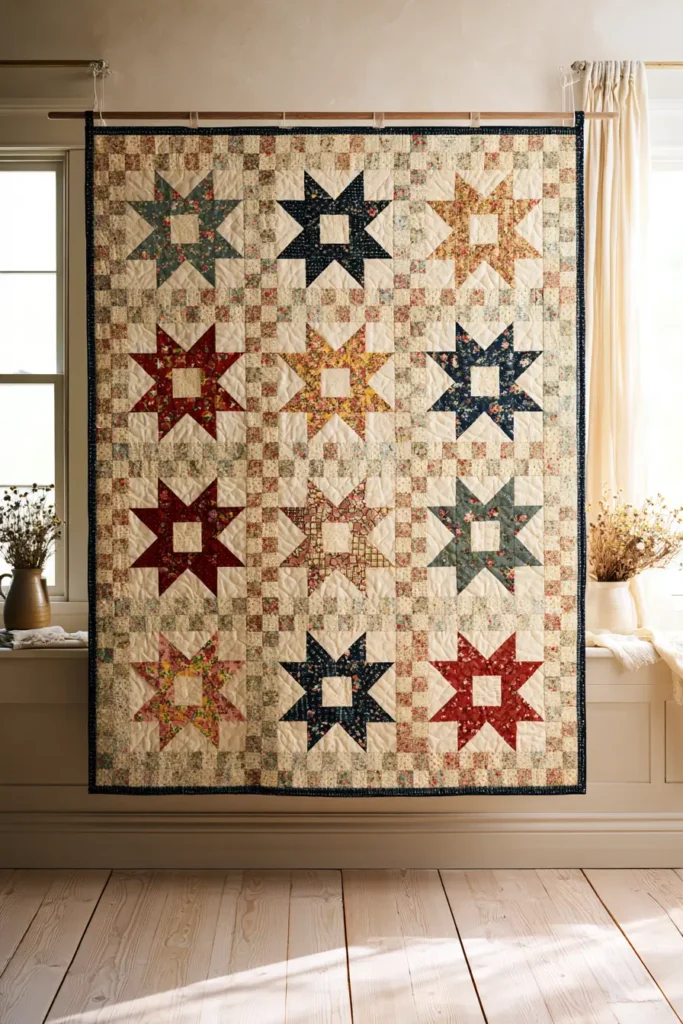
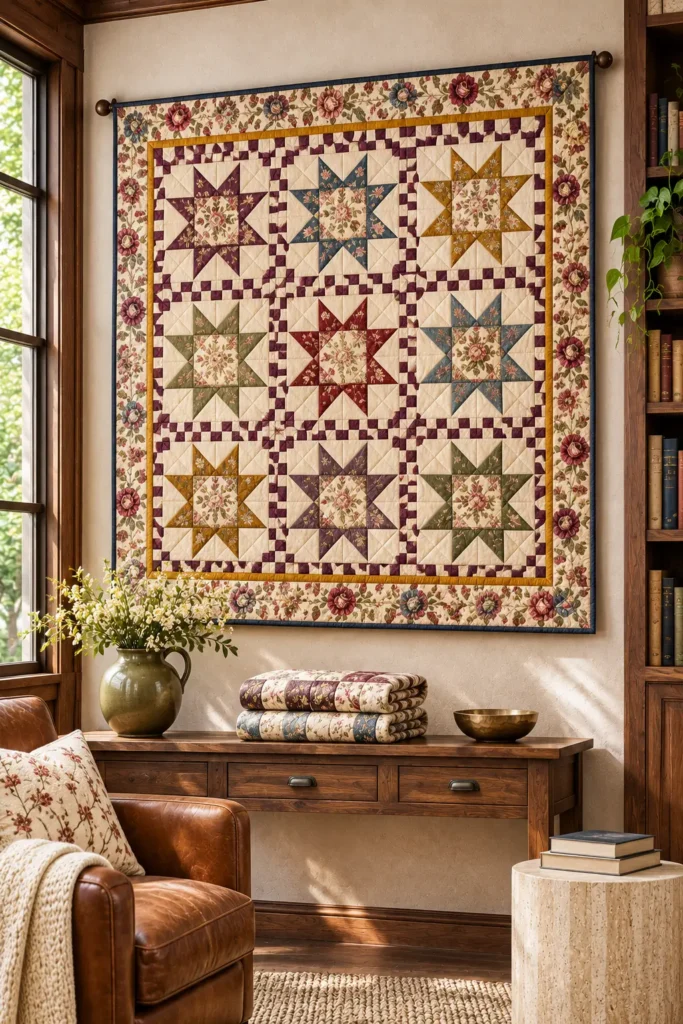
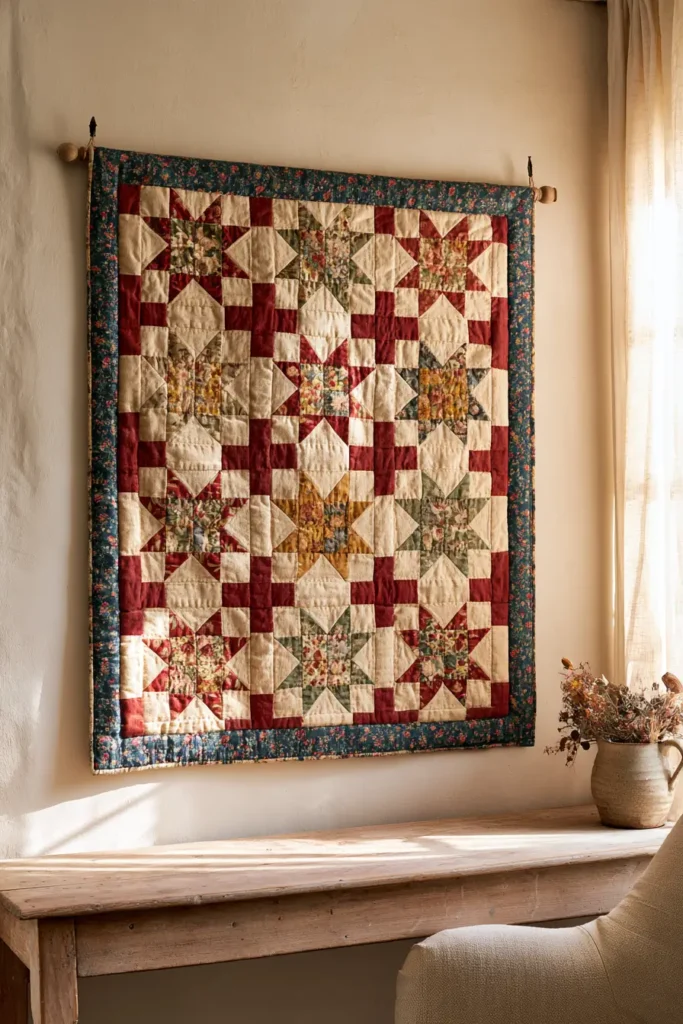
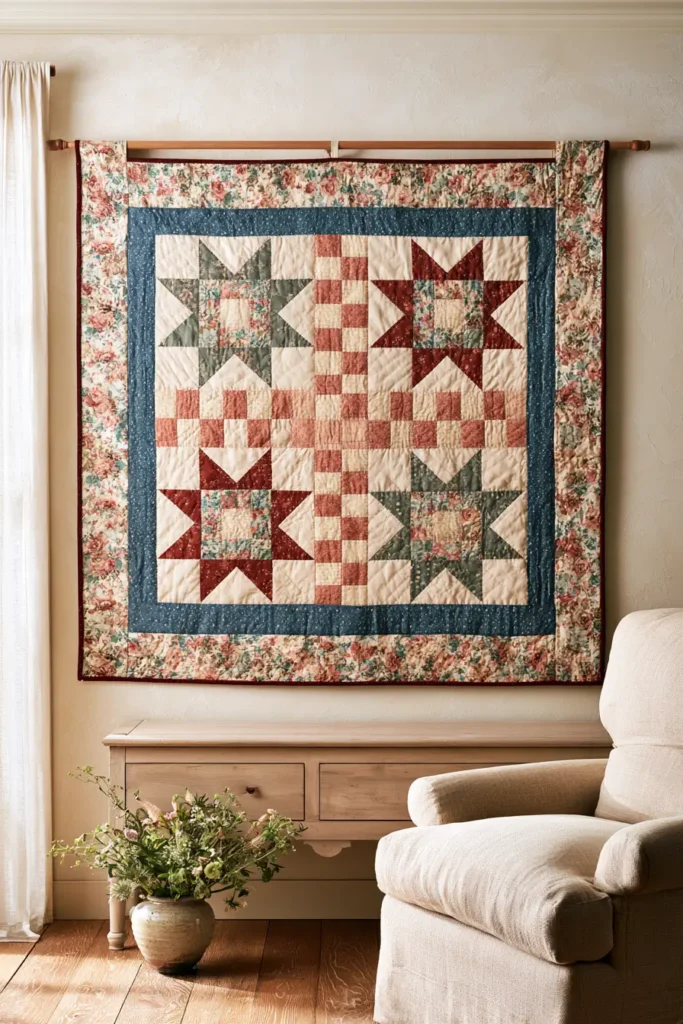
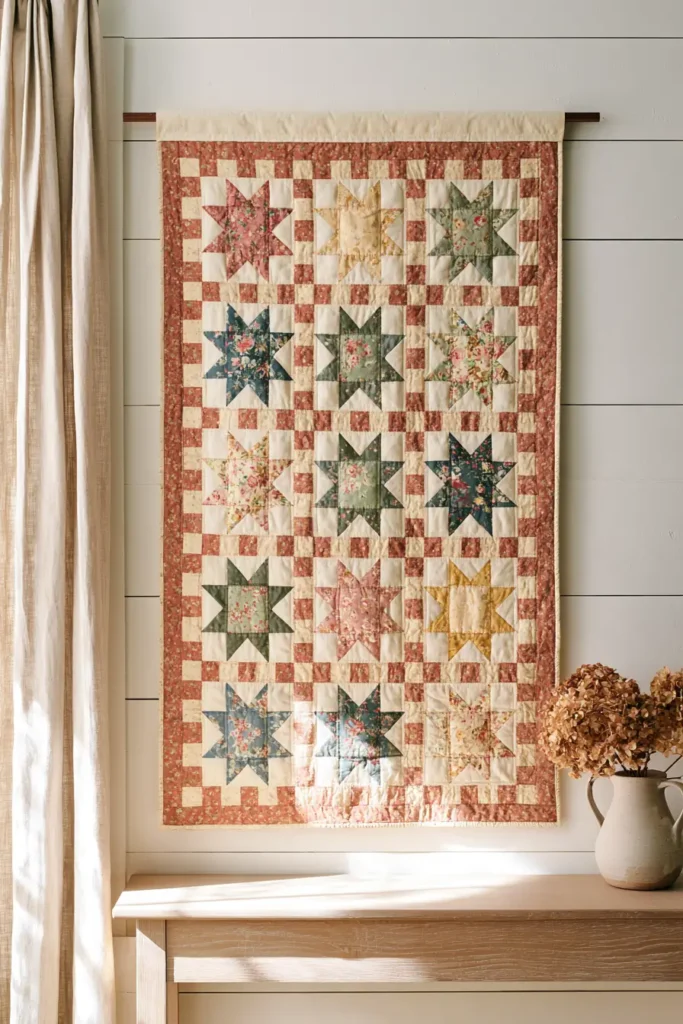
4. Vintage Ohio Star Quilt Wall Hanging with Scrappy Floral Calico Prints and Checkerboard Sashing
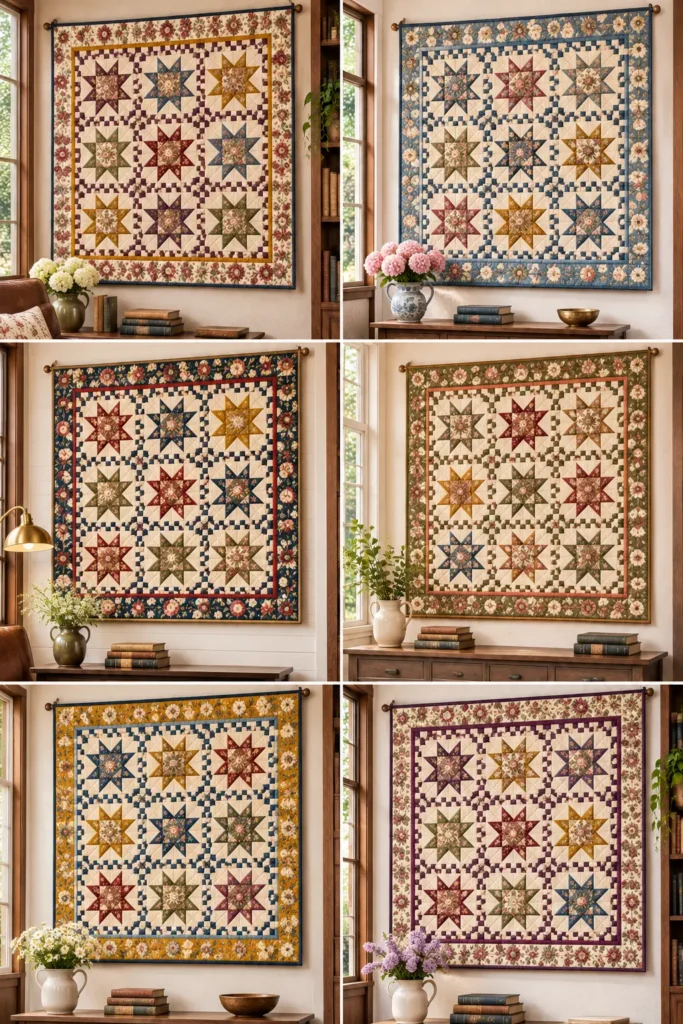
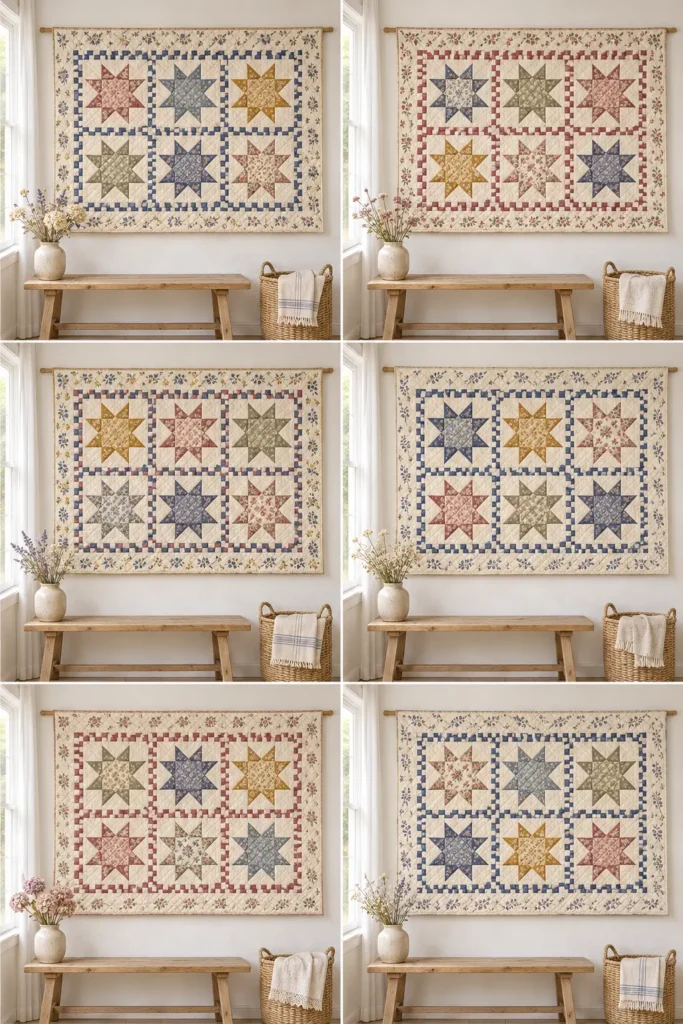
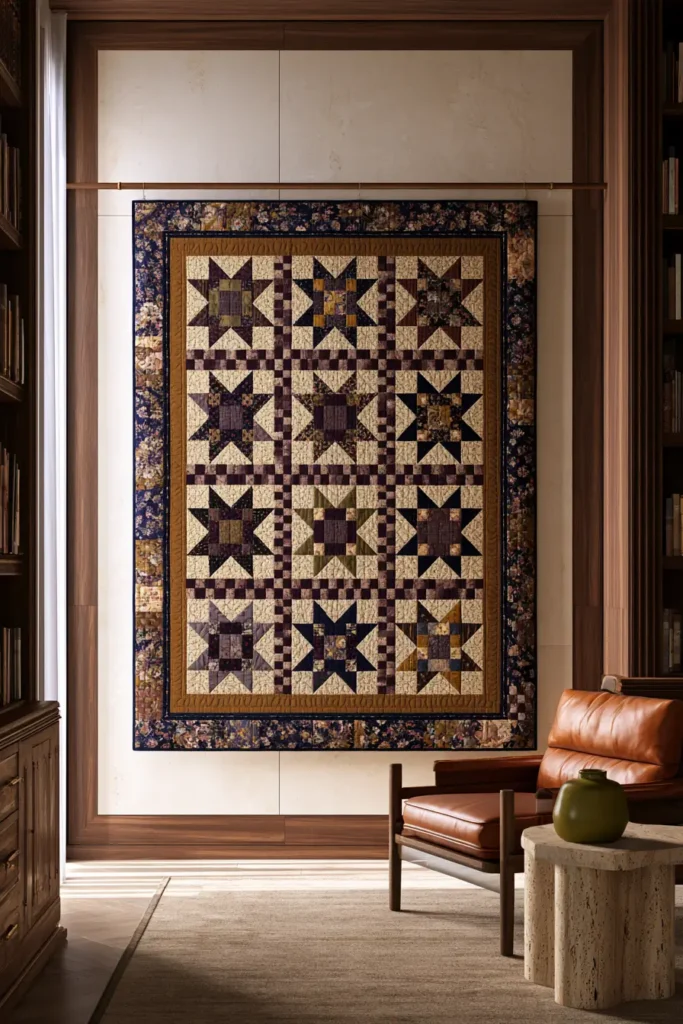
A Vintage Ohio Star Quilt Wall Hanging with Scrappy Floral Calico Prints and Checkerboard Sashing combines one of quilting’s familiar traditional star blocks with the warmth of collected, old-fashioned fabrics. Each Ohio Star follows a nine-patch arrangement, with a central square, four corner squares, and four quarter-square triangle units forming the characteristic star points. Repeating these blocks creates a balanced geometric composition, while scrappy floral calicos introduce subtle differences in color, print, and texture. The checkerboard sashing adds another layer of patchwork interest, separating the stars with alternating small squares rather than ordinary solid fabric strips.
The design has an appealing heirloom character without needing to rely on genuinely antique materials. Deep plum, faded indigo, dusty rose, muted olive, mustard gold, and warm ivory create a rich vintage palette, particularly when combined with small-scale rose prints, delicate botanical sprigs, and ditsy florals. Unlike the large radiating diamonds of a Lone Star or the finely serrated points of a Feathered Star, the Ohio Star uses a comparatively straightforward repeating block structure. Its visual richness comes from the relationship between contrasting star points, varied floral fabrics, and the rhythmic checkerboard grid. This makes it especially suitable for a decorative wall hanging where traditional patchwork detail can be appreciated at close range.
Design Inspirations – Digitally Modified Images. Texture and color may vary from the actual product.
Preserving the Traditional Ohio Star Block Structure
The recognizable Ohio Star depends on the careful arrangement of its nine units. The central square anchors the composition, while the four corner squares provide visual breathing room. At the top, bottom, left, and right, quarter-square triangle units create the contrasting points that transform an ordinary nine-patch arrangement into a star.
For a scrappy vintage interpretation, the center squares can feature different floral calicos, while the star-point units use stronger contrasts. For example, deep plum or faded navy triangles against warm ivory backgrounds create clearly defined points. Muted mustard or dusty olive can introduce variation in selected blocks without weakening the overall structure.
The important consideration is keeping each star recognizable despite the changing fabrics. If the triangular point sections contain several equally busy prints, their geometry may become difficult to distinguish. Using quieter fabrics for some triangles and stronger colors for others helps preserve the traditional pattern.
Consistent block proportions also matter. The individual Ohio Stars should feel related even when their fabrics differ substantially. Repeating a few background colors or coordinating the darker star-point fabrics creates unity across the composition.
Before arranging the blocks, consider how they will be viewed on a wall. Strong contrasts and clearly defined points tend to remain more recognizable from a distance than small differences between similar floral prints.
Choosing Scrappy Floral Calicos and Checkerboard Sashing
Small-scale floral calicos are central to this design’s vintage character. Delicate plum roses, faded blue botanical sprigs, tiny mustard blossoms, and muted olive leaves work particularly well with antique-inspired solid fabrics. A mixture of prints creates the impression of a thoughtfully collected fabric assortment rather than a perfectly matched commercial set.
However, scrappy does not mean completely random. The most cohesive arrangements repeat selected colors throughout the quilt. A dusty rose fabric used in one star center might reappear in a neighboring corner square, while a deep indigo print can connect several blocks visually.
Stable quilting cotton is a practical choice for both the floral pieces and the geometric star units. Reproduction-style cotton prints can provide a vintage appearance without the fragility sometimes associated with genuinely old fabrics. If incorporating reclaimed textiles, check for weakened areas, uneven stretching, or excessive wear before using them in structural patchwork.
The checkerboard sashing deserves as much planning as the stars themselves. Instead of separating the blocks with plain strips, the sashing uses alternating small fabric squares to form continuous horizontal and vertical bands. Deep plum and warm ivory create a particularly striking checkerboard, although faded navy with cream or dusty rose with linen-colored cotton can produce softer results.
The individual squares should be visibly pieced rather than represented by printed gingham. Keeping the checkerboard scale relatively small allows it to frame the Ohio Stars without becoming the dominant design. Careful planning at the sashing intersections also helps maintain a consistent alternating pattern.
A narrow solid inner border can provide separation between the checkerboard arrangement and a decorative outer border. Small floral rectangles, coordinated calico squares, or restrained patchwork strips can extend the vintage aesthetic without introducing another competing star pattern.
Quilting Texture, Borders, and Wall Presentation
The quilting should emphasize the traditional geometry while allowing the floral prints and checkerboard sashing to remain clearly visible. Stitching along selected seams can reinforce the star-point shapes, while fine crosshatch quilting in quieter background areas introduces a classic textured appearance.
Subtle straight-line quilting through the sashing can help define its rows of small squares. However, excessive decorative stitching may make the already detailed patchwork appear visually crowded. The most balanced approach uses quilting texture to support the piecing rather than compete with it.
Relatively low-loft batting is worth considering for a wall hanging because it provides gentle stitched definition while helping the textile maintain a flatter appearance. The backing fabric should be stable, and the quilting density should be appropriate to the selected batting and fabric combination.
A square composition with repeated Ohio Star blocks can work beautifully above a console, reading chair, or narrow sideboard. The outer border should provide enough visual space to frame the arrangement without making the individual stars appear too small.
For hanging, a securely stitched fabric sleeve on the upper back can accommodate a suitable wooden or metal rod. Even support along the upper edge helps prevent uneven sagging. Neatly finished binding in deep indigo, antique plum, or another repeated quilt color can give the piece a polished outline.
This style complements cottage-inspired living rooms, traditional farmhouse spaces, and vintage reading rooms with walnut furniture, leather seating, or softly textured neutral walls. The room’s furnishings should remain secondary to the patchwork, allowing the floral prints and checkerboard details to provide the decorative interest.
Avoiding Common Problems with Busy Prints and Small Patchwork
One of the easiest mistakes is choosing too many strongly contrasting floral prints without establishing a consistent background. When every square and triangle competes for attention, the Ohio Star points can disappear into the surrounding fabric. Repeating warm ivory or another restrained neutral helps preserve the recognizable block structure.
Checkerboard sashing can create a similar problem if its colors are much stronger than the stars. The alternating squares should provide rhythm and separation, not overpower the main patchwork. Testing the layout from several feet away can reveal whether the sashing is visually balanced.
Accurate quarter-square triangle construction is also important. Misaligned diagonal seams or inconsistent unit sizes can distort the star points. Using an established Ohio Star pattern and checking the pieced units before assembling the blocks can help maintain clean intersections.
Another consideration is seam bulk. Small checkerboard squares introduce numerous seam intersections, and pressing decisions can affect how flat the finished surface lies. Avoid stretching the pieces while pressing, particularly around diagonal seams in the star units.
Finally, resist the temptation to add multiple elaborate borders simply because the design has a traditional character. A restrained outer border often gives the floral calicos and checkerboard grid more room to shine.
Helpful Note: Before committing to the final fabric arrangement, photograph the Ohio Star blocks and checkerboard sashing in grayscale. This helps reveal whether the star points remain distinguishable from their backgrounds and whether the sashing is attracting too much attention. Adjusting fabric values at this stage can improve the overall balance without changing the vintage palette.
Other Design Inspirations – Digitally Modified Images. Texture and color may vary from the actual product.
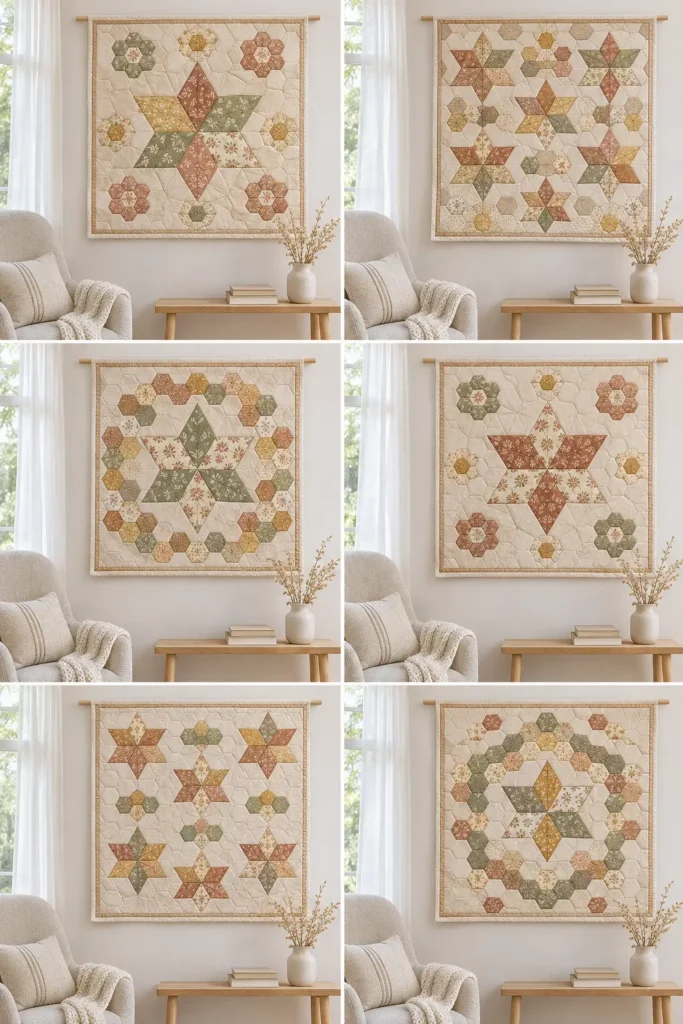
5. Six-Point English Paper-Pieced Star Quilt Wall Hanging with Diamond Rosettes and Hexagon Accents
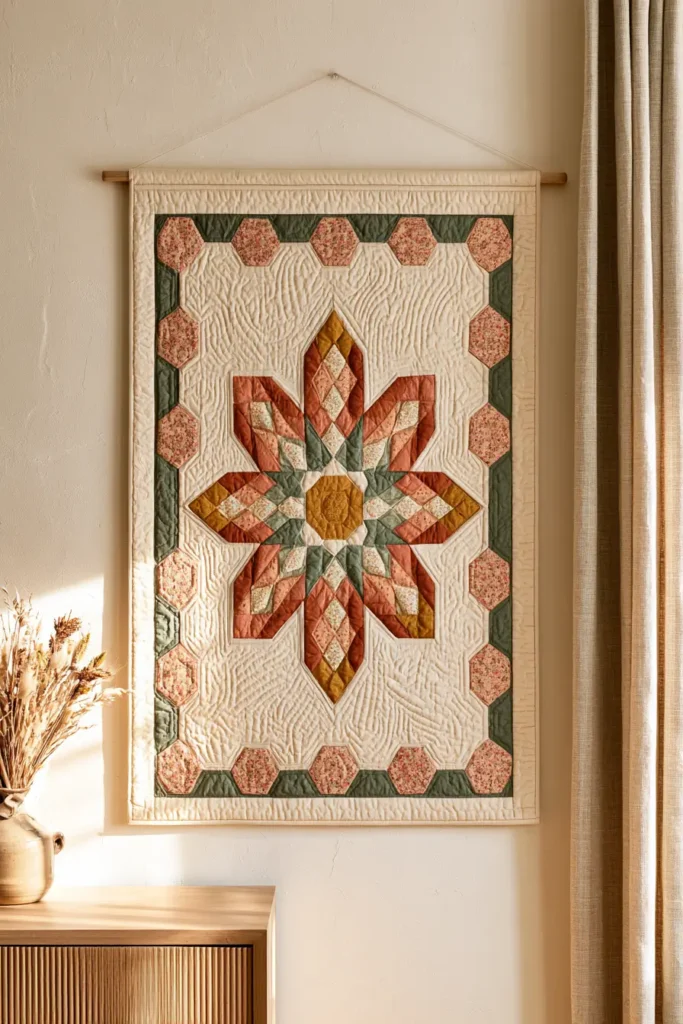
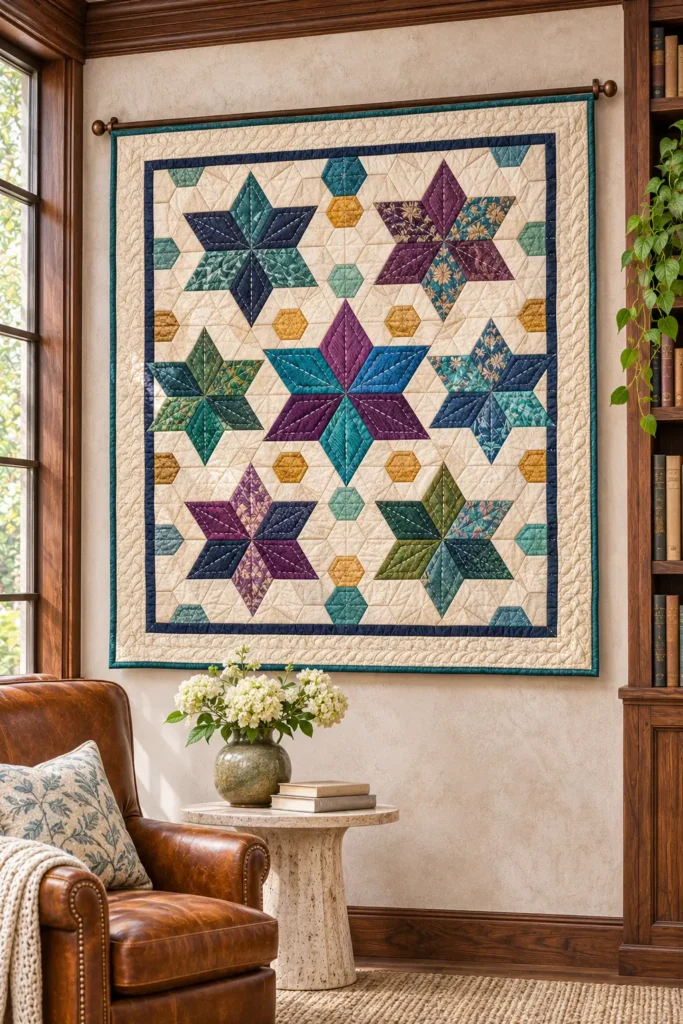
A Six-Point English Paper-Pieced Star Quilt Wall Hanging with Diamond Rosettes and Hexagon Accents brings the delicate geometry of hand-pieced patchwork into an elegant decorative textile. Each six-point star is formed by joining six diamond-shaped fabric pieces around a shared center, creating a symmetrical rosette with six sharply defined points. Small hexagonal patches introduce complementary shapes between the stars, producing a rhythmic arrangement of diamonds, points, and geometric accents. Unlike an eight-point Lone Star with expanding rows of radiating diamonds, this design emphasizes individual six-diamond star motifs that can be repeated across a wall hanging.
The appeal of English paper piecing lies in its controlled geometry and the opportunity to combine fabrics on a relatively small scale. Soft dusty rose, muted sage, pale coral, antique lavender, and warm ivory can produce a gentle cottage-inspired appearance, while deep indigo, peacock teal, sapphire, amethyst, and antique gold create a more dramatic interpretation. Carefully chosen solids and subtle prints make the individual diamonds recognizable, while restrained hexagon accents add visual interest without distracting from the stars. The traditional hand-pieced character suits both vintage-inspired interiors and contemporary spaces where the intricate geometry can be appreciated as textile artwork.
Design Inspirations – Digitally Modified Images. Texture and color may vary from the actual product.
Understanding Six-Point Diamond Rosettes and English Paper Piecing
The defining feature of this design is the six-point star constructed from six diamond-shaped patches. Each diamond has a 60-degree angle at the center, allowing six pieces to meet around a single point and form a complete star. The outer ends of the diamonds create six distinct tips, producing a recognizable geometric rosette.
English paper piecing, commonly abbreviated EPP, uses accurately shaped paper templates to guide fabric folding and assembly. Fabric is wrapped around the templates, with the seam allowances folded to the back, and the prepared shapes are joined along their edges. The paper supports the pieces during construction and is removed when the assembly is sufficiently secure.
This method is particularly useful for small geometric shapes because the templates help maintain consistent angles and dimensions. However, the technique still requires careful handling. Uneven fabric folding, inconsistent template shapes, or poorly aligned central intersections can distort the star and make adjoining diamonds appear different sizes.
The six-point geometry should remain clearly distinguishable from other traditional patchwork motifs. A Grandmother’s Flower Garden arrangement typically uses hexagons to form flower-like clusters, whereas this design relies on diamond-shaped pieces to create the principal stars. The surrounding hexagons are secondary elements rather than replacements for the diamond rosettes.
For a decorative wall hanging, the stars can be arranged as repeated motifs across a square or rectangular composition. A regular grid creates an orderly appearance, while a more open arrangement with selected background spaces can give the design a lighter, contemporary character.
Choosing Fabrics and Creating Color Harmony
Stable quilting cotton is especially suitable for English paper piecing because it folds neatly around templates and generally holds its shape well. Fine woven fabrics also make it easier to achieve crisp points and unobtrusive joined seams.
A soft vintage-inspired palette might combine dusty rose, pale peach, muted sage, antique lavender, buttercream yellow, and warm ivory. Individual stars can contain several related colors, with the arrangement repeated or subtly varied throughout the quilt. Alternating light and medium values creates gentle definition without producing overly strong contrasts.
For a bolder interpretation, sapphire blue, peacock teal, deep indigo, amethyst, muted emerald, and touches of antique gold offer rich jewel-toned possibilities. Pale stone or natural ivory background fabrics provide visual separation, allowing the saturated diamond shapes to stand out.
Small-scale prints can add detail without obscuring the geometry. Delicate botanical motifs, subtle tone-on-tone patterns, and miniature geometric prints work particularly well. Large floral patterns may become fragmented when divided among small diamond patches, making the resulting stars appear visually uneven.
Fabric placement is also important. A star assembled entirely from fabrics of nearly identical value may lose its definition against the surrounding background. Introducing alternating light and dark diamonds, or using a contrasting color for selected points, can make the six-point arrangement more recognizable.
When selecting fabrics, consider how each star relates to its neighbors. Repeating a few colors across different rosettes can establish continuity, while varying the placement of those colors prevents the collection from becoming repetitive.
Arranging Diamond Stars with Complementary Hexagon Accents
The relationship between diamond stars and hexagon accents gives this wall hanging its distinctive composition. The stars should remain the primary motifs, with smaller hexagonal patches providing connections, interruptions, or decorative details within the surrounding layout.
One attractive arrangement features several evenly spaced six-point stars on a warm ivory background, with muted hexagons placed between selected motifs. A more contemporary variation can use jewel-toned stars against pale stone-colored fabric, with contrasting gold and teal hexagons providing additional movement.
The hexagons should be proportionate to the diamond rosettes. Oversized hexagons may dominate the composition and make the stars feel secondary, while extremely small accents can disappear at normal viewing distances.
Where appropriate, compatible geometric filler pieces can connect the stars and hexagons into a continuous patchwork top. Alternatively, completed English paper-pieced motifs may be arranged and securely appliquéd onto a stable background panel. The choice affects the construction and appearance, so it should be planned rather than improvised after the layout is established.
The design benefits from controlled negative space. Allowing a little room around the star points can make the diamond geometry easier to read, especially when the fabrics include several prints or colors.
Borders should remain relatively restrained. A narrow contrasting inner border followed by a wider neutral outer border can frame the patchwork without competing with the diamond rosettes. Binding in a repeated color, such as dusty rose, muted sage, indigo, or teal, provides a coordinated finish.
Quilting Texture, Wall Display, and Common Mistakes
Because English paper-pieced stars contain numerous small fabric pieces, the quilting should support the patchwork rather than overwhelm it. Fine stitching along selected diamond seams can emphasize the geometry, while restrained echo quilting around the stars creates additional texture within quieter background areas.
Subtle straight-line quilting can also complement the design, particularly when the diamond rosettes are arranged against a modern neutral background. Excessively dense decorative stitching may make the small pieces appear crowded or cause unwanted distortion.
Relatively low-loft batting is a practical option for a wall hanging because it provides gentle stitched relief without excessive bulk. Stable backing fabric, appropriate quilting density, and neatly finished binding help the textile maintain its shape when displayed vertically.
A concealed hanging sleeve on the upper back can support the quilt from a suitable wooden or metal rod. The hanging method should distribute the weight evenly, keeping the upper edge straight and preventing the geometric motifs from becoming distorted.
In a cottage-inspired living room, soft rose-and-sage diamond stars can complement pale oak furniture, linen upholstery, and warm neutral walls. A jewel-toned variation may be particularly effective in a contemporary reading room with walnut furniture and understated decorative accessories.
Several construction and design mistakes deserve attention. Inconsistent diamond templates can produce mismatched star points, while excessive fabric bulk near the central intersections may prevent the rosettes from lying flat. Careful fabric folding, accurate template preparation, and suitable pressing methods can help preserve the intended geometry.
Another common problem is allowing too many competing prints to dominate the composition. When every diamond and hexagon contains a strong pattern, the individual six-point stars can become difficult to recognize. Combining solids with subtle prints usually provides better visual balance.
Finally, consider the scale of the finished motifs. Stars that appear beautifully detailed on a worktable should still remain recognizable when the textile is viewed from across a room.
Helpful Note: Before finalizing the patchwork arrangement, place six diamond-shaped fabric samples together to form a star, then position candidate hexagon fabrics nearby. View the arrangement from several feet away. If the hexagons attract more attention than the six-point stars, reduce their contrast or choose quieter fabrics. This simple comparison helps preserve the intended balance between the diamond rosettes and their geometric accents.
Other Design Inspirations – Digitally Modified Images. Texture and color may vary from the actual product.
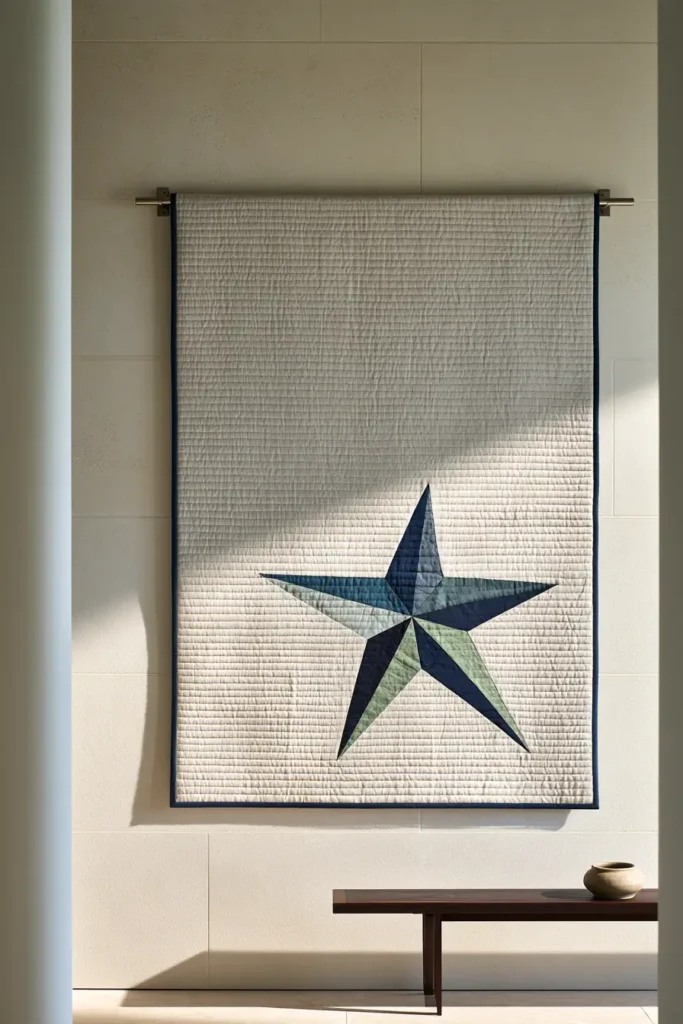
6. Modern Off-Center Wonky Star Quilt Wall Hanging with Negative Space and Linear Quilting
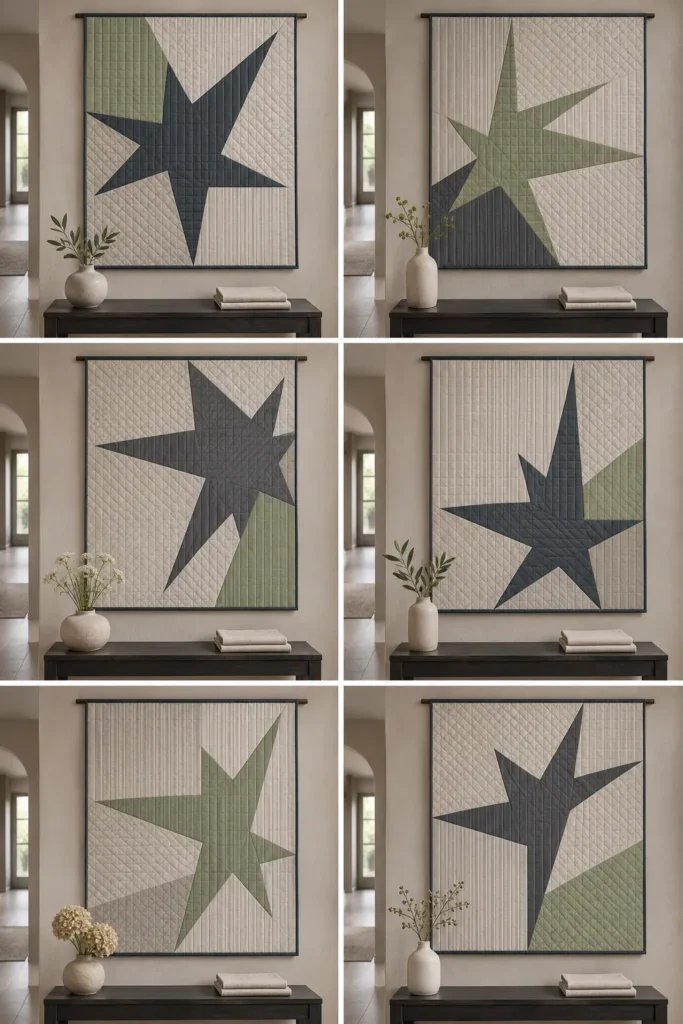
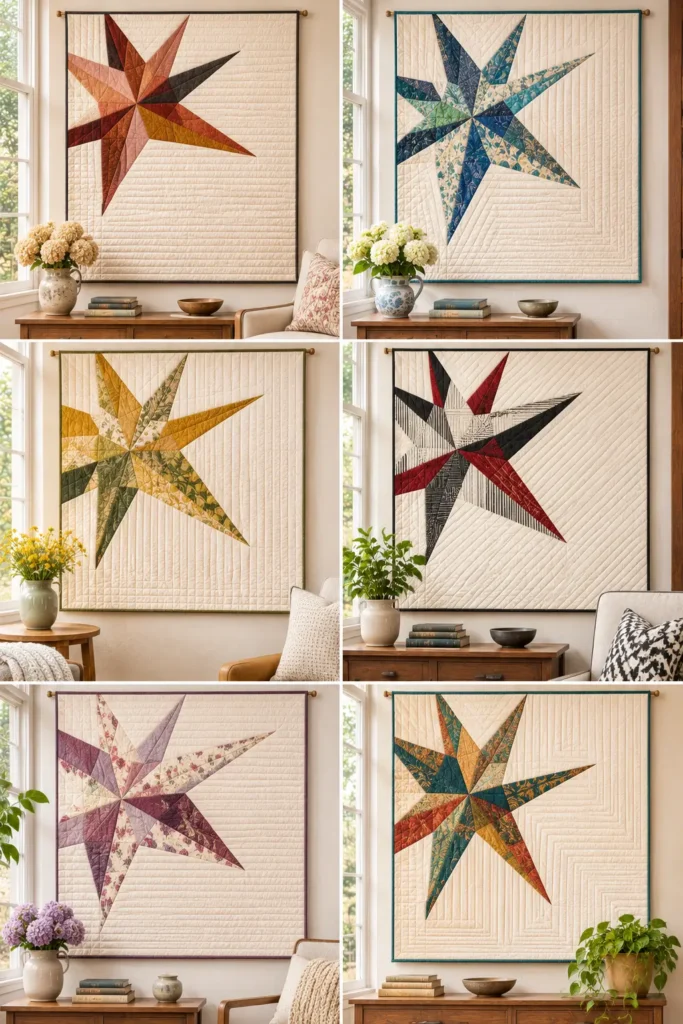
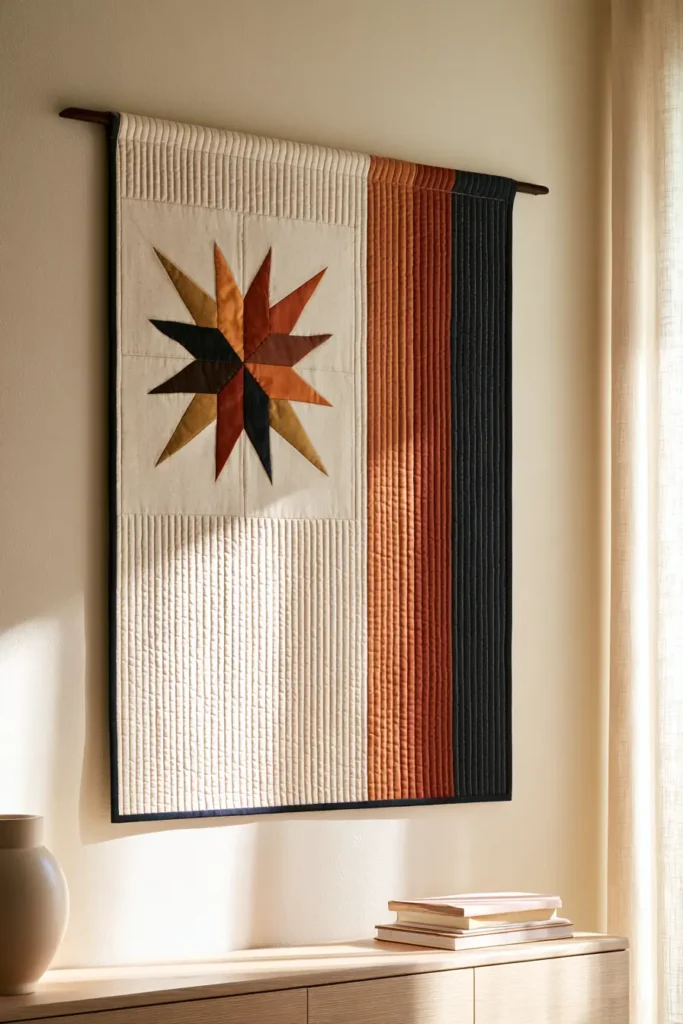
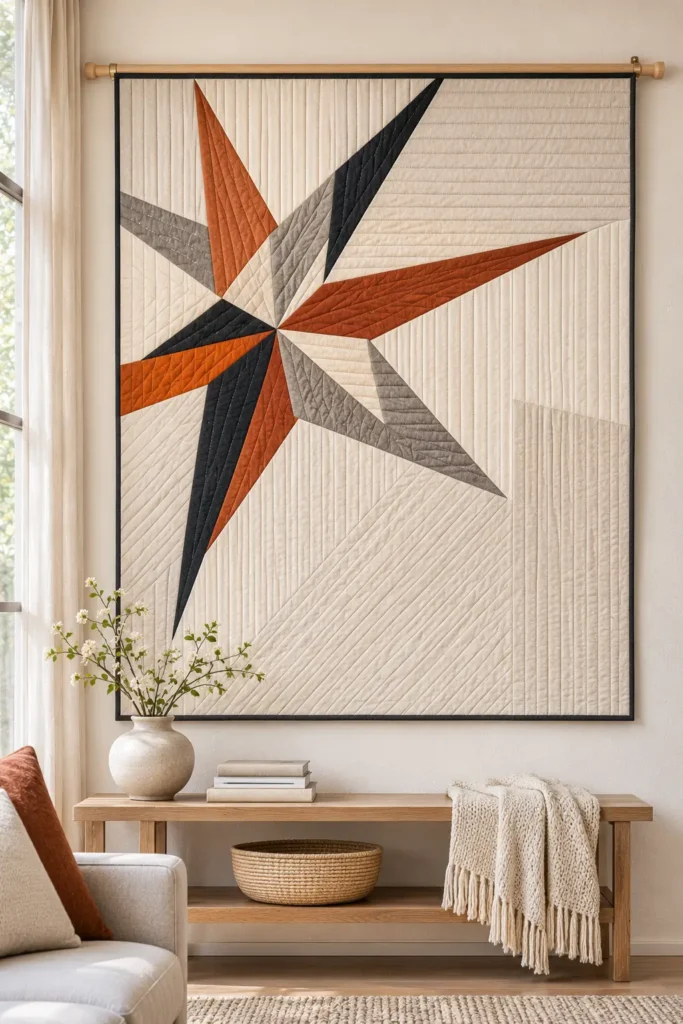
A Modern Off-Center Wonky Star Quilt Wall Hanging with Negative Space and Linear Quilting brings an expressive, contemporary character to traditional star patchwork. Instead of positioning a perfectly symmetrical star in the middle of the quilt, this design places an intentionally irregular star toward one side or corner, leaving generous areas of open background fabric. The star’s points vary in length, width, and angle, creating a playful geometric silhouette that feels spontaneous without sacrificing thoughtful composition. Straight-line quilting introduces a contrasting sense of order, giving the finished textile a clean, architectural appearance.
The appeal of this design comes from the relationship between irregular piecing and carefully controlled simplicity. Warm terracotta, burnt orange, muted ochre, and charcoal can create a striking star against an ivory background, while cobalt blue, peacock teal, jade green, and indigo offer a bolder contemporary interpretation against soft gray. Unlike the precision-based symmetry of a Lone Star or traditional Ohio Star, the Wonky Star embraces deliberate variations in its points. The surrounding negative space is just as important as the patchwork itself, allowing the star to remain visually prominent while creating room for linear quilting to become a decorative feature.
Design Inspirations – Digitally Modified Images. Texture and color may vary from the actual product.
Designing an Off-Center Star with Intentional Irregularity
The defining characteristic of a Wonky Star is its deliberately uneven geometry. Traditional Wonky Star blocks often use a central square surrounded by background units containing improvisationally pieced triangular points. The points can vary in their angles and proportions, creating a recognizable star without the strict symmetry associated with more formal patchwork designs.
For this wall hanging, placing one prominent Wonky Star toward the upper-left or lower-right portion of the composition creates a strong asymmetric arrangement. The star should be large enough to remain recognizable from a distance, but it should not fill the entire textile. Leaving open background areas on the opposite side gives the design its distinctive contemporary character.
The irregularity should appear intentional rather than accidental. Some points may extend farther than others, while neighboring triangles can have noticeably different widths or angles. However, the underlying seams still need to be properly joined, and the overall construction should remain stable. Improvisational piecing provides creative freedom, but it does not eliminate the need for appropriate seam allowances and securely finished patchwork.
An important consideration is the relationship between the star points and the quilt’s outer edges. Placing the star too close to the binding may make its longest points appear cramped or unintentionally cropped. Maintaining adequate background space around the complete silhouette helps preserve its visual clarity.
Using Color and Negative Space to Create Balance
A restrained palette can make an irregular Wonky Star more visually effective than a complicated assortment of prints. Solid quilting cottons are particularly suitable because their clean surfaces emphasize the unusual triangular shapes and contrasting seams.
For a warm interpretation, consider a combination of rust-orange, terracotta, muted paprika, dusty apricot, and golden ochre against a creamy ivory or pale oatmeal background. A deep charcoal accent in the central square or selected points can introduce additional contrast without making the composition overly dark.
A cooler alternative might combine cobalt blue, ultramarine, peacock teal, jade green, and midnight indigo against a soft dove-gray background. These saturated colors make the star immediately recognizable while allowing the surrounding neutral fabric to remain visually quiet.
The background should occupy a substantial portion of the quilt. However, negative space does not necessarily mean that every surrounding section must be cut from one continuous piece of fabric. Larger neutral patchwork panels can be joined to form the background, provided their seams and subtle color variations do not distract from the principal star.
Print scale is another important consideration. Large florals, busy geometric prints, or strongly directional patterns may compete with the deliberately uneven points. Solids and subtle tone-on-tone fabrics are generally more effective for preserving the modern aesthetic.
The star’s placement also influences the balance of the surrounding colors. A richly saturated star near one corner may need a larger area of neutral fabric on the opposite side to create visual equilibrium. This relationship between strong color and quiet space is central to the design’s minimalist appeal.
Linear Quilting and Contemporary Textile Texture
Straight-line quilting is more than a finishing technique in this design. It introduces a second visual system that contrasts with the irregular star geometry. Parallel horizontal, vertical, or gently diagonal stitching lines can move across the quilt’s surface, creating an organized rhythm over both the colorful patchwork and the expansive neutral background.
Horizontal quilting can make a rectangular wall hanging feel wider and more relaxed, while vertical lines emphasize height and create a more architectural appearance. Closely spaced lines introduce finer surface texture, whereas wider spacing produces a quieter, less densely quilted result.
The quilting direction should remain consistent enough to contrast with the star’s intentionally uneven angles. Using several unrelated stitching directions may weaken the clean visual relationship between the improvisational piecing and the linear quilting.
Thread color also affects the finished appearance. Warm ivory thread blends softly into a cream background, while pale gray can create subtle definition on dove-gray fabric. A slightly contrasting thread may be attractive when the stitching itself is intended to become a significant design element.
Stable quilting cotton and relatively low-loft batting can help the wall hanging maintain a smooth appearance while preserving gentle textile softness. The quilting density should remain compatible with the batting and should not introduce unnecessary stiffness or distortion.
A narrow solid binding is particularly effective for this style. Charcoal, indigo, or another color repeated within the star can frame the composition without introducing a traditional decorative border that might compete with the minimalist design.
Wall Display and Common Design Mistakes
A portrait-format rectangular quilt can emphasize the off-center composition, especially when the star occupies the upper portion and leaves generous open space below. A nearly square format is another attractive option, particularly when the star is deliberately shifted toward one corner.
A concealed hanging sleeve on the upper back can support the textile from a suitable wooden or metal rod. The upper edge should remain evenly supported, allowing the linear quilting and asymmetric star to retain their intended proportions. Neatly finished binding and stable backing fabric contribute to a clean presentation.
This style works particularly well in Scandinavian-inspired living rooms, minimalist entryways, and contemporary dining spaces. Pale oak furniture, natural linen upholstery, limestone walls, or dark walnut architectural details can complement the graphic patchwork without competing for attention.
One common mistake is making the Wonky Star so irregular that its overall shape becomes difficult to recognize. Although the points should vary, the design must still read as a star rather than a collection of unrelated triangles.
Another problem is filling too much of the background with additional patchwork motifs. Extra stars, decorative appliqué, or complicated borders can weaken the negative space that distinguishes this design from more traditional star quilts.
Color contrast also requires attention. If the star points blend into the background, their asymmetrical shapes may disappear. Testing fabric combinations from several feet away can help determine whether the star remains clearly defined.
Finally, inconsistently spaced quilting lines can make an otherwise intentional composition appear unfinished. The quilting does not need to be mathematically rigid, but its spacing and overall direction should create a coherent visual rhythm.
Helpful Note: Before committing to the final layout, place a paper mockup of the Wonky Star on a larger neutral background and experiment with moving it toward different corners. Photograph the arrangements from a distance. This makes it easier to judge whether the negative space feels balanced and whether the irregular star points remain clearly recognizable.
Other Design Inspirations – Digitally Modified Images. Texture and color may vary from the actual product.
More to come …
7. Log Cabin Star Quilt Wall Hanging with Light-and-Dark Strips Forming Bold Geometric Points
8. Mini Star Quilt Wall Hangings for a Coordinated Jewel-Tone Patchwork Gallery Wall
9. Christmas Star Quilt Wall Hanging in Evergreen, Barn Red, and Plaid Flannel
10. Pixelated Star Quilt Wall Hanging with Tiny Patchwork Squares and Bold Color Contrast
11. Boho Patchwork Star Quilt Wall Hanging with a Wooden Dowel and Macramé Fringe
12. Upcycled Indigo Denim and Flannel Star Rag Quilt Wall Hanging with Exposed Frayed Seams
Final Thoughts on Star Quilt Wall Hanging Ideas
Star quilt wall hangings demonstrate how a familiar geometric motif can take on remarkably different personalities through fabric selection, construction, and presentation. Precisely pieced diamonds and triangular points create intricate traditional compositions, while irregular patchwork, strong value contrast, and open negative space introduce a more contemporary character. Small squares, rectangular fabric strips, vintage florals, and softly frayed seams each contribute their own visual rhythm and surface texture.
Even the way a quilt is displayed can change its decorative effect, from a neatly bound individual hanging to a relaxed dowel-mounted piece or a carefully arranged miniature gallery wall. The most successful designs balance recognizable star geometry with fabric choices and finishing details that enhance rather than compete with the central motif.
When choosing a design to explore, consider the available wall space, the scale of the patchwork, your preferred sewing techniques, and the fabrics you want to use. A detailed star medallion may reward close viewing, while a simpler, high-contrast composition can make a stronger impression from across a room. Pay attention to color value, print scale, fabric compatibility, quilting density, and the support needed to keep the finished piece hanging neatly. A single star can provide a striking focal point, while several smaller quilts can introduce a more collected, layered appearance. Choosing the right combination of geometry, texture, color, and display method allows a star quilt wall hanging to feel thoughtfully integrated into the surrounding home.

