
Quilted Christmas Stocking Ideas: 12 Festive Designs to Sew This Season
A Quilted Christmas Stocking is the most personal piece of handmade Christmas decoration there is. It hangs on the mantel with a name attached to it, which is why people keep them for decades and why a handmade one means something a bought one never quite does. Unlike a quilt or a table runner, it isn’t just decoration – it’s claimed. Each person in a household has their own, and the stocking that belonged to someone at seven years old is often the same one that hangs there at thirty-seven. Making one is a long-term commitment, which is exactly why it’s worth doing well.
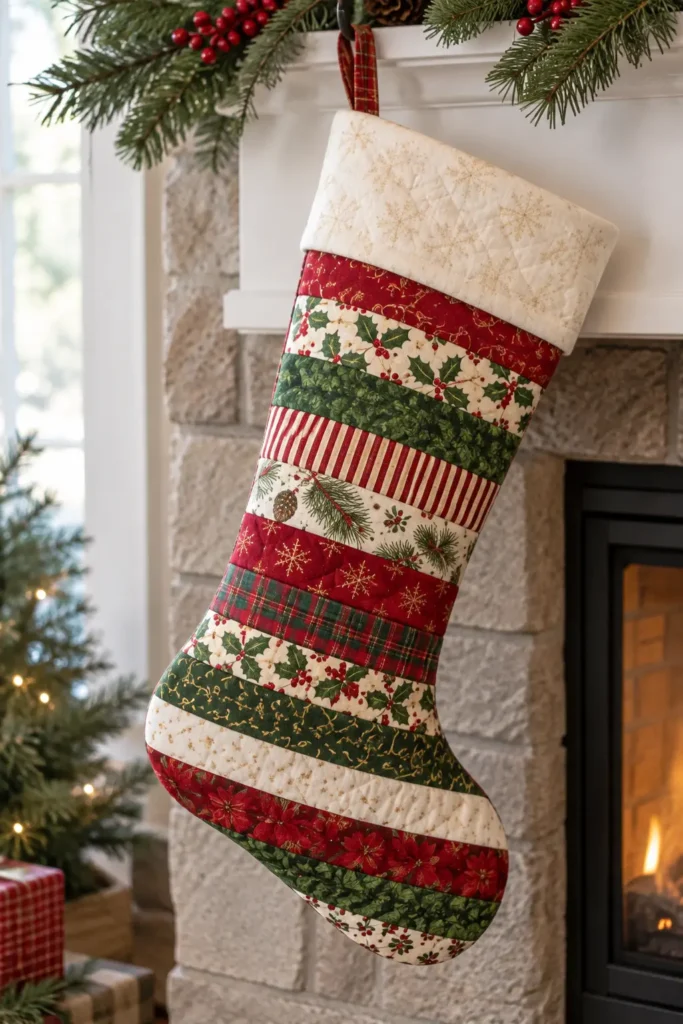
Quilted Christmas Stocking Ideas
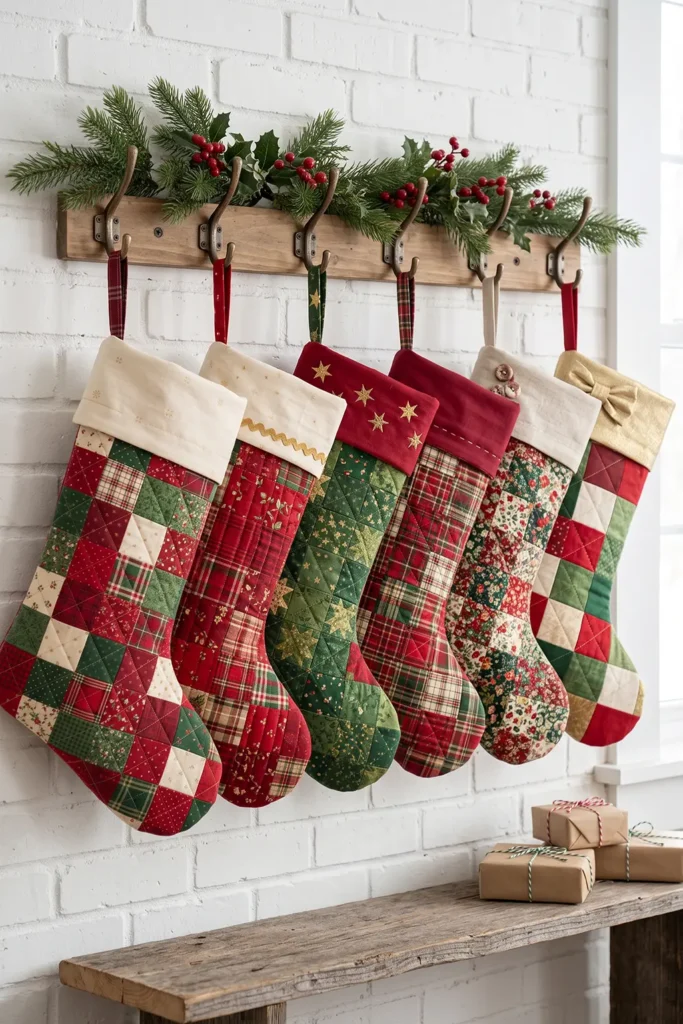
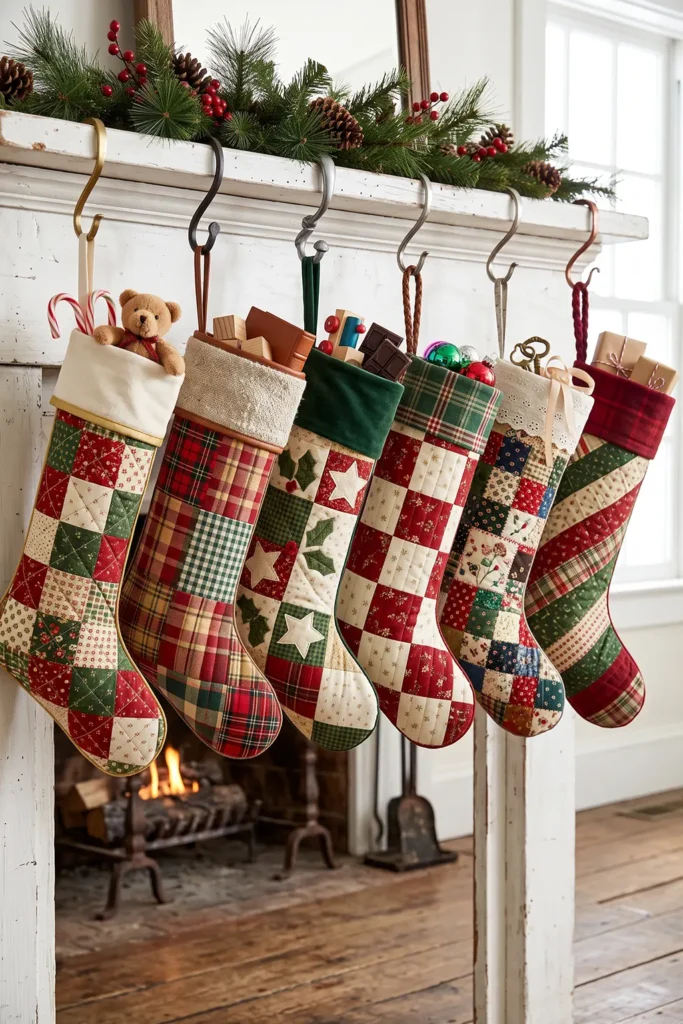
This collection of Quilted Christmas Stocking ideas gathers twelve designs for every style and every level of ambition. The classic red-and-green patchwork and log cabin stockings are reliable traditional choices; the Christmas tree and snowflake versions add motif-driven character; and the plaid and buffalo check stocking brings that cozy farmhouse look that photographs so well against a stone mantel.
For speed, there’s a jelly roll stocking and a scrappy one from leftovers; for versatility, a reversible stocking that offers two looks from one piece. The gold-and-cream stocking suits a dressed mantel, the Scandinavian version suits a minimal modern one, and the personalized stocking is the one most likely to be kept for a generation. At the other end of the scale, the mini stocking turns the same techniques into something that hangs on a tree or tucks a gift card inside.
See also: Quilted Christmas Throw – Farmhouse Quilt Jackets & Vests – Sashiko Quilt Jackets and Vests – Fall Quilted Jacket and Vest – Nakshi Kantha Jackets and Vests
Why Make a Quilted Christmas Stocking
A quilted stocking earns its place in a way that a bought one rarely does, because the quilting itself adds something functional as well as decorative. The three layers give a stocking body – it hangs properly, holds its shape over a heavy load, and doesn’t go limp and sad when it’s half empty.
What makes it different from a plain fabric stocking is that texture: the stitching creates a surface that catches the light from the fire and the tree in a way a flat piece of fabric simply doesn’t. It’s also a genuinely quick project for anyone who has made patchwork before. Most stockings need less than a yard of fabric, take only a few hours to piece and quilt, and can be finished in an evening. That makes them the ideal project to batch – many quilters make a new one each year and slowly build up a mantel full of them, each one slightly different, a small record of where they were in their sewing life at the time.
Tips for Choosing Fabrics and Colors
Start with durability, not just beauty. A Christmas stocking is handled every December, stuffed, dragged off the mantel, and sometimes passed between generations. Use 100 percent quilting cotton for the outer fabric – it washes well, presses sharply at the binding, and holds up to decades of handling far better than novelty or seasonal fabrics of uncertain composition. Flannel is a lovely choice for a cozy look but shrinks noticeably, so prewash it twice before cutting. For batting, a thin layer of low-loft cotton or even a single layer of cotton flannel is all a stocking needs – anything thicker and the cuff won’t fold properly.
On color, the same rule that governs Christmas quilts applies here: red and green alone are often the same value, so include a proportion of cream, ivory, or white to separate them. Beyond the traditional palette, plaid and check fabrics work especially well in a stocking because the straight lines of the grid align satisfyingly with the binding and cuff edges.
Large-scale prints are worth avoiding – a stocking is a small piece, and a big motif gets cut up by the seams and the shape into an unreadable fragment. Small prints, tone-on-tones, and geometric weaves all behave better at this scale. Whatever the palette, bind in the darkest color and match or contrast the cuff – the cuff is the first thing the eye goes to on a hung stocking, and it deserves its own thought.
1. Classic Red and Green Patchwork Quilted Christmas Stocking for Traditional Holiday Style
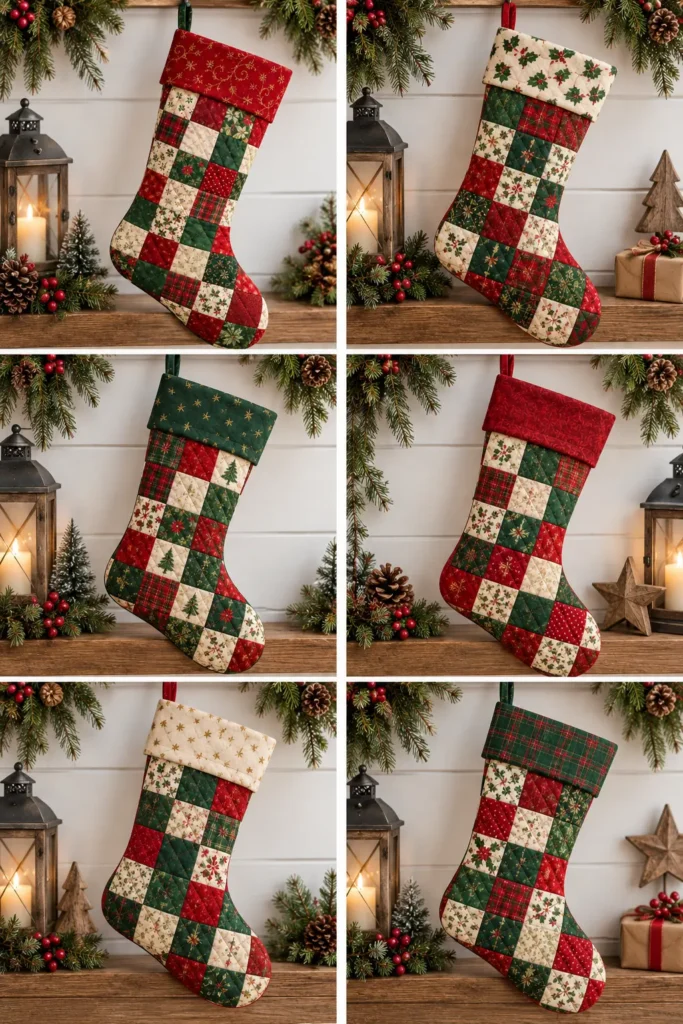
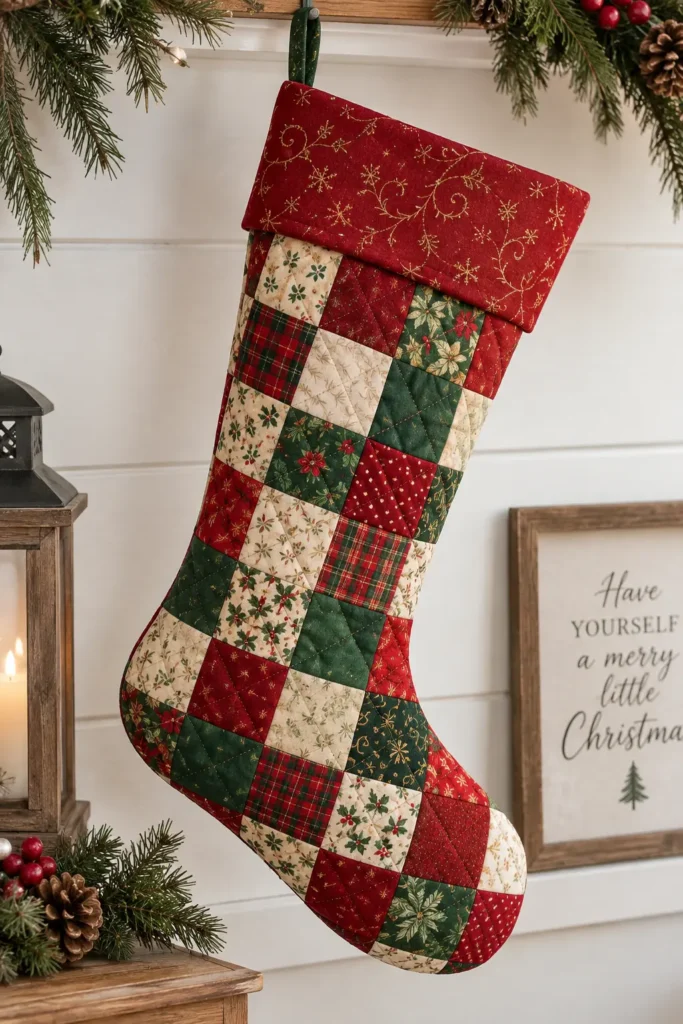
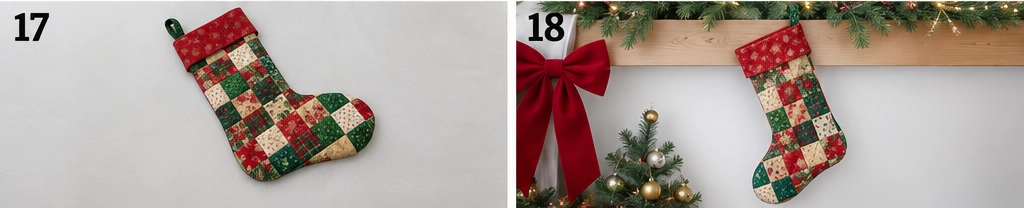
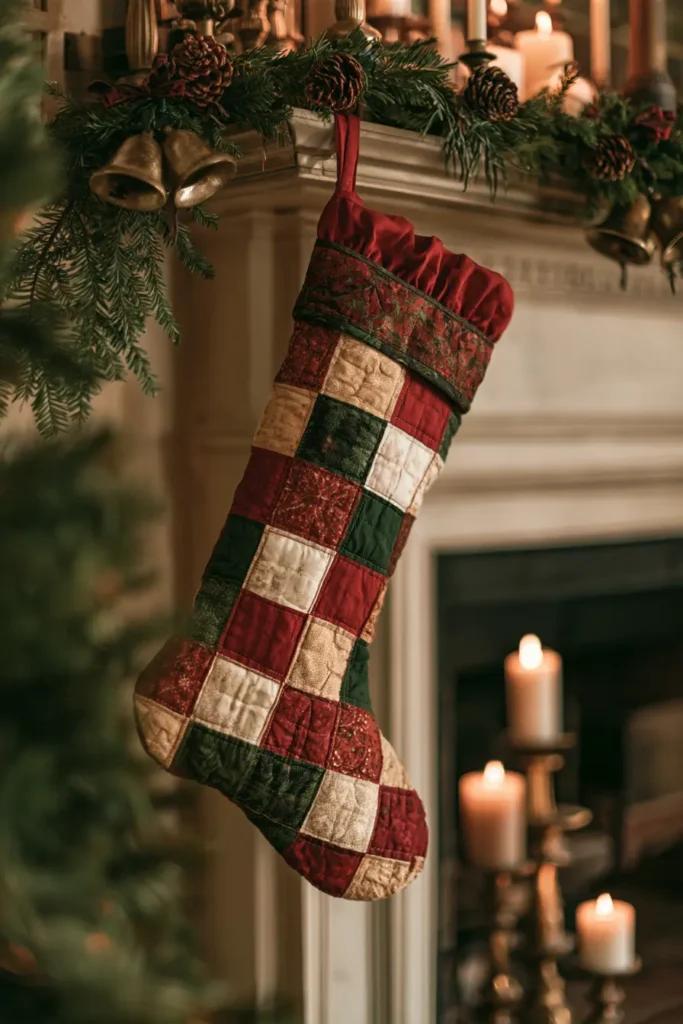
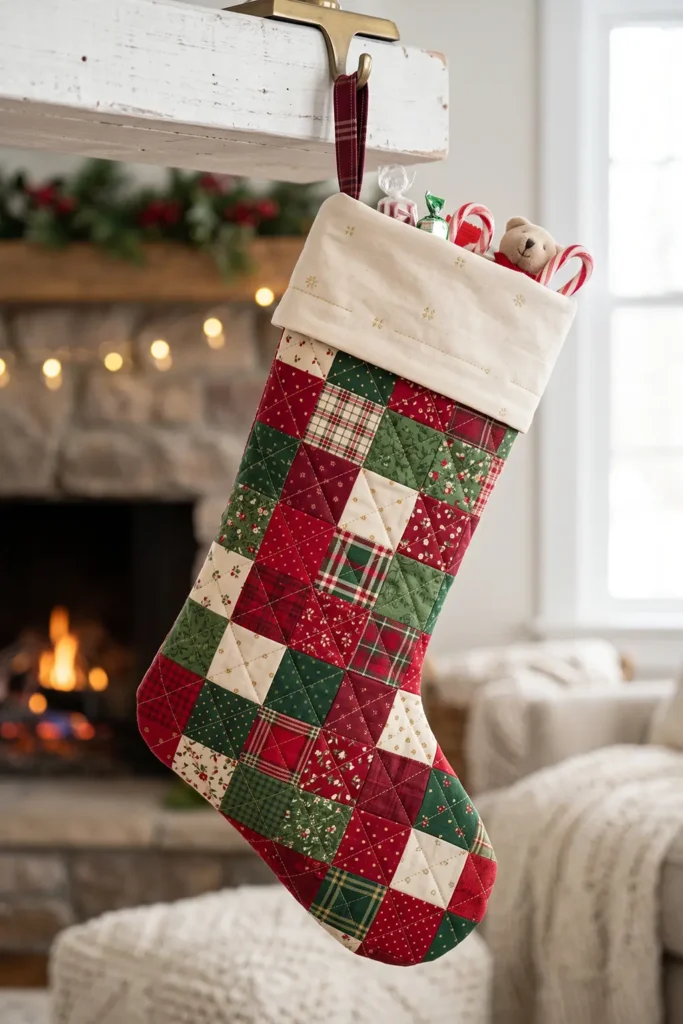
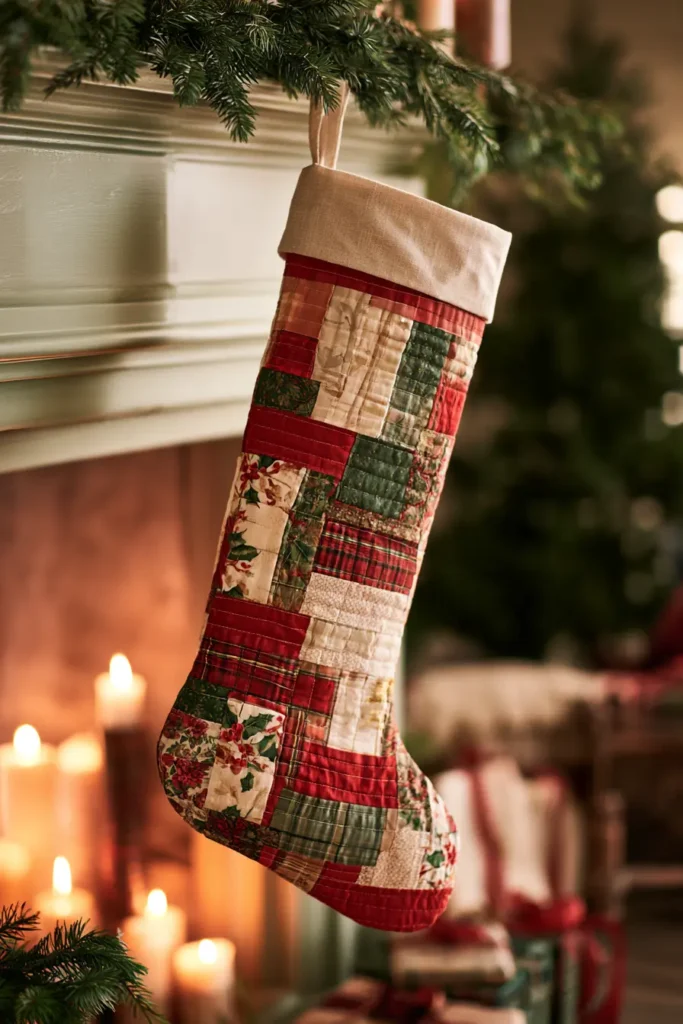
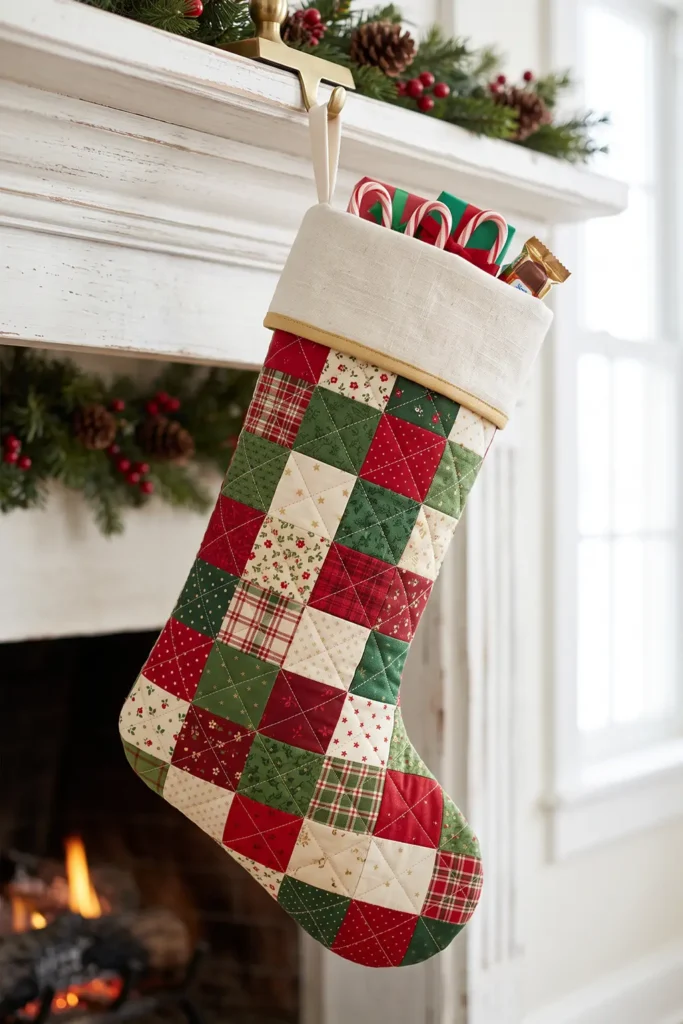
A classic red and green patchwork quilted Christmas stocking has the kind of familiar holiday charm that never goes out of style. With its mix of cheerful patchwork squares, cozy quilting, and cuffed top, it feels rooted in the older tradition of handmade Christmas sewing, when stockings were often stitched from treasured fabric scraps and brought out year after year as part of the family décor.
This version uses a bright traditional palette of cherry red, cranberry, holly green, evergreen, warm cream, and small touches of gold. The stocking body is made from simple patchwork panels, then quilted lightly for softness and structure. The finished stocking is large enough to hold small gifts, wrapped sweets, candy canes, chocolates, soft toys, and other stocking-stuffer treats, while still being manageable for a confident beginner or intermediate sewer.
Finished Size
This stocking finishes at approximately:
- 8 inches wide across the opening
- 19 inches tall including the cuff
- about 10 inches from heel to toe
Small variations of up to 1/2 inch are normal after quilting and shaping.
Design Inspirations – Digitally Modified Images. Texture and color may vary from the actual product.
Materials
- Assorted quilting cotton scraps or precut squares in red, green, cream, and gold
- 96 squares cut at 2 1/2 × 2 1/2 inches for the patchwork body
- Backing muslin for quilting: 2 rectangles, 14 × 18 inches
- Low-loft cotton batting: 2 rectangles, 14 × 18 inches
- Lining fabric: fat quarter or 1/3 yard
- Cuff fabric: 1 piece, 17 × 8 1/2 inches
- Hanging loop fabric: 1 strip, 2 × 7 inches
- Coordinating thread
- Stocking template, or draw your own
- Rotary cutter, ruler, cutting mat
- Pins or clips
- Sewing machine
- Iron and pressing surface
Fabric and Color Notes
Traditional Christmas stockings look especially charming when the patchwork mix feels varied rather than overly planned. Try combining:
- small plaids
- mini florals
- polka dots
- tiny stars
- subtle tone-on-tone prints
- a few solids for visual rest
A balanced mix works best. Let the reds and greens lead, then use cream and gold as lighter accents to brighten the patchwork. This kind of holiday patchwork has a long history in home sewing because it makes excellent use of leftover fabric while still looking festive and intentional.
Cutting List
Patchwork Panels
Cut:
- 96 squares at 2 1/2 × 2 1/2 inches
These will make:
- 2 patchwork panels
- each panel arranged as 6 squares across × 8 squares down
Each finished quilted panel will measure approximately:
- 12 1/2 × 16 1/2 inches before shaping
Quilting Layers
Cut:
- 2 batting rectangles at 14 × 18 inches
- 2 muslin backing rectangles at 14 × 18 inches
Lining
Using the stocking template, cut:
- 1 left stocking lining
- 1 right stocking lining
Cuff
Cut:
- 1 rectangle at 17 × 8 1/2 inches
Hanging Loop
Cut:
- 1 strip at 2 × 7 inches
Step-by-Step Guide
Step 1: Prepare the Stocking Template
Use a stocking template that includes seam allowance and measures approximately:
- 8 1/4 inches across the top edge
- 15 inches from top edge to heel
- about 10 inches from heel to toe
If drawing your own, keep the curve at the heel and toe smooth rather than sharply pointed. A gently shaped stocking turns more cleanly and is easier to bind with the cuff.

Step 2: Sort and Cut the Patchwork Squares
Cut or gather 96 squares at 2 1/2 inches.
Sort them loosely by color:
- reds
- greens
- creams
- golds
Try to avoid placing too many similar prints side by side. A more mixed arrangement gives the stocking that classic scrappy Christmas look.
Step 3: Lay Out the Front Patchwork Panel
Arrange 48 squares into 8 rows of 6 squares each for the front panel.
Scatter the colors evenly so the patchwork feels balanced. Keep creams and lighter prints spaced throughout the layout so the panel does not become visually heavy.
Take a quick photo before sewing if it helps preserve the arrangement.

Step 4: Sew the Front Patchwork Rows
Sew each row of 6 squares together using a 1/4-inch seam allowance.
Press the seams in alternating directions from row to row. This helps the intersections nest neatly when you join the rows.
Once sewn, each row should measure approximately:
- 12 1/2 inches wide
Step 5: Join the Front Panel Rows
Sew the 8 rows together in order to complete the front panel.
Press carefully and square the panel if needed. The completed front patchwork panel should measure about:
- 12 1/2 × 16 1/2 inches

Step 6: Lay Out and Sew the Back Patchwork Panel
Repeat the same process with the remaining 48 squares to create the back panel.
Again, arrange:
- 8 rows of 6 squares
Sew the rows, then join them into a complete panel measuring approximately:
- 12 1/2 × 16 1/2 inches
You can make the back fully scrappy like the front or keep it slightly calmer with larger areas of red and green.
Step 7: Prepare the Quilting Sandwiches
For each patchwork panel, layer:
- muslin backing on the bottom
- batting in the middle
- patchwork panel right side up on top
Center the patchwork so it sits well inside the larger quilting layers.
Pin or baste each sandwich securely.
Using a muslin backing under the batting makes quilting easier and cleaner than trying to quilt patchwork directly onto bare batting.

Step 8: Quilt the Front and Back Panels
Quilt both patchwork panels with simple straight lines.
Good options include:
- diagonal lines 1 1/2 inches apart
- vertical lines 1 1/2 inches apart
- a soft crosshatch grid
For a traditional stocking, diagonal quilting usually looks especially pretty.
Quilt across the entire panel, then press lightly. This step adds the soft padded feel that makes the stocking look finished and substantial.
Step 9: Cut the Stocking Front and Back Shapes
Place the stocking template on the quilted front panel and cut one front stocking shape.
Then flip the template over and cut one mirrored back stocking shape from the second quilted panel.
Be careful to reverse the template so you end up with a proper front and back rather than two identical pieces facing the same direction.

Step 10: Cut the Lining, Cuff, and Loop
Using the same stocking template, cut:
- 1 front lining
- 1 back lining, mirrored
Then cut:
- 1 cuff rectangle at 17 × 8 1/2 inches
- 1 hanging loop strip at 2 × 7 inches
Press all pieces flat before moving to assembly.
Step 11: Make the Hanging Loop
Fold the 2 × 7-inch strip in half lengthwise, wrong sides together, and press.
Open it, fold the long raw edges into the center crease, press again, then fold in half once more to form a narrow strap about 1/2 inch wide.
Topstitch along both long sides.
Fold the strip in half to form the loop and set it aside.

Step 12: Sew the Outer Stocking
Place the quilted stocking front and back right sides together.
Baste the loop at the top back edge, about 1 inch from the side seam, with the raw ends aligned to the raw top edge and the loop pointing inward.
Now sew around the stocking using a 1/4-inch seam allowance, leaving the top open.
Backstitch at the beginning and end.
Step 13: Trim and Clip the Outer Stocking Curves
Trim the seam allowance slightly at the toe if bulky, and clip the inner heel curve carefully without cutting through the seam.
These small clips help the stocking curve turn smoothly once right side out.
Turn the outer stocking right side out and gently push out the toe and heel with a blunt tool.

Step 14: Sew the Lining
Place the two lining pieces right sides together and sew around the stocking shape with a 1/4-inch seam allowance, again leaving the top open.
This time, leave a 3-inch turning gap along the straight foot section or lower side seam.
Clip the curves as needed, but do not turn the lining yet.
Step 15: Make the Cuff Ring
Take the 17 × 8 1/2-inch cuff rectangle and fold it in half with right sides together so the short edges meet.
Sew the short ends together with a 1/4-inch seam allowance to make a ring.
Press the seam open or to one side.
Then fold the ring in half wrong sides together so it becomes a doubled cuff approximately:
- 17 inches around
- 4 1/4 inches high
with the raw edges together at the bottom and the folded edge at the top.

Step 16: Insert the Cuff into the Outer Stocking
Keep the outer stocking right side out.
Slip the folded cuff down inside the outer stocking so:
- the cuff’s raw edges align with the stocking’s raw top edge
- the folded edge points downward into the stocking
Match the cuff seam to the back or side as desired.
Baste around the top edge if helpful.
Step 17: Join the Lining to the Stocking
With the lining still wrong side out, slip it over the outer stocking so the lining and outer stocking are right sides together, with the cuff sandwiched between them.
Align the side seams and top raw edges carefully.
Sew all the way around the top opening with a 1/4-inch seam allowance.
This seam secures the lining, cuff, and outer stocking in one pass.
Step 18: Turn, Finish, and Press
Turn the whole stocking right side out through the 3-inch opening left in the lining.
Pull the outer stocking free, then pull the lining out enough to stitch the gap closed by machine or hand.
Push the lining down inside the stocking and smooth the cuff upward so it sits neatly at the top.
Press the stocking gently, shape the toe and heel, and topstitch around the upper edge if you want an extra crisp finish.
Your stocking is now ready to hang and fill.
Assembly at a Glance
- Prepare a stocking template.
- Cut 96 patchwork squares at 2 1/2 inches.
- Arrange the front panel.
- Sew the front panel rows.
- Join the front panel.
- Sew the back patchwork panel.
- Build quilting sandwiches.
- Quilt both patchwork panels.
- Cut the mirrored outer stocking shapes.
- Cut the lining, cuff, and loop pieces.
- Make the hanging loop.
- Sew the outer stocking.
- Clip curves and turn the outer.
- Sew the lining with a turning gap.
- Make the cuff ring.
- Insert and baste the cuff.
- Sew lining to outer around the top.
- Turn through the lining gap, close the opening, and finish.
Tips for a Beautiful Traditional Finish
- Use low-loft batting so the stocking stays soft rather than stiff.
- Keep quilting lines around 1 1/2 inches apart for flexibility.
- Spread cream and gold fabrics throughout the patchwork so the colors feel balanced.
- Reverse the template for one side before cutting.
- Clip the heel curve carefully for a smoother shape.
- Press patchwork rows well before quilting.
- If you want extra personality, add a small monogram tag to the cuff after assembly.
- A little jingle bell or tiny tassel at the hanging loop can be a sweet finishing touch.
Gift Ideas That Fit This Stocking
This stocking size is roomy enough for:
- wrapped chocolates and candy canes
- travel-size bath treats
- small notebooks
- mini toy cars
- hair bows or scrunchies
- gift cards
- lip balm and hand cream
- Christmas tree ornaments
- sewing notions
- little plush toys
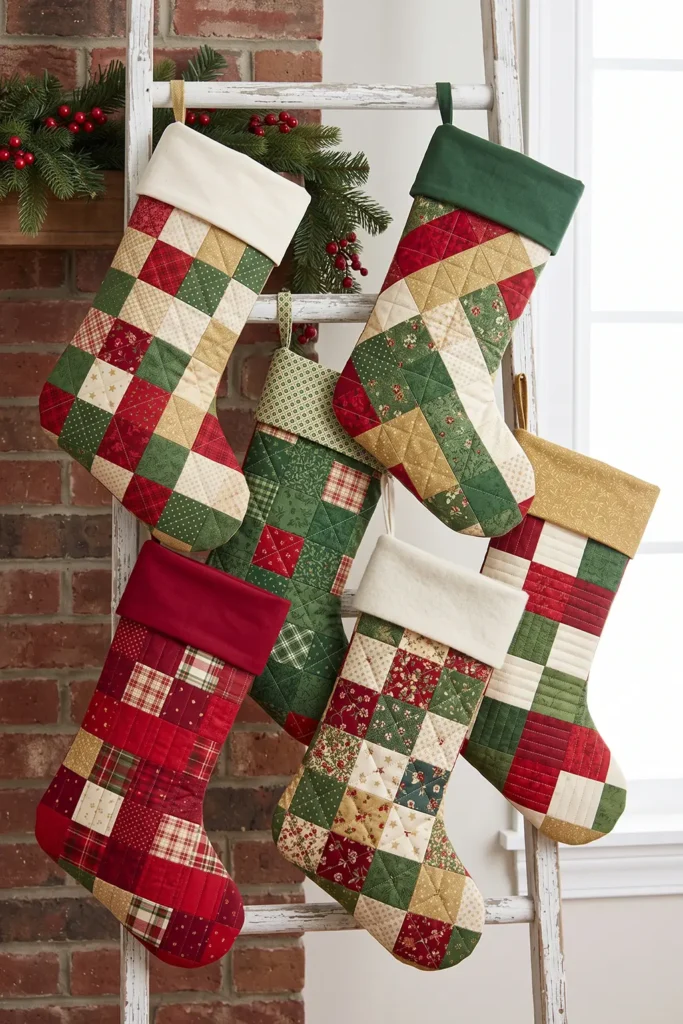
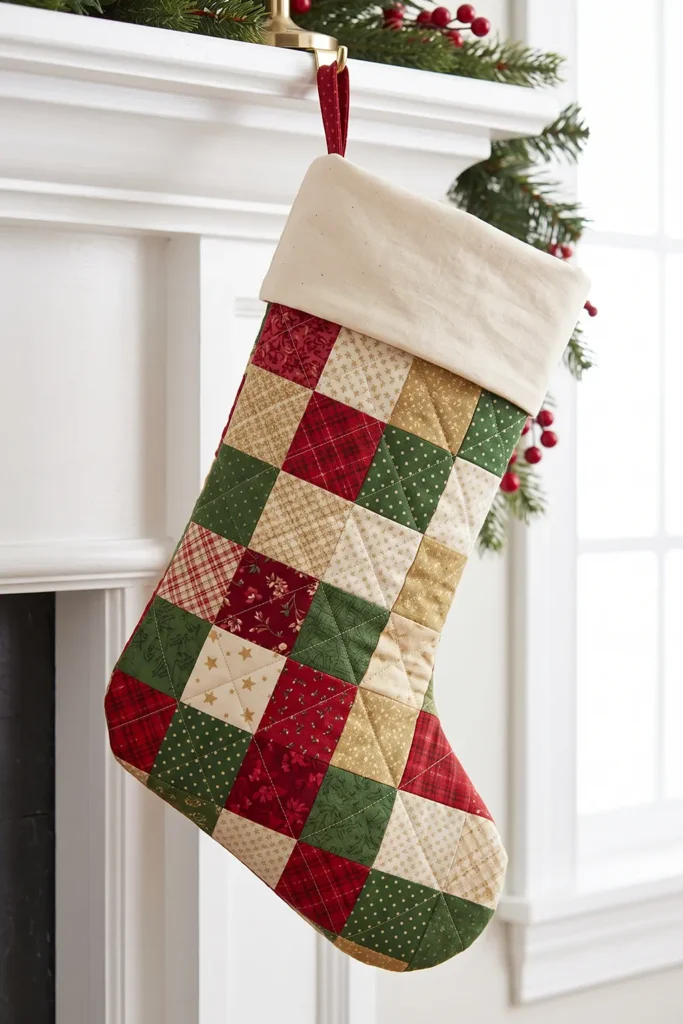
Other Design Inspirations – Digitally Modified Images. Texture and color may vary from the actual product.

2. Jelly Roll Quilted Christmas Stocking for Quick Holiday Sewing
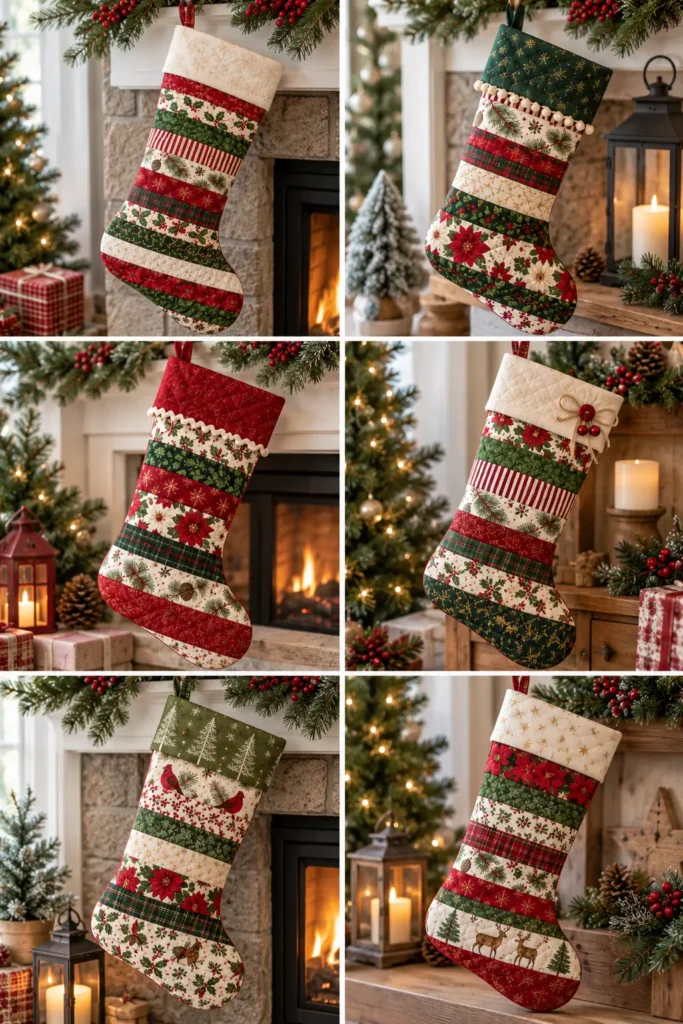
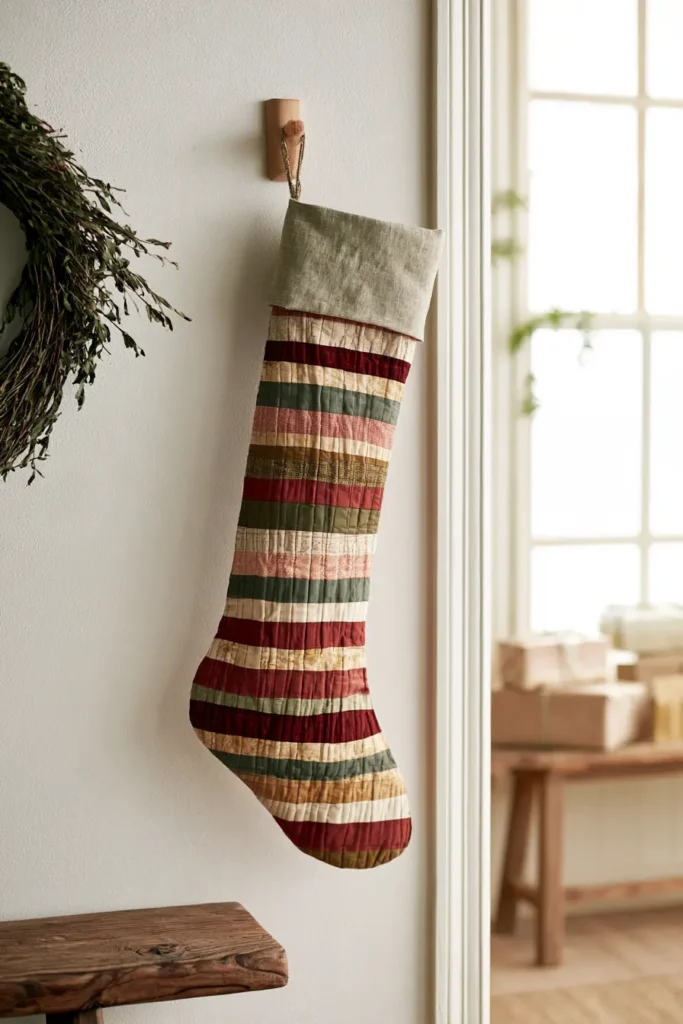
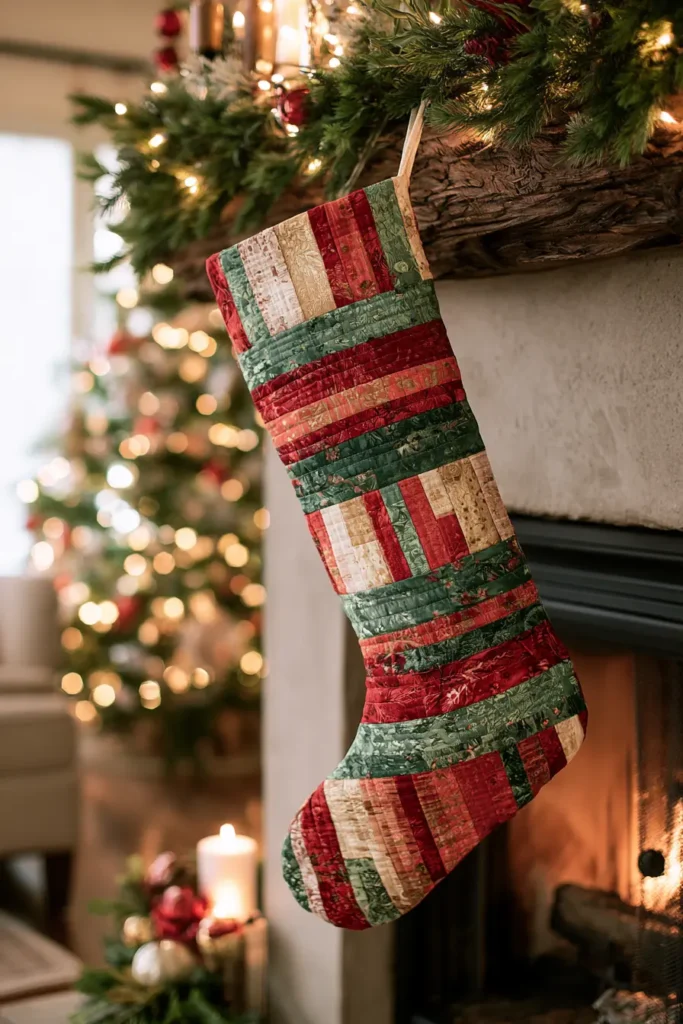
A jelly roll quilted Christmas stocking is one of the quickest ways to turn festive 2½-inch strips into something useful, colorful, and easy to display. Instead of cutting dozens of small pieces, you can let the jelly roll do most of the design work for you, which makes this project especially satisfying during the busy holiday season. The finished stocking has the cheerful patchwork look of a full quilt, but on a much smaller scale that is manageable for beginners and still enjoyable for experienced quilters.
Jelly rolls became especially popular because they save time without sacrificing variety. The 2½-inch strip width is ideal for fast strip piecing, and that makes it perfect for Christmas sewing, when many makers want polished handmade décor that comes together quickly. This version uses a fold-over lining cuff, a lightly quilted outer shell, and a hanging loop, giving you a stocking that looks full, soft, and neatly finished.
Finished Size
Approximately 8½ inches wide across the opening and 17 inches tall including the cuff, depending on the exact stocking template shape you use.
Materials
- 10 jelly roll strips (2½” × 42″) for the outer stocking
- Choose a festive mix such as red, evergreen, cream, holly, gold, plaid, or candy-stripe prints
- ½ yard lining fabric
- ⅓ to ½ yard low-loft cotton batting
- ⅓ yard lightweight muslin or scrap backing fabric for quilting support
- 1 strip or scrap for hanging loop, 2½” × 8″
- Coordinating 50 wt cotton thread
- Rotary cutter, ruler, mat
- Pins or clips
- Sewing machine
- Paper for making a template
- Optional: pom-pom trim, ric-rac, lace, or a name tag for embellishment
Design Inspirations – Digitally Modified Images. Texture and color may vary from the actual product.
Cutting List
- Outer strip panels: piece 2 panels, each made from 5 jelly roll strips
- Batting: cut 2 rectangles, 12″ × 18″
- Muslin backing: cut 2 rectangles, 12″ × 18″
- Stocking outer pieces: cut 2 mirrored stocking pieces from the quilted strip panels
- Lining pieces: cut 2 mirrored stocking pieces, each with an extra 3½ inches added to the top edge so the lining can fold over as a cuff
- Hanging loop: cut 1 strip, 2½” × 8″
Assembly at a Glance
Piece two jelly roll strip panels, quilt them lightly with batting and muslin backing, cut the stocking outer pieces, sew the outer shell and lining separately, join them right sides together across the top edge, turn, close the lining opening, and fold the extra lining to the outside for a soft cuff.
Step-by-Step Guide
Step 1: Choose the Color Order
Lay out your 10 jelly roll strips and divide them into two matching groups of five. A balanced order usually works best: for example, place a strong print, a blender, a light print, a plaid, and an accent strip in each group. Alternating dark and light strips helps the finished stocking read clearly from a distance.

Step 2: Make the Stocking Template
Draw or trace a stocking template on paper measuring about 10½ inches wide and 16½ inches tall, including seam allowance. Keep the top edge straight, the leg gently curved, and the toe rounded rather than sharply pointed. Cut the template out and mark one side as the front and the reverse as the mirror.
Step 3: Sew the First Outer Strip Panel
Take the first set of 5 jelly roll strips and sew them together long edge to long edge using a ¼-inch seam allowance. Press the seams to one side or open, depending on your preference. This panel should measure approximately 10½ inches high × 42 inches wide after piecing.

Step 4: Sew the Second Outer Strip Panel
Repeat with the remaining 5 jelly roll strips to create a second matching strip panel. You can mirror the strip order or keep the same sequence on both pieces. Mirroring often gives the pair a more intentional, polished look.
Step 5: Prepare the Quilting Sandwiches
For each outer panel, layer in this order:
- Muslin backing, right side down
- Batting in the middle
- Strip-pieced panel, right side up
Smooth the layers היט? Actually avoid weird char. Let’s continue cleanly.
Pin or baste each sandwich well so the layers do not shift while quilting.

Step 6: Quilt the Outer Panels
Quilt each panel with straight lines spaced about 1½ to 2 inches apart. Vertical lines work beautifully with jelly roll strips, but diagonal lines also add movement. This spacing keeps the stocking soft enough to turn and shape while still giving it a properly quilted texture.
Step 7: Trim the Quilted Panels
After quilting, trim both quilted panels to neat rectangles measuring about 11″ × 18″. This gives you a clean working area for placing the template and ensures both stocking pieces finish at the same size.

Step 8: Cut the Outer Stocking Pieces
Place the template on one quilted panel and cut one stocking outer piece. Flip the template over and cut a mirrored second outer piece from the other quilted panel. Make sure the strip direction matches the look you want; horizontal strips are classic and especially effective for jelly roll stockings.
Step 9: Cut the Lining Pieces
Use the same stocking template, but extend the top edge upward by 3½ inches before cutting the lining. Cut 2 mirrored lining pieces. That extra length becomes the fold-over cuff, so the lining pieces will be taller than the outer pieces.

Step 10: Make the Hanging Loop
Take the 2½” × 8″ strip for the hanging loop. Fold the long raw edges inward, then fold again lengthwise to create a sturdy narrow strap about ½ inch wide. Stitch close to both long edges. Fold the strap in half so the finished loop measures about 3½ to 4 inches long.
Step 11: Sew the Outer Stocking Shell
Place the 2 quilted outer pieces right sides together and pin around the curved edge. Sew around the sides and foot using a ¼-inch seam allowance, leaving the top edge open. Clip the inner curve at the heel and trim the seam allowance slightly around bulky curves.

Step 12: Sew the Lining
Place the 2 lining pieces right sides together and sew around the sides and foot with a ¼-inch seam allowance, leaving the top open. Leave a 3-inch turning gap along one side of the lining seam. Clip the curves just as you did on the outer shell.
Step 13: Attach the Hanging Loop
Turn the outer shell right side out. Baste the raw ends of the hanging loop to the back top edge of the stocking, about 1 inch from the back side seam. The loop should point downward into the stocking so it will be caught correctly in the next seam.

Step 14: Join the Outer and Lining
Turn the lining wrong side out? No—keep the lining wrong side out, and place the outer shell right side out inside the lining so the right sides are facing each other. Match the side seams and the top raw edges carefully, then pin or clip all the way around.
Step 15: Sew Around the Top Edge
Sew all the way around the top edge using a ¼-inch seam allowance, catching the hanging loop securely in the seam. This joins the outer shell and the lining into one unit while leaving the turning gap in the lining untouched.

Step 16: Turn the Stocking Right Side Out
Reach through the opening left in the lining and gently pull the entire stocking through to the right side. Use a blunt point turner or a chopstick to shape the toe and heel neatly. Once the shape looks clean, press the top edge and the cuff fold line.
Step 17: Close the Lining Opening and Form the Cuff
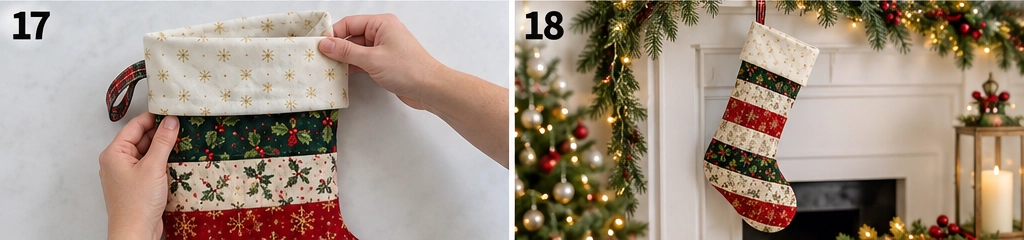
Close the 3-inch opening in the lining with a narrow machine seam or a hand ladder stitch. Push the lining down inside the stocking, then fold the extra 3½ inches of lining over the outside to create a cuff about 3 inches deep. Tack the cuff lightly at the side seams if you want it to stay in place.
Step 18: Finish and Embellish
Give the stocking a final press and add any optional trim, name tag, ric-rac, or pom-pom edging to the cuff. The stocking is now ready to hang, fill, and use year after year. A finished handmade stocking like this is also lovely for gifting because it feels personal while still being practical.
A Few Helpful Notes
- If your jelly roll includes very dark reds and greens, add at least one cream or gold strip to each panel so the patchwork does not look too heavy.
- Low-loft batting is best here because it gives body without making the curves bulky.
- If you want a slightly larger stocking, enlarge the template by 5–10% and add an extra strip or two to each panel.
Other Design Inspirations – Digitally Modified Images. Texture and color may vary from the actual product.

3. Plaid and Buffalo Check Quilted Christmas Stocking for Rustic Farmhouse Charm
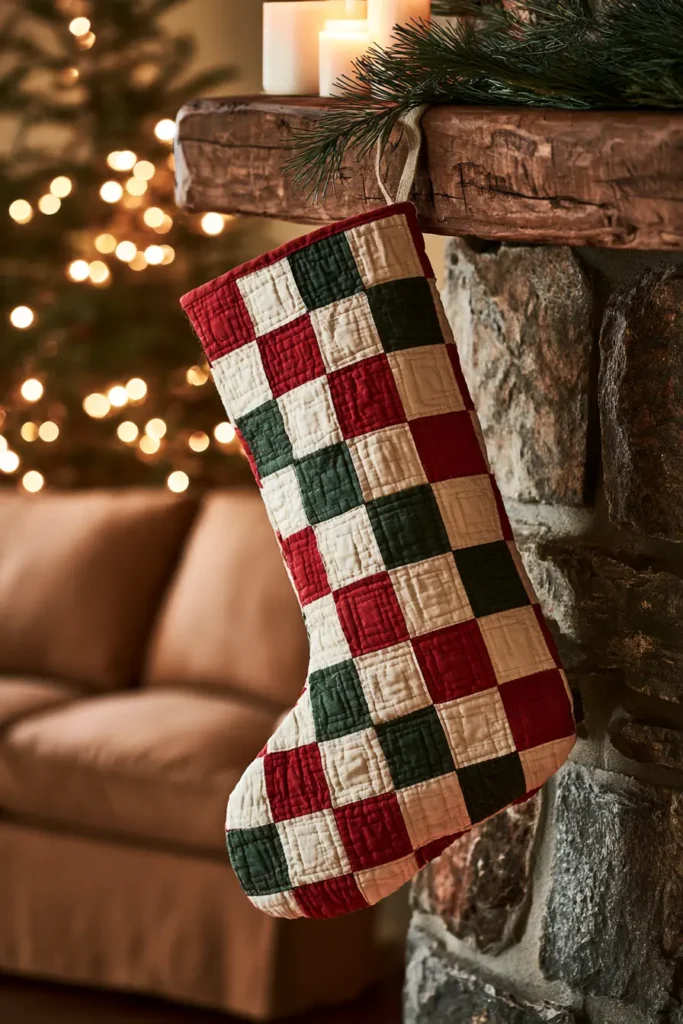
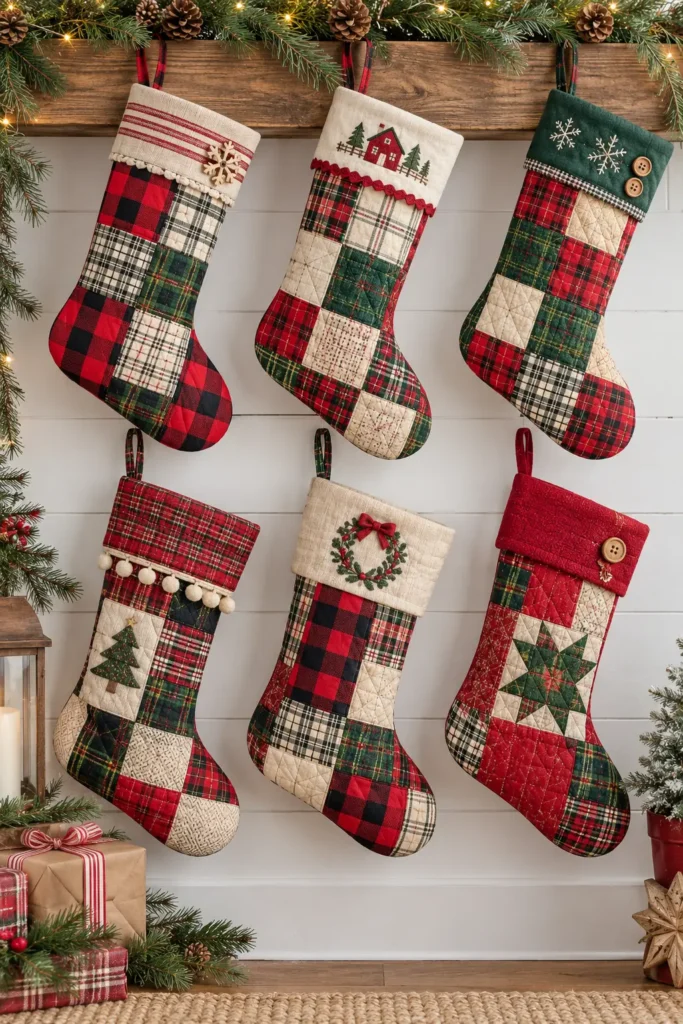
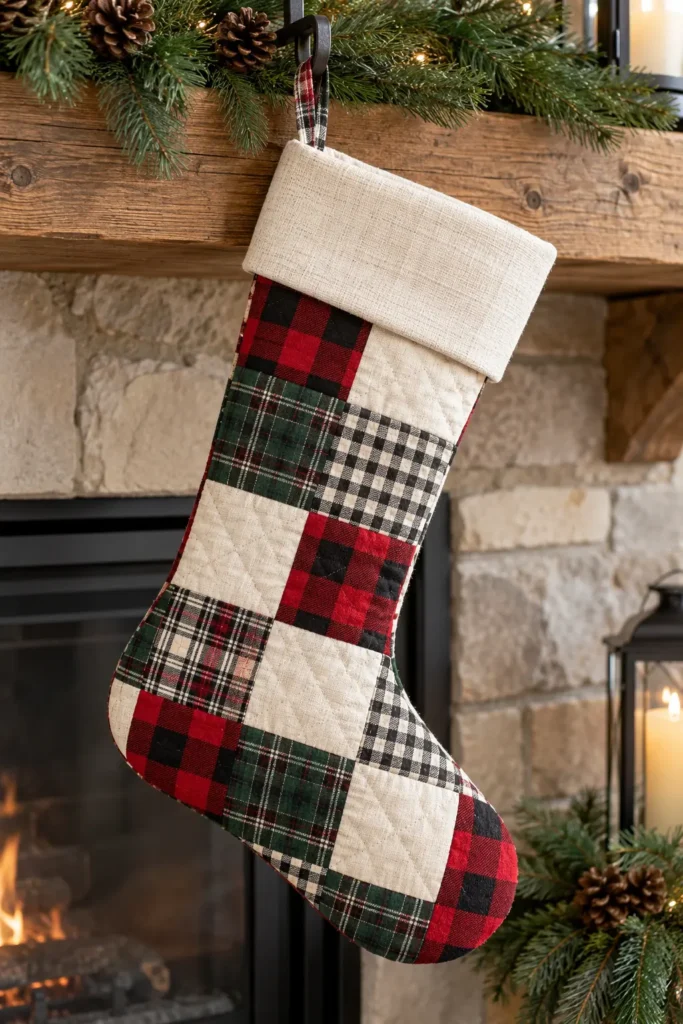
Plaid and buffalo check quilted Christmas stockings have an easy warmth that suits both traditional holiday decorating and relaxed farmhouse interiors. The combination of classic checks, soft quilting, and a structured stocking shape gives this project a handmade look that feels festive without being overly fussy. It is especially appealing if you like Christmas décor with a cozy cabin feel, natural textures, and timeless red, black, cream, and evergreen tones.
Buffalo check has long been associated with practical cold-weather textiles, especially wool shirts, blankets, and rustic lodge fabrics. That history makes it a natural match for Christmas sewing, where texture and familiarity matter as much as color. In a stocking, the bold check reads clearly from a distance, while smaller plaids and supportive solid prints keep the design balanced and easy to piece.
Finished Size
Approximately 8 1/2 inches wide across the opening and 18 inches tall, not including the hanging loop.
Why this design works so well
This stocking is quick enough for seasonal sewing, but detailed enough to look special on a mantel. The plaid patchwork creates a full quilted look without requiring tiny pieces, and the contrast between bold buffalo check and softer supporting plaids gives the stocking more depth than a single-fabric design.
Design Inspirations – Digitally Modified Images. Texture and color may vary from the actual product.
Materials
- Red and black buffalo check fabric – 1 fat quarter
- Evergreen plaid fabric – 1 fat quarter
- Cream and black small-scale plaid or check fabric – 1 fat quarter
- Solid cream or ivory fabric – 1 fat quarter
- Lining fabric – 1/3 yard
- Cuff fabric – 1/4 yard
- Good options: cream linen-look cotton, red plaid, or soft oatmeal cotton
- Low-loft cotton batting – 1/4 yard
- Muslin or lightweight backing fabric for quilting – 1/4 yard
- Hanging loop fabric – scrap measuring at least 2 1/2″ × 8″
- Coordinating thread
- Stocking template
- Rotary cutter, ruler, mat
- Pins or clips
- Sewing machine
- Ironing surface for pressing seams between steps
Cutting list
For the patchwork outer panels
Cut the following:
- 8 buffalo check squares at 2 1/2″ × 2 1/2″
- 8 evergreen plaid squares at 2 1/2″ × 2 1/2″
- 8 cream plaid/check squares at 2 1/2″ × 2 1/2″
- 8 solid cream squares at 2 1/2″ × 2 1/2″
This gives you 32 squares total, enough to make 2 pieced panels, each arranged as 4 squares across × 4 squares down.
Each finished quilted panel will begin at about 8 1/2″ × 8 1/2″, then be extended with cuff-area fabric so the stocking template fits comfortably.
Additional pieces
- 2 upper extension rectangles for the outer panel, each 8 1/2″ × 8″
- 2 cuff pieces at 9″ × 6 1/2″
- 2 lining pieces cut from the stocking template
- 2 batting pieces about 11″ × 20″
- 2 muslin backing pieces about 11″ × 20″
- 1 hanging loop strip at 2 1/2″ × 8″
Assembly at a Glance
Piece two checked patchwork panels, attach upper extension sections, quilt each panel with batting and backing, cut mirrored stocking shapes, sew the outer stocking, prepare the cuff and lining, insert the loop, join the layers, then turn, top-finish, and shape the stocking.
Step-by-Step Guide
Step 1: Prepare the stocking template
Choose or draw a stocking template measuring about 8 1/2″ wide at the top and 18″ tall. A gently curved leg and rounded toe are easier to sew and turn than a very narrow pointed toe. Mark the template clearly so you can cut one left-facing and one right-facing shape.

Step 2: Plan the plaid layout
Lay out the 32 patchwork squares into 2 matching panel arrangements. For each panel, use 16 squares in a 4 × 4 grid. Alternate buffalo check with evergreen plaid, cream plaid, and solid cream so the bold red-and-black checks do not overpower the whole design.
Step 3: Sew the first panel in rows
Sew the first panel together in 4 rows of 4 squares each using a 1/4-inch seam allowance. Press the seams in alternating directions from row to row so the seam intersections nest neatly.

Step 4: Join the rows
Sew the four rows together to complete the first patchwork panel. Press flat. The panel should measure about 8 1/2″ × 8 1/2″ unfinished.
Step 5: Sew the second panel
Repeat the same process for the second patchwork panel. If you want the front and back to coordinate without looking identical, keep the same palette but vary the position of the buffalo check squares slightly.

Step 6: Add the upper extension sections
Sew one 8 1/2″ × 8″ extension rectangle to the top of each patchwork panel. Press the seam upward. Each full outer panel should now measure about 8 1/2″ × 16″.
Step 7: Prepare the quilting layers
For each outer panel, cut one batting piece and one muslin backing piece slightly larger than the finished panel, about 11″ × 20″. Layer each set as follows: muslin backing on the bottom, batting in the middle, and the pieced outer panel on top.

Step 8: Baste the quilt sandwich
Smooth each quilt sandwich carefully and pin or baste it so nothing shifts during quilting. Since stockings are small, good basting helps keep the checks and seam lines from warping.
Step 9: Quilt the outer panels
Quilt both panels with lines spaced about 1 1/2″ apart. Straight-line quilting works especially well here. You can quilt vertically through the piecing, diagonally for a slightly livelier look, or use a simple grid that echoes the check pattern.

Step 10: Trim and square the quilted panels
After quilting, trim each quilted panel neatly, making sure the top extension and patchwork section remain square and flat. This is the best time to tidy uneven edges caused by quilting draw-up.
Step 11: Cut the outer stocking shapes
Place the stocking template over the first quilted panel and cut one outer stocking piece. Flip the template over and cut the mirror-image second outer stocking piece from the second panel. Keep the patchwork section toward the foot and lower body of the stocking, with the simpler upper extension area near the cuff.

Step 12: Cut the lining pieces
Using the same stocking template, cut 2 lining pieces from the lining fabric, one mirrored to the other. If your lining fabric has a directional print, make sure the motif runs upright.
Step 13: Make the hanging loop
Fold the 2 1/2″ × 8″ hanging loop strip in half lengthwise, press, open it, then fold the long raw edges inward to the center. Fold again and stitch along both long sides. Fold the finished strip in half to form a loop measuring about 3 1/2″ long.

Step 14: Sew the outer stocking
Place the 2 quilted outer stocking pieces right sides together. Insert the hanging loop at the top back edge, with the loop facing inward between the layers and the raw ends aligned with the raw top edge. Sew around the curved sides and toe with a 1/4-inch seam allowance, leaving the top edge open.
Step 15: Clip the curves
Trim the seam allowance slightly and clip carefully around the inner heel curve and toe curve. This helps the stocking turn smoothly and keeps the rounded areas from bunching.

Step 16: Sew the lining
Place the 2 lining pieces right sides together and sew around the same curved edges, leaving the top edge open and also leaving a 3-inch turning gap along one side seam. Clip the curves as needed.
Step 17: Prepare and attach the cuff
Sew the 2 cuff pieces together along the short sides to make a ring. Fold the ring in half wrong sides together so it measures about 9″ × 3 1/4″ finished. Slip the folded cuff inside the outer stocking, aligning raw edges at the top. Then place the lining over the outer stocking, right sides together, sandwiching the cuff between the layers. Match side seams and top edges, then sew all the way around the top with a 1/4-inch seam allowance.

Step 18: Turn, finish, and shape
Pull the stocking right side out through the opening in the lining. Stitch the lining opening closed by machine or hand. Push the lining into the stocking, roll the top edge gently with your fingers, and press the cuff into place. The finished stocking should stand with a soft but structured shape, bold plaid definition, and a cozy farmhouse look.
Styling and color notes
For the most classic farmhouse version, use red and black buffalo check, evergreen plaid, soft cream, and black accents. If you want a slightly gentler rustic look, swap the black-heavy plaid for taupe, warm gray, or soft charcoal. A cream cuff keeps the top visually lighter, while a red plaid cuff gives the stocking a stronger Christmas feel.
Practical tips
Keep the checks balanced
Buffalo check is visually heavy, so it works best when paired with at least one lighter fabric. Too much bold check in every square can make the stocking look blocky rather than cozy.
Choose low-loft batting
A thin cotton batting helps the stocking hold its shape without becoming stiff or bulky around the curves.
Make a matching set
This pattern works very well as a batch-sewing project. Once the template and patchwork grid are established, it is easy to make several coordinated stockings for a whole family.
Other Design Inspirations – Digitally Modified Images. Texture and color may vary from the actual product.

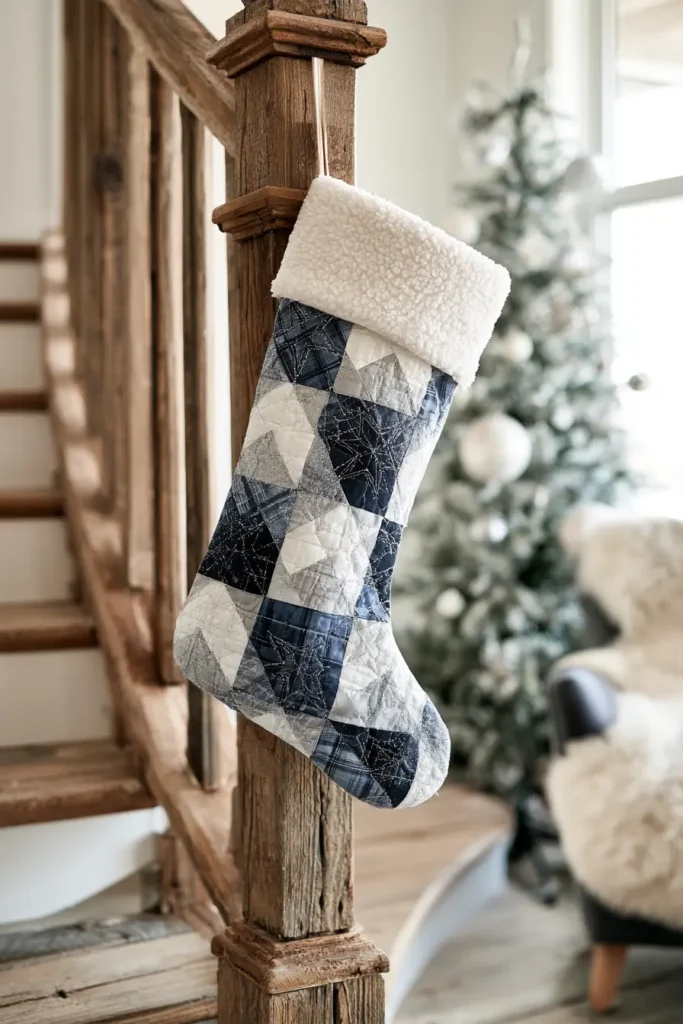

4. Christmas Tree Patchwork Quilted Stocking for Festive Décor
Design Inspirations – Digitally Modified Images. Texture and color may vary from the actual product.
Other Design Inspirations – Digitally Modified Images. Texture and color may vary from the actual product.
5. Snowflake Quilted Christmas Stocking for Winter Elegance
Design Inspirations – Digitally Modified Images. Texture and color may vary from the actual product.
Other Design Inspirations – Digitally Modified Images. Texture and color may vary from the actual product.
6. Log Cabin Quilted Christmas Stocking in Traditional Holiday Colors
Design Inspirations – Digitally Modified Images. Texture and color may vary from the actual product.
Other Design Inspirations – Digitally Modified Images. Texture and color may vary from the actual product.
7. Scrappy Quilted Christmas Stocking Using Fabric Leftovers
Design Inspirations – Digitally Modified Images. Texture and color may vary from the actual product.
Other Design Inspirations – Digitally Modified Images. Texture and color may vary from the actual product.
8. Reversible Quilted Christmas Stocking for Two Festive Looks
Design Inspirations – Digitally Modified Images. Texture and color may vary from the actual product.
Other Design Inspirations – Digitally Modified Images. Texture and color may vary from the actual product.
Design Inspirations – Digitally Modified Images. Texture and color may vary from the actual product.
Other Design Inspirations – Digitally Modified Images. Texture and color may vary from the actual product.
10. Gold and Cream Quilted Christmas Stockings for Elegant Mantel Décor
Design Inspirations – Digitally Modified Images. Texture and color may vary from the actual product.
Other Design Inspirations – Digitally Modified Images. Texture and color may vary from the actual product.
11. Personalized Patchwork Quilted Christmas Stocking for the Family Mantel
Design Inspirations – Digitally Modified Images. Texture and color may vary from the actual product.
Other Design Inspirations – Digitally Modified Images. Texture and color may vary from the actual product.
12. Mini Quilted Christmas Stocking for Gift Cards and Tree Ornaments
Design Inspirations – Digitally Modified Images. Texture and color may vary from the actual product.
Other Design Inspirations – Digitally Modified Images. Texture and color may vary from the actual product.
Conclusion
The mantel is the most looked-at surface in a house through December, and a row of quilted stockings on it tells something true about the people who live there – how many there are, what they love, who made them and when. A bought stocking fills the same practical role, but it doesn’t carry any of that. A handmade one does, and it keeps doing it for as long as it survives.
Quilted Christmas Stocking Ideas
The best Quilted Christmas stocking ideas match both the maker and the person receiving them. Choose the classic red-and-green patchwork or log cabin for a traditional mantel that works with any style of decorations. Reach for the plaid or buffalo check when the house leans rustic and cozy.
Make the snowflake or Scandinavian stocking when you want the palette to feel calm and elegant. Use the jelly roll or scrappy version when you’re on a deadline or have a basket of Christmas fabric waiting to be used. Make the reversible stocking when someone genuinely wants two options. And if you’re making one to last – one that might hang on a mantel long after you’re not there to see it – make the personalized one, put a name on the cuff, and add the year somewhere inside.

