
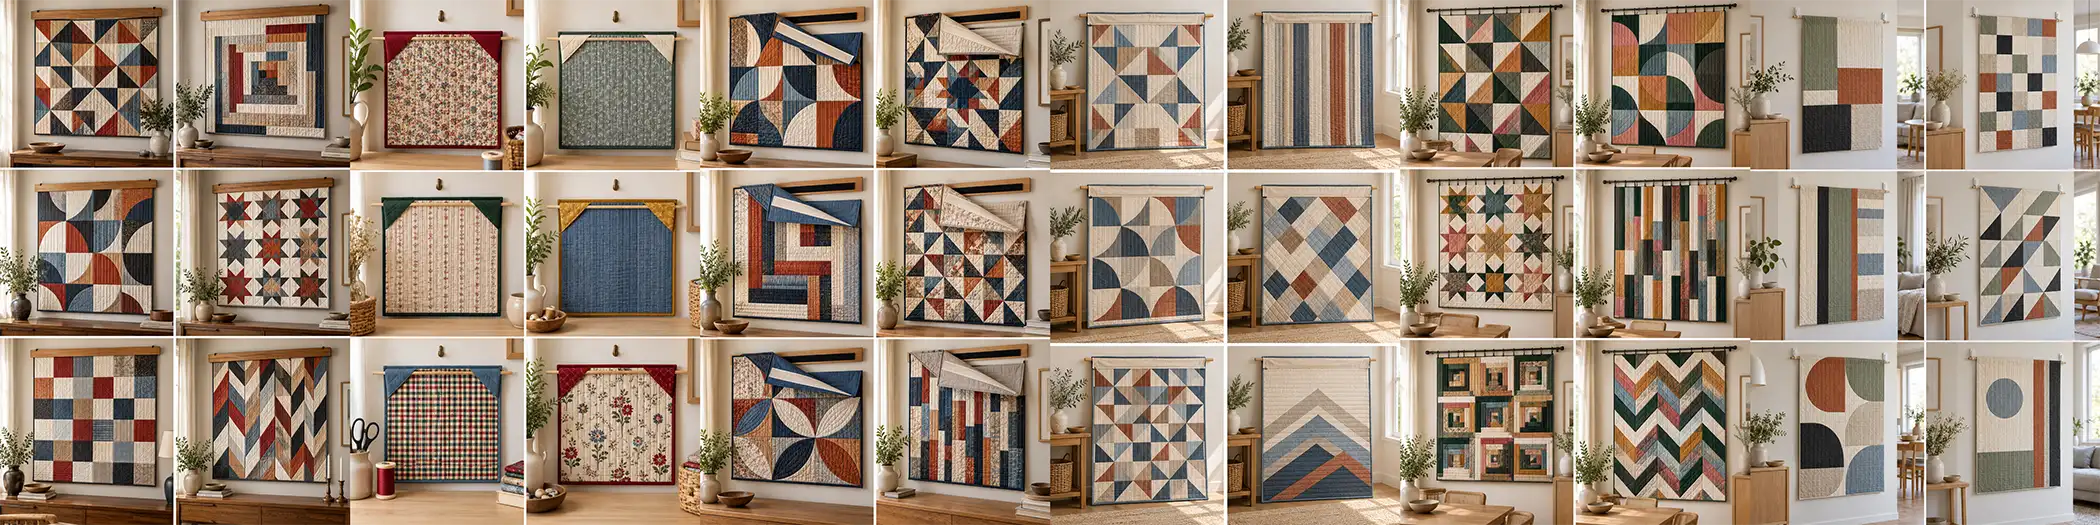
How to Hang a Quilt Wall Hanging: Sleeves, Rods, Clips, and No-Nail Options
A quilt on the wall brings warmth, color, texture, and handmade character to a room in a way that ordinary framed art rarely can. But a quilt is also a flexible, layered textile. Unlike a rigid picture frame, it responds to gravity. If too much weight is concentrated at a few corners or clips, the upper edge can sag, seams can stretch, and the quilt may gradually lose its shape.
The best way to hang a quilt depends on its size, weight, condition, and how permanently you want to display it. A sturdy modern wall quilt has many more options than a fragile antique. Likewise, a 20-inch mini quilt can hang from a lightweight dowel, while a queen-size quilt needs considerably more support.
For many medium and large quilts, a fabric hanging sleeve and rigid rod offers a simple way to distribute support across the upper edge. Full-width wooden quilt hangers and properly constructed hook-and-loop systems are other useful options. Clips can work well for lighter contemporary quilts, while mini quilts can often be hung from small corner pockets. Renters also have several no-nail choices, provided the quilt and hardware remain comfortably within the wall hardware manufacturer’s load limits.
Quick Decision Guide: Which Quilt-Hanging Method Should You Use?
| Hanging Method | Best For | Sewing Needed? | Wall Holes? | Main Advantage |
|---|---|---|---|---|
| Hanging sleeve + rod | Medium, large, and long-term displays | Yes | Usually | Even support across the width |
| Wooden compression hanger | Sturdy modern quilts | No | Usually | Attractive, easy no-sew display |
| Padded clips + rod | Lightweight contemporary quilts | No | Usually | Quick seasonal changes |
| Corner triangles + dowel | Mini quilts and small wall hangings | Minimal | Optional | Simple and nearly invisible |
| Sewn hook-and-loop support | Medium or large flat quilts | Yes | Usually | Broad, flush support |
| Removable hooks + lightweight rod | Mini and lightweight quilts | Usually sleeve or pockets | No | Renter-friendly |
There is no single method that is perfect for every quilt. The safest choice is the one that spreads the quilt’s weight adequately without puncturing, crushing, stretching, or sticking adhesive directly to the fabric.
Before You Hang: Check the Quilt and the Wall
A few minutes of preparation can prevent a poor hanging method from damaging a quilt over time.
Check the Quilt’s Size, Weight, and Condition
Start by measuring the quilt and estimating its weight. A small cotton wall hanging with low-loft batting places very little load on a hanger. A large quilt made with dense batting, denim, wool, multiple layers, or heavy embellishment is a different matter.
Look closely at the backing, binding, seams, and quilting stitches. A modern quilt in sound condition can usually support its own weight when properly hung. An antique or heirloom quilt may have weakened fibers, brittle thread, worn fold lines, or fragile fabrics that make prolonged vertical display inappropriate.
If an old quilt is splitting, shedding fibers, or pulling apart at the seams, hanging it may do more harm than good. A professional textile conservator can advise you about displaying particularly valuable or fragile pieces.
Never Nail, Staple, or Tape Through the Quilt
Avoid driving nails, tacks, pushpins, or staples directly through quilt fabric. These create concentrated stress points and permanent holes, and exposed metal can eventually stain or abrade textile fibers.
Adhesive tape and removable mounting strips should also never be stuck directly onto the quilt. If you use adhesive wall hardware, it should support a rod, dowel, bracket, or another hanging component. The adhesive belongs on the wall, not on the textile.
Look at the Display Location
Choose a clean, dry wall away from persistent direct sunlight, heating vents, radiators, working fireplaces, and damp areas.
Light exposure is especially important for quilts with deep reds, blues, natural dyes, or vintage fabrics. Fading is cumulative and cannot be reversed. A valuable quilt is better rotated on and off display rather than left in strong light year-round.
Quilt Wall Hanging Ideas
Method 1: Hanging a Quilt with a Sleeve and Rod
Design Inspirations – Digitally Modified Images. Texture and color may vary from the actual product.
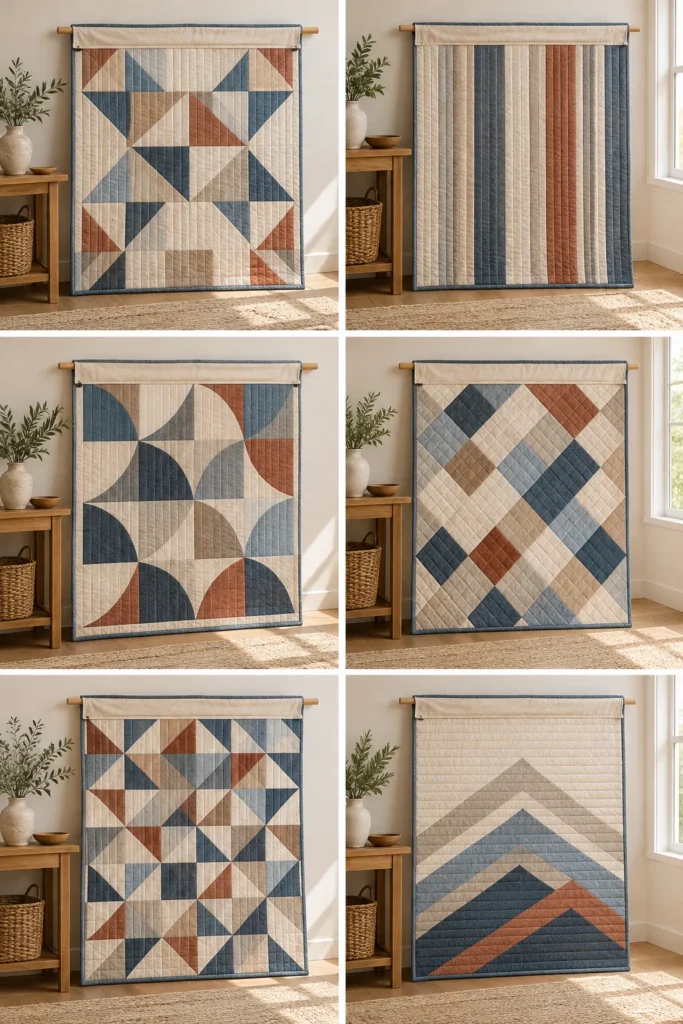
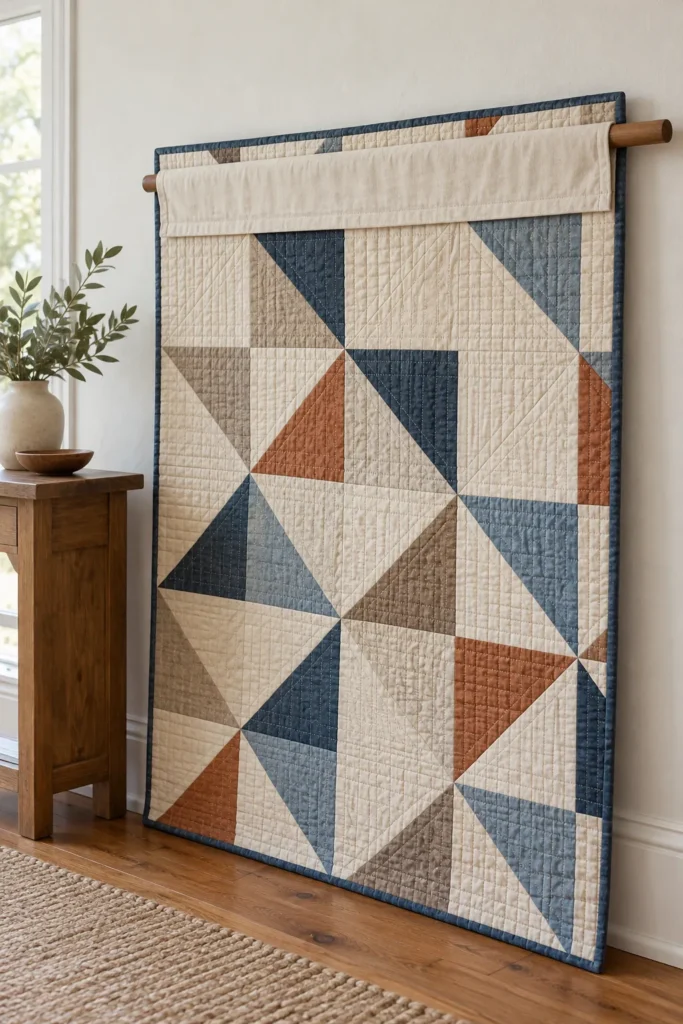
A fabric hanging sleeve is one of the most familiar ways to display a quilt. It is simply a fabric tube sewn horizontally across the upper back of the quilt. A rod, dowel, or bar passes through the sleeve and rests on wall-mounted supports.
Because the sleeve runs across most of the quilt’s width, it spreads the load much more evenly than hanging the quilt from a couple of corners.
The American Quilter’s Society uses hanging sleeves for show quilts and provides instructions based on an approximately 4-inch finished sleeve with additional fullness so the hanging hardware does not create a ridge on the quilt front.
How to Make and Attach a Quilt Hanging Sleeve
For a medium or large finished quilt, start with a strip of sturdy, prewashed cotton approximately 8½ inches wide and close to the width of the quilt.
Finish the two short ends so they will not fray. Fold and sew the strip into a tube, but allow a little fullness rather than pressing it completely flat against the quilt. That extra depth gives the rod somewhere to sit without pushing outward against the quilt front.
Position the sleeve slightly below the top binding on the back. Hand-stitch the upper and lower edges securely to the backing, taking care not to sew through the quilt top.
For an especially wide quilt, two sleeve sections with a small gap in the middle can be useful. The gap allows a center rod bracket to support the hanging bar.
Choosing a Rod or Dowel
The rod must be stiff enough that it does not noticeably bow under the quilt’s weight.
Possible choices include:
- a smooth sealed hardwood dowel;
- a sturdy curtain rod;
- a rigid metal bar designed for the span;
- a decorative rod with visible finials.
For wide or heavy quilts, use an intermediate support where appropriate. A bowed rod creates the same visual problem as an unsupported quilt: the middle drops and the entire display begins to look distorted.
If wood will be in close proximity to a valuable textile, use a properly prepared barrier or sealed surface rather than allowing an heirloom quilt to remain in direct contact with untreated wood.
Method 2: Wooden Quilt Hangers and Compression Bars
Design Inspirations – Digitally Modified Images. Texture and color may vary from the actual product.
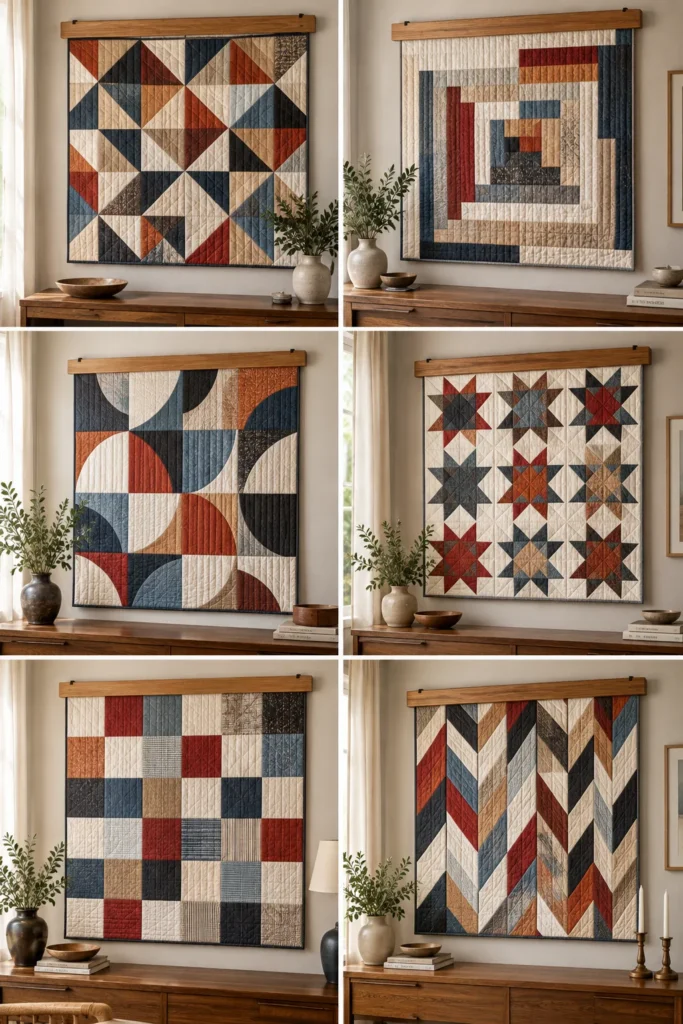
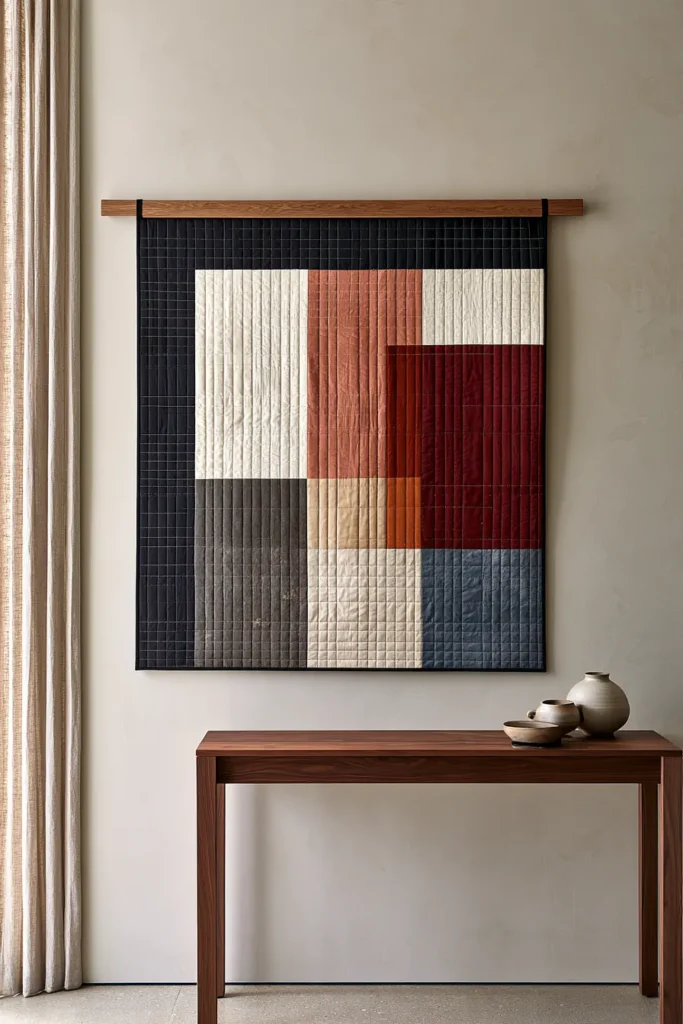
If you do not want to sew a sleeve onto the quilt, a full-width wooden quilt hanger can provide an attractive alternative.
These hangers usually consist of two smooth wooden bars that grip the top edge of the quilt between them. The system functions somewhat like a long clamp, distributing pressure across a broad area instead of puncturing the fabric.
They work particularly well in farmhouse, traditional, rustic, and transitional interiors because the wood itself becomes part of the display.
Full-Width Support Is Better Than Two Tiny Clamps
There is an important difference between a long compression hanger and two small wooden clamps positioned at the outer corners.
A full-width system spreads support along much of the top edge. Two small clamps concentrate the quilt’s weight into two narrow points.
For a small lightweight wall hanging, small clamps may be adequate. For a substantial quilt, broader support is preferable.
Check the Gripping Surface
The inside of the hanger should be clean, smooth, and free from splinters or rough hardware. Avoid overtightening a compression hanger until it crushes the binding or batting.
For valuable textiles, be more conservative about what materials touch the fabric and how much pressure is applied.
Method 3: Hanging a Quilt with Clips
Design Inspirations – Digitally Modified Images. Texture and color may vary from the actual product.
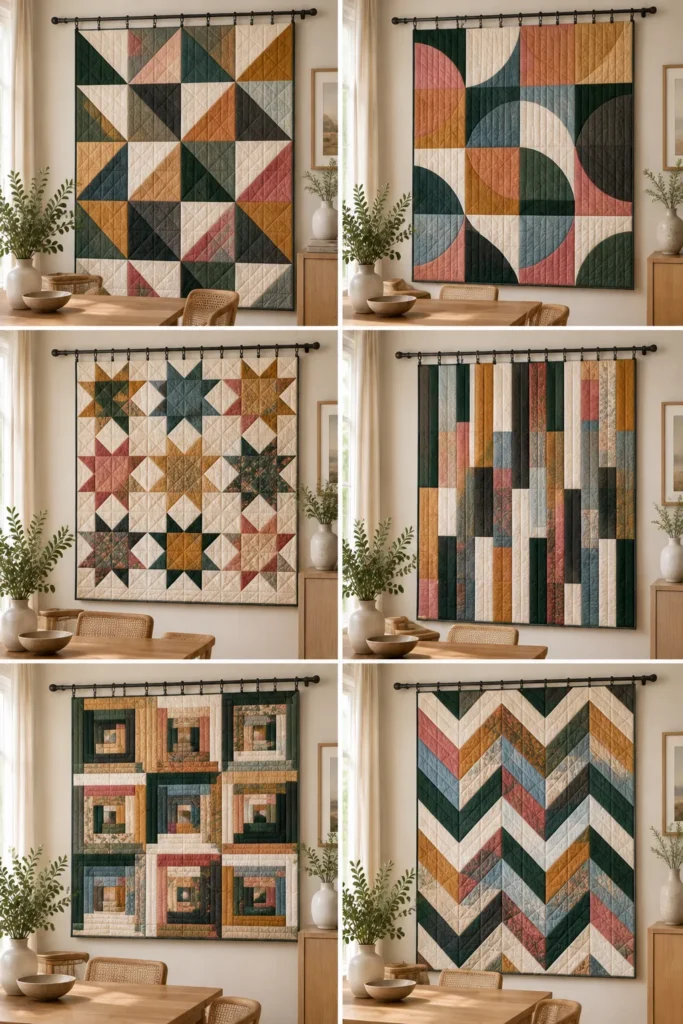
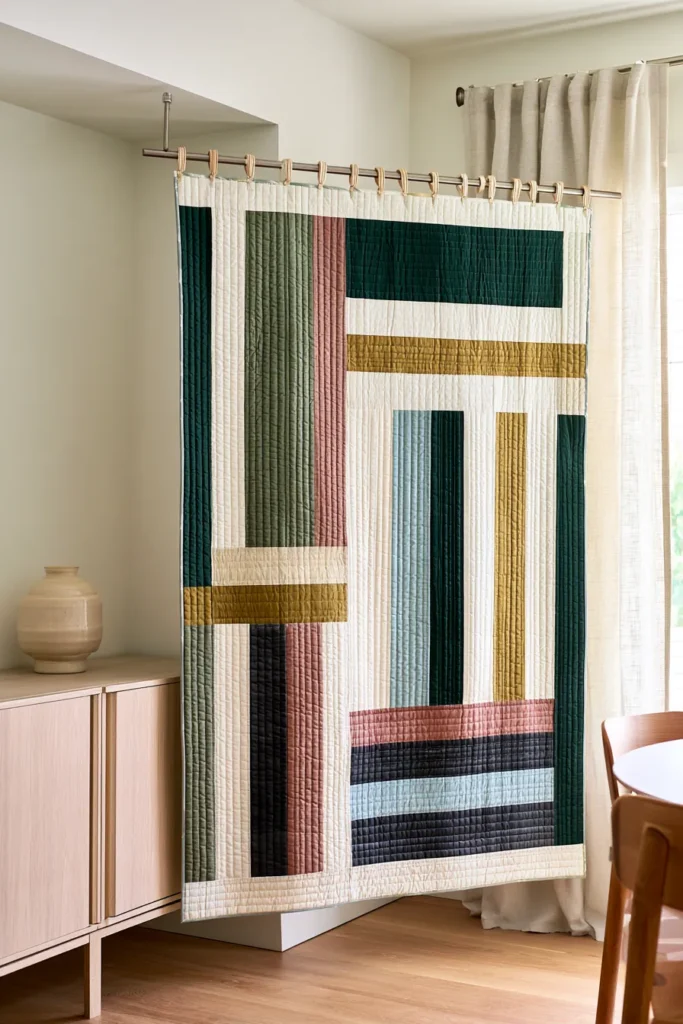
Curtain-ring clips and purpose-made quilt clips offer one of the quickest ways to display a sturdy modern quilt.
They are especially convenient when you rotate seasonal wall hangings frequently. A Christmas quilt can come down after the holidays and a spring quilt can take its place without removing a sewn sleeve or changing the wall hardware.
The main limitation is that every clip is a separate load point.
Use Enough Clips
Imagine hanging a quilt from only the two top corners. The center would immediately droop.
Adding a few more clips helps, but widely spaced clips can still produce visible scallops along the top edge.
For a sturdy, lightweight-to-medium contemporary quilt, distribute the clips closely and evenly across the full width so no single clip carries a large share of the load.
Protect the Fabric from the Clip Jaws
Some inexpensive curtain clips have small metal teeth. These are useful for gripping curtains but can leave pressure marks or abrasion on quilt binding.
Choose smooth or padded clips where possible. If necessary, place a protective felt or fabric layer between the jaws and the quilt.
Clips are not my first choice for fragile antique quilts, loosely woven vintage textiles, or particularly heavy pieces.
Method 4: Corner Triangles and a Dowel for Mini Quilts
Design Inspirations – Digitally Modified Images. Texture and color may vary from the actual product.
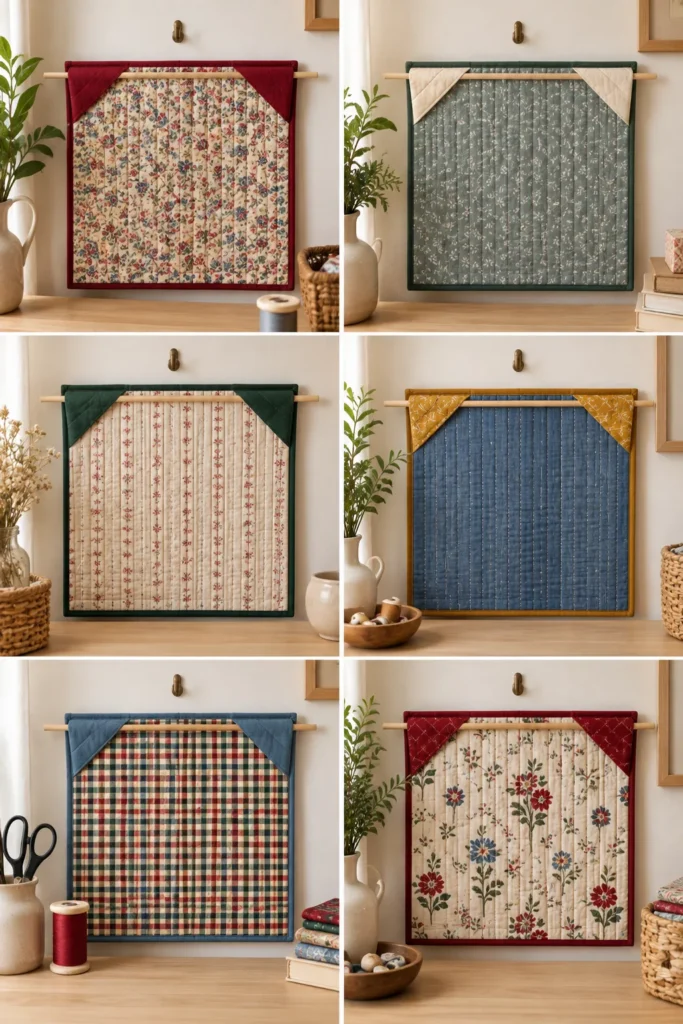
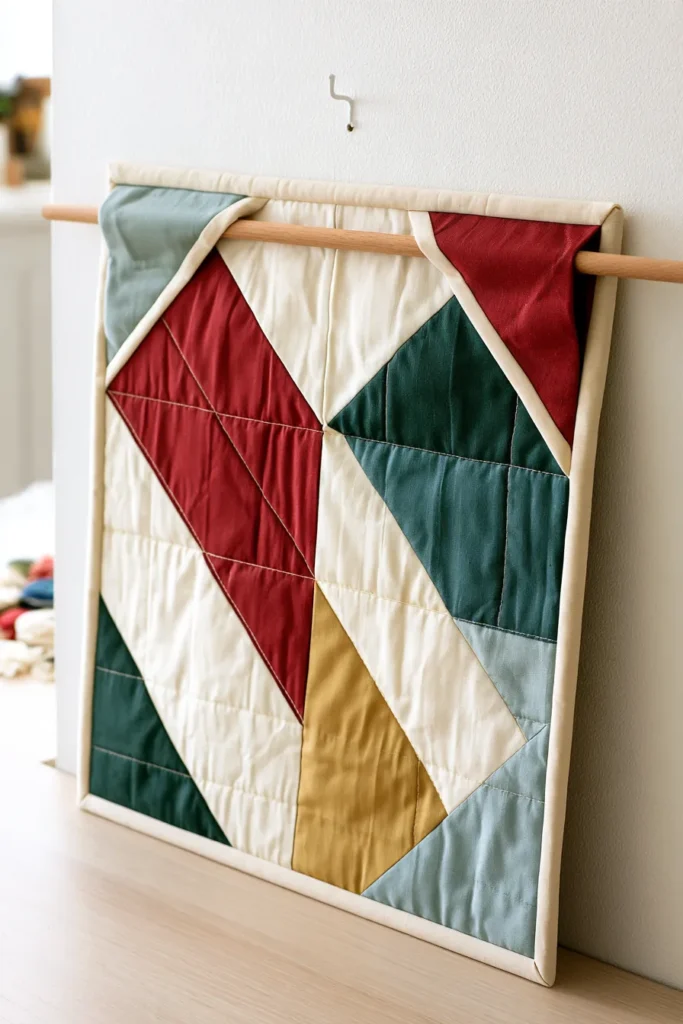
Mini quilts do not usually need the bulky hanging system required by a bed-size quilt.
A particularly neat solution is to sew two fabric triangles into the upper corners on the back of the quilt. These create small pockets that hold the ends of a thin dowel.
You can add the triangles while attaching the binding, or hand-stitch suitable pockets to an already finished mini quilt.
For example, fold two small squares of cotton diagonally into triangles. Position one in each upper back corner with the folded edges facing inward. Once secured, slide a thin dowel or flat wooden slat between the two pockets.
The center of the dowel can then rest on a small picture hook or suitable removable wall hook hidden behind the quilt.
The result is wonderfully clean: from the front, neither the pockets nor the rod need to be visible.
This method works particularly well for:
- mini patchwork quilts;
- mug-rug-size textile art;
- small Christmas wall hangings;
- narrow hallway quilts;
- seasonal pieces that are regularly changed.
Method 5: Hook-and-Loop Support for Flat Quilts
Design Inspirations – Digitally Modified Images. Texture and color may vary from the actual product.
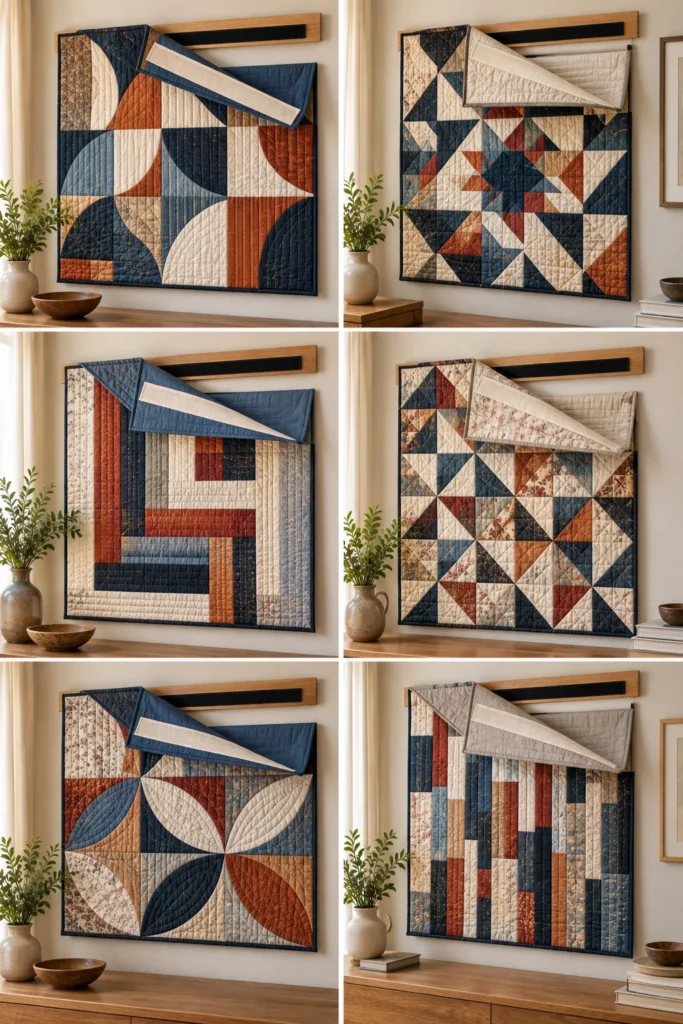
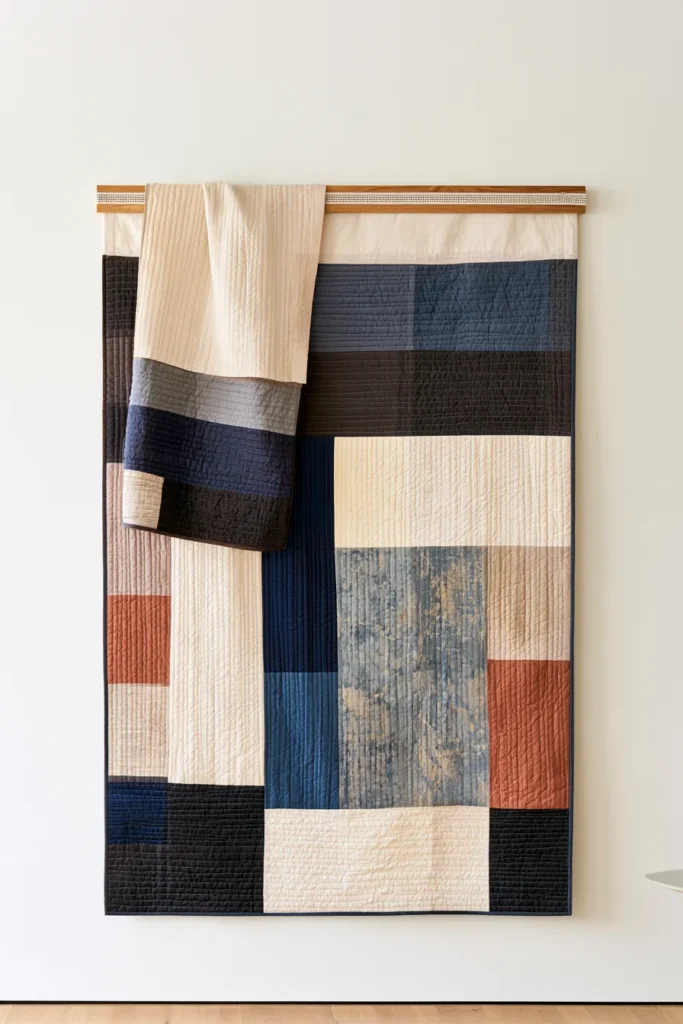
A properly constructed hook-and-loop system is quite different from sticking adhesive Velcro onto fabric.
In conservation-style textile mounting, the support is designed to distribute the textile’s weight across the width. The Canadian Conservation Institute recommends this type of system for structurally sound flat textiles because it provides even support and reduces distortion.
How the System Works
The soft loop side of sew-on hook-and-loop tape is first sewn to a prepared cotton strip or sleeve.
That fabric support is then hand-stitched securely across the upper back of the quilt.
The corresponding hook side is mechanically attached to a smooth, appropriately prepared wooden support fixed to the wall.
The quilt is then pressed into place gradually across the width.
The important distinction is this:
The adhesive is not stuck to the quilt.
The hook-and-loop material is incorporated into a textile support that is actually sewn to the quilt backing.
This method can produce an especially clean display because the quilt sits close to the wall with no decorative rod visible.
It is best reserved for quilts that are structurally sound enough to support their own weight. Fragile textiles may require a more specialized conservation mount.
Method 6: No-Nail Options for Renters
Design Inspirations – Digitally Modified Images. Texture and color may vary from the actual product.
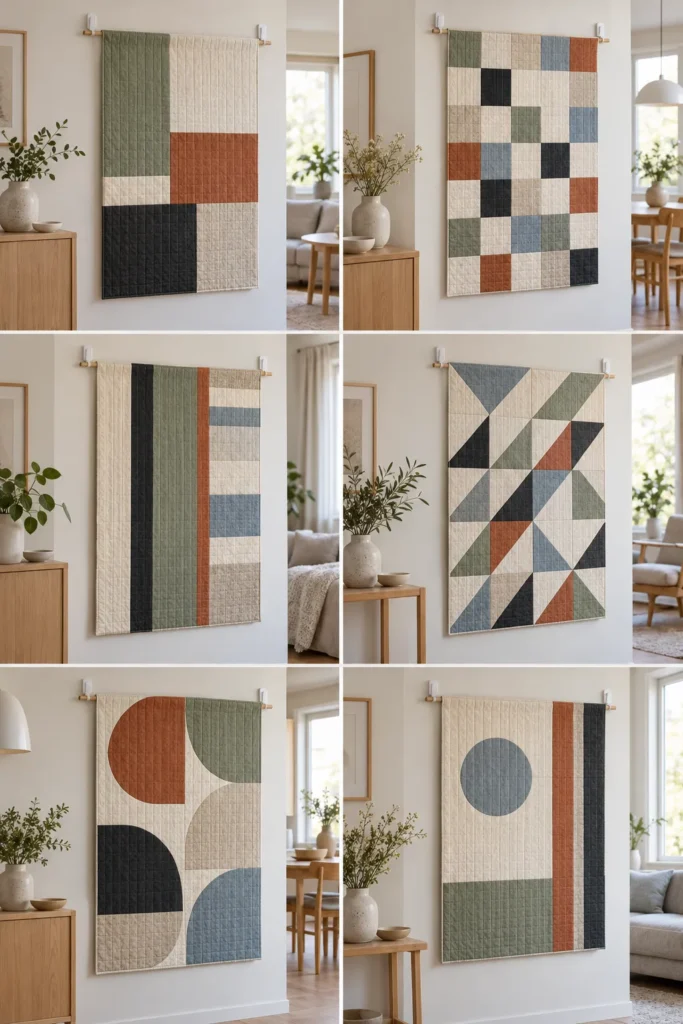
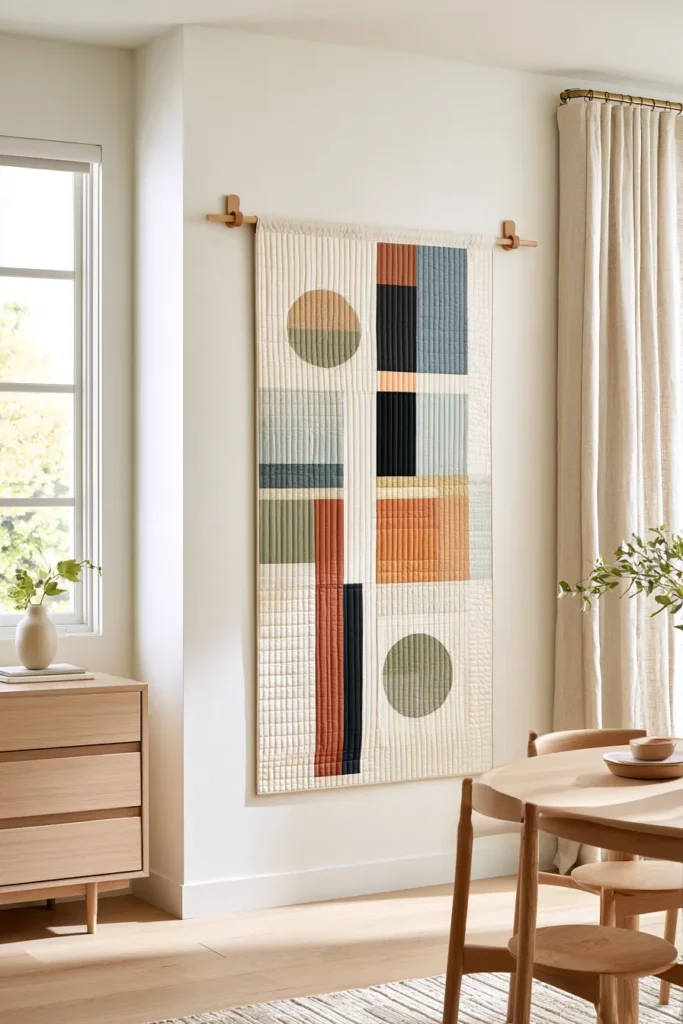
Not every wall can be drilled.
Renters, dorm residents, and anyone who simply prefers not to make holes can still display lightweight wall quilts, but no-nail systems need to be used conservatively.
Removable Wall Hooks with a Lightweight Rod
One simple arrangement uses two or more removable adhesive hooks to support a lightweight dowel or hollow café rod.
The quilt itself should hang from:
- a sleeve;
- corner pockets;
- another fabric-based support.
The removable hooks carry the rod. They should not be stuck onto the quilt.
Always check the manufacturer’s current load rating for the exact hook being used. Include both the quilt and the rod when considering the total load.
Paint condition, wall texture, humidity, installation technique, and curing time can affect adhesive performance, so no universal weight limit applies to every removable hook.
Tension Rods
A tension rod is useful when the architecture provides two opposing surfaces, such as:
- a recessed alcove;
- a deep window casing;
- a doorway;
- a wall niche.
A sleeved lightweight quilt can then hang from the rod without screws or adhesive.
A tension rod does not solve the problem on an ordinary open wall because it needs two opposing surfaces to create pressure.
Freestanding Quilt Ladders and Screens
A freestanding display avoids wall mounting altogether.
A smooth wooden quilt ladder can hold folded quilts on horizontal rungs, while a folding screen or traditional quilt rack can display larger pieces.
This does not present the entire quilt perfectly flat like a wall mount, but it works beautifully for casual home décor and seasonal rotation.
How to Hang Large and Heavy Quilts
A queen- or king-size quilt requires much more planning than a mini quilt.
The important principle is broad support.
Avoid hanging a heavy quilt from its two corners or from a handful of widely spaced clips. Concentrated tension can pull the upper edge out of shape.
Instead, consider:
- a full-width sleeve and rigid rod;
- a long compression hanger designed for the quilt’s size;
- a properly sewn hook-and-loop support system.
Wall brackets must also be capable of carrying the combined weight of the quilt and hanging hardware.
If the rod spans a long distance, use a suitable center support so it does not bow.
For particularly valuable, very old, damaged, or historically significant textiles, seek advice from a professional textile conservator before designing the mount. Conservation guidance emphasizes that oversized textiles sometimes need custom-made support rather than ordinary household hardware.
How to Hang Small and Mini Quilt Wall Hangings
Small quilts give you more flexibility because their weight is low.
Good options include:
Corner Triangles and a Dowel
One of the cleanest choices. The hardware disappears almost completely behind the quilt.
Mini Hanging Sleeve
A narrow sleeve works well when you want the same basic mounting method used for larger quilts without adding unnecessary bulk.
A sleeve around 1½ to 2 inches finished depth can suit many mini quilts with thin dowels, although the size should ultimately suit the actual rod being used.
Decorative Mini Hangers
Small wire hangers, split-bottom hangers, and miniature wooden compression bars can turn the hanging hardware into part of the design.
Magnetic Hangers
Magnetic wooden poster-style hangers may work for thin, lightweight contemporary wall quilts.
They are less suitable when thick batting or binding prevents the magnets from gripping securely, and I would not use them for fragile heirloom textiles.
How to Keep a Quilt Hanging Straight and Flat
Even a securely mounted quilt can look disappointing if it tilts, curls, or develops a wave along the bottom.
Level the Hardware First
Use a spirit level or laser level before drilling brackets or positioning hooks.
Geometric quilt blocks make even a small tilt very noticeable.
Give Folded Quilts Time to Relax
A quilt that has spent months folded in storage may retain visible creases when first hung.
Allow it time to relax naturally before trying aggressive methods to remove the folds.
Be especially cautious with steaming, moisture, or heat on vintage or fragile textiles.
Deal with Curling Lower Corners Carefully
If the lower edge of a modern wall quilt repeatedly curls outward, a lightweight lower sleeve or small back pockets can sometimes hold a thin dowel that helps the bottom edge remain straight.
Do not add substantial weight to the bottom of a fragile quilt simply to force it flat.
Start with Flat Construction
If you are making a quilt specifically as wall art, low-loft batting and carefully squared borders generally help the finished piece lie flatter than a very puffy construction.
Accurate borders matter too. A wavy border created during piecing or quilting will remain visible once the quilt is hanging vertically.
Where to Hang a Quilt – and Where Not To
Wall quilts can work beautifully:
- above a sofa;
- above an entryway console;
- on a dining-room feature wall;
- over a bed;
- along a staircase;
- in a hallway;
- in a craft room or sewing studio.
The best location is dry, clean, and protected from strong light.
Avoid Strong Direct Sunlight
Textiles are sensitive to light exposure. Colors can fade and fibers gradually weaken.
For quilts you particularly value, choose a wall away from strong direct window light and consider rotating the quilt rather than displaying it permanently.
The Canadian Conservation Institute recommends limiting display periods for collection textiles and emphasizes protection from damaging environmental exposure.
Avoid Damp Locations
Bathrooms, damp basements, poorly ventilated exterior walls, or areas with condensation are poor choices for textile display.
Moisture encourages mold and can create staining and odors.
Keep Quilts Away from Heat and Soot
Avoid hanging quilts immediately over:
- working fireplaces;
- radiators;
- heating vents;
- cooking areas where grease is airborne.
Avoid Rough Surfaces
Unfinished brick, splintered timber, and coarse masonry can snag quilt backing if the fabric rubs against the wall.
Allow a little airspace behind the quilt where appropriate.
Common Quilt-Hanging Mistakes to Avoid
1. Putting Nails or Staples Through the Quilt
Puncturing the textile creates permanent holes and concentrates the quilt’s weight around those points.
2. Sticking Adhesive Directly to Fabric
Even products marketed as removable wall adhesives are intended for suitable wall surfaces, not historic or valuable textiles.
3. Hanging a Heavy Quilt from Two Corners
This produces severe point loading and encourages the center to sag.
4. Using Too Few Clips
Large gaps between clips create visible scalloping and put more pressure on each individual grip point.
5. Using a Rod That Bows
If the rod bends, the quilt bends with it. Choose hardware appropriate to the width and weight.
6. Letting Rough Wood or Metal Rub Against the Quilt
Check all surfaces that touch the textile. Splinters, corrosion, sharp edges, and rough hardware can cause unnecessary damage.
7. Treating an Antique Quilt Like Ordinary Wall Décor
Age matters. A modern machine-quilted cotton wall hanging and a fragile 100-year-old quilt should not automatically be displayed in the same way.
8. Ignoring Sunlight and Moisture
A technically perfect hanging system cannot protect a quilt from a damaging environment.
Useful Supplies for Quilt Wall Hangings
You do not need every item on this list. Choose supplies that match the hanging method you actually plan to use.
Hanging Sleeve Fabric
Prewashed cotton muslin, broadcloth, or compatible quilting cotton works well for making a sleeve.
Wooden Dowels and Rods
Useful for sleeves and mini-quilt corner pockets. Choose a diameter and stiffness appropriate to the quilt.
Curtain Rods
A decorative rod can make the hardware part of the room design. For wide quilts, choose a sufficiently rigid rod and use appropriate intermediate support.
Wooden Quilt Hangers
Full-width compression-style hangers are useful when you want a decorative no-sew mounting method.
Curtain or Quilt Clips
Best for sturdy lightweight wall quilts that are changed regularly. Smooth or padded gripping surfaces are preferable.
Sew-On Hook-and-Loop Tape
Use sew-on, not adhesive-backed, material for the textile side of a properly constructed hook-and-loop support.
Removable Wall Hooks
Useful for lightweight renter-friendly displays when the total hanging weight remains comfortably within the manufacturer’s current rating.
Level and Measuring Tape
Two inexpensive tools that prevent a surprisingly large number of hanging problems.
Frequently Asked Questions
Can you hang a quilt without a sleeve?
Yes. If your quilt has no hanging sleeve and you’d rather not sew one, you can use a full-width wooden compression hanger, closely spaced padded curtain clips on a rod for sturdy lightweight-to-medium quilts, or a freestanding wooden blanket ladder.
For heavy or fragile quilts, a sleeve or a stitched hook-and-loop support is generally a better choice because the support can be distributed more evenly across the width.
How do you hang a quilt without nails?
Mount removable adhesive hooks on the wall, staying comfortably within the manufacturer’s current load rating, and support a lightweight dowel or hollow café rod on them.
Thread the rod through a sleeve or suitable corner pockets on the back of the quilt.
A spring tension rod inside a recessed alcove or window casing is another possibility, as is a freestanding quilt ladder.
Never stick adhesive tape or mounting strips directly onto quilt fabric.
Can removable hooks hold a quilt?
They can work for mini quilts and lightweight wall hangings when the combined weight of the quilt and rod is comfortably below the rating specified for the exact hook being used.
Ratings vary by product and can also be affected by the wall surface, paint, installation conditions, and humidity.
Avoid removable adhesive hooks for heavy bed-size quilts, fragile heirlooms, damp surfaces, textured walls, or freshly painted areas unless the product manufacturer specifically approves that use.
How do you hang a large quilt?
Use broad support across the top edge.
Good options include a hanging sleeve with a rigid rod, a suitable full-width compression hanger, or a properly stitched hook-and-loop support mounted to a secure wooden batten.
Use wall hardware rated for the load and add intermediate rod support where necessary to prevent bowing.
Do not hang a large quilt only from its corners or a handful of clips.
How do you hang a mini quilt?
One of the simplest methods is to sew two fabric triangle pockets into the upper back corners and slide a thin dowel between them.
The center of the dowel can then rest on a small wall hook.
Mini sleeves, small quilt hangers, and suitable magnetic hangers can also work for lightweight contemporary mini quilts.
Will clips damage a quilt?
They can if the quilt is heavy or fragile, too few clips are used, or sharp metal jaws bite directly into the binding.
For sturdy, lightweight modern quilts, distribute clips closely and evenly across the upper edge and use smooth or padded gripping surfaces.
I would avoid clip hanging for delicate antique quilts.
How wide should a quilt hanging sleeve be?
For many medium and large quilts, a sleeve around 4 inches finished depth is common. AQS’s show-hanging instructions use a sleeve cut 8½ inches wide and constructed with additional fullness for the hanging hardware.
Small wall quilts with thin dowels can use narrower sleeves.
Whatever size you choose, leave sufficient room for the rod so it does not force a ridge through the front of the quilt.
Can you hang an antique quilt on a wall?
Possibly, but only if the quilt is structurally sound enough to support its own weight.
Use a method that distributes support broadly, and keep the quilt away from strong light, heat, moisture, and abrasive surfaces.
If the textile is especially fragile, valuable, very large, or historically significant, consult a professional textile conservator before hanging it.
How do you keep a wall quilt from sagging?
Support as much of the upper width as practical and use a rod or hanger that stays rigid under the quilt’s weight.
Level the hardware before hanging.
If a sturdy modern wall quilt curls slightly along the lower edge, a narrow bottom sleeve or small rear corner pockets holding a lightweight dowel may help it remain flatter.
Can you hang a quilt on brick or concrete?
Yes, provided you use mounting hardware appropriate to masonry and suitable for the total load.
Before installing the quilt, make sure the wall is dry. Exterior masonry can sometimes transmit moisture or condensation.
Keep the textile from rubbing directly against rough brick or unfinished concrete, and leave some airspace behind it where possible.
Choosing the Right Way to Hang Your Quilt
There is no need to overcomplicate quilt display. Start with the textile itself.
For a substantial quilt that will stay on the wall for a while, a hanging sleeve and rigid rod provides broad, simple support.
For a sturdy modern quilt that you do not want to sew into, a full-width wooden compression hanger offers an attractive alternative.
Use closely spaced padded clips for lighter contemporary quilts that you change frequently, and corner triangles with a dowel for mini quilts.
A properly constructed sewn hook-and-loop support is useful when you want a broad, flat mount with little visible hardware, while removable hooks and lightweight rods can provide renter-friendly solutions for smaller quilts.
Whatever method you choose, protect the quilt itself first: distribute its weight, keep adhesives away from the fabric, avoid unnecessary punctures, and choose a dry wall away from strong sunlight and heat.
Once the display method is right, the quilt can do what it was meant to do on the wall – bring color, texture, craftsmanship, and personality into the room.
Explore More Quilt Wall Hanging Ideas

