
Jelly Roll Quilt Wall Hanging Ideas That Turn Fabric Strips Into Art
Jelly Roll Quilt Wall Hanging Ideas show how a bundle of coordinated 2½-inch fabric strips can become decorative textile art, not just the raw material for a bed quilt. Because the strips arrive already matched in color and scale, they invite arrangements built on rhythm, contrast, and repetition, from orderly light-and-dark blocks to flowing waves of graduated color.
On a wall, those arrangements play a different role than they do on a bed: they become focal points that add handmade texture and color without the space or weight of a full-size quilt. A small quilted piece can anchor an entryway, brighten a narrow stretch between doors, or give the wall above a sofa a softer, more personal alternative to framed prints. The range is wide, covering traditional pieced blocks, landscapes, seasonal motifs, bohemian textures, and restrained modern compositions.
Jelly Roll Quilt Wall Hanging Ideas
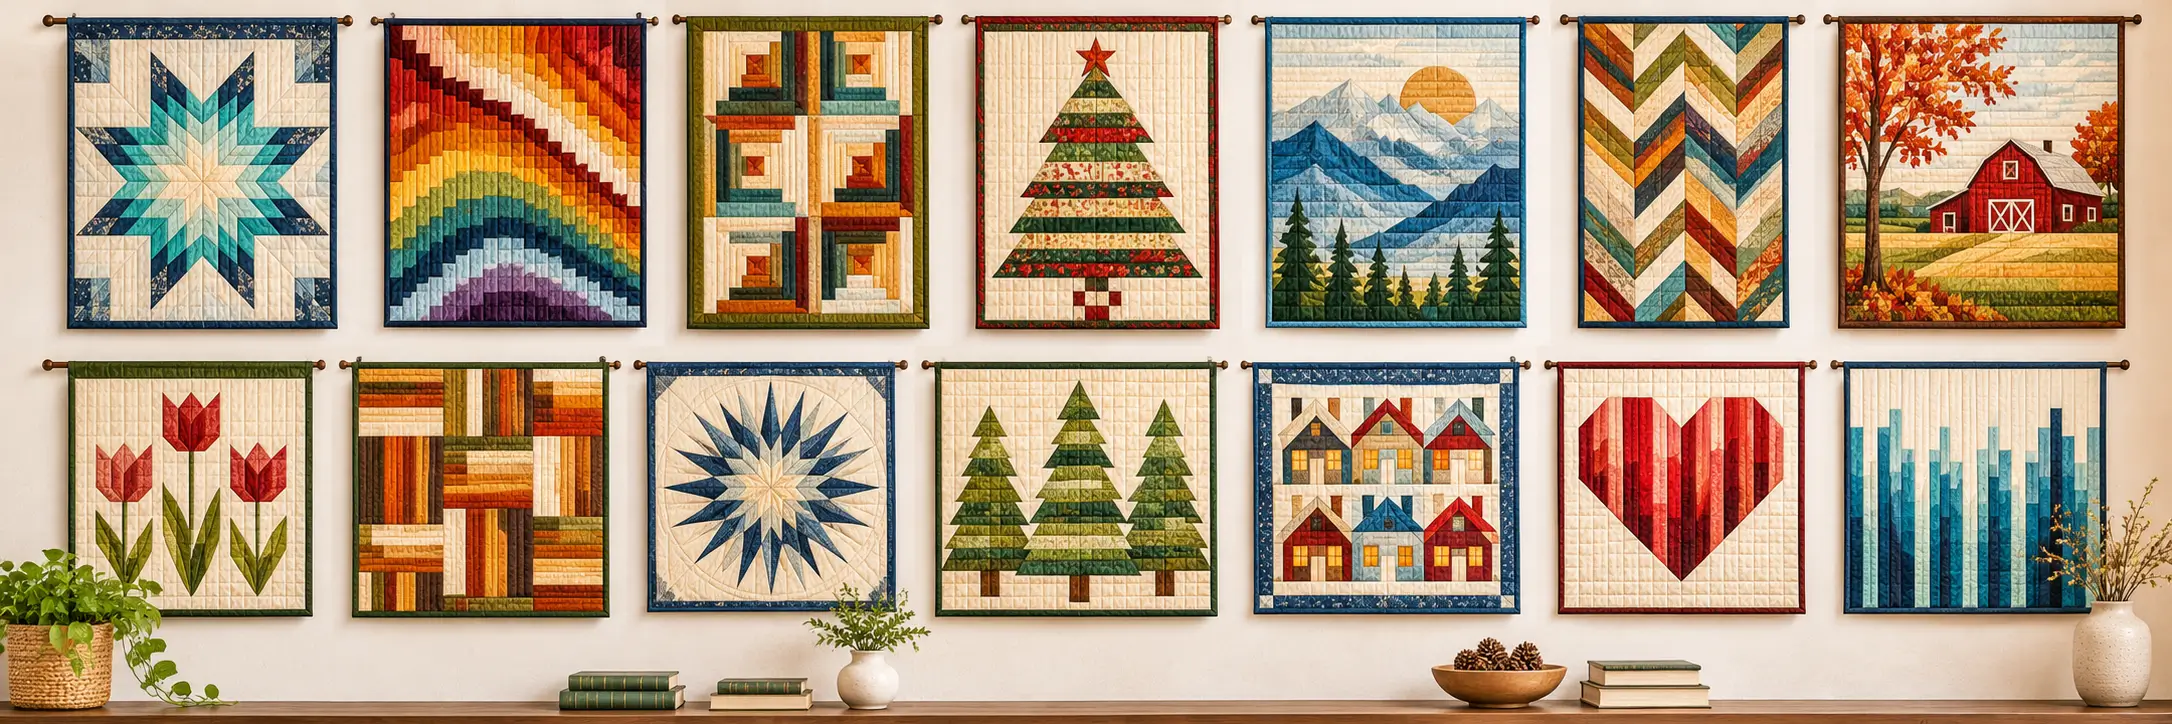
This article looks at twelve designs that approach fabric strips in very different ways. Some rely on familiar quilting traditions, such as Courthouse Steps Log Cabin blocks, Rail Fence patterns, and the diamond geometry of a Lone Star, while others lean toward pictorial or graphic effects, including a layered mountain landscape, a tiered Christmas tree, and a stained-glass composition outlined in black. Texture and format vary as well.
A tall French Braid banner suits a narrow entryway, a Dresden Plate puts a soft circular medallion on a solid field, a raw-edge boho piece finishes in fringe, and a minimalist hanging sets a single column of strips against open space. Together they show how construction method, color palette, scale, and finishing change the mood of a piece and where it works best. The designs are offered as inspiration, so readers can compare approaches and decide what suits their skills, fabrics, and walls.
Explore More Quilt Wall Hanging Ideas: How to Hang a Quilt Wall Hanging – Christmas Quilt Wall Hanging Ideas – Jelly Roll Quilt Wall Hanging Ideas – Star Quilt Wall Hanging Ideas
Why Make Jelly Roll Quilt Wall Hangings?
Jelly roll wall hangings appeal because the precut strips remove much of the early decision-making. The colors and prints are already coordinated, so more attention can go to arrangement, contrast, and finishing, and a smaller format makes it easier to try a technique such as Bargello offsets, Log Cabin rounds, or strip-set diamonds without committing to bed-size yardage. A wall hanging also doesn’t need to survive daily use or repeated washing, which leaves room for decorative choices such as scalloped borders, fringe, or an unusual palette.
The finished piece adds handmade texture through stitching and batting, can be coordinated with an existing room, and makes a thoughtful handmade gift. A seasonal design, such as a Christmas tree hanging, can be stored flat between holidays and reused each year. Smaller formats can be more manageable for learning, though complexity still depends on the design, and a Lone Star or Dresden Plate calls for real precision at any size.
What Makes These Designs Different?
The twelve designs differ first in how the strips are used. Courthouse Steps Log Cabin, Rail Fence, and Basketweave are the most direct strip-pieced designs, built by adding strips around a center or sewing them into units that are paired or rotated to create steps, stripes, or an over-under illusion.
French Braid and Bargello also begin with strip sets, but both depend on offsetting or angling the strips, which produces a braided column in one case and stepped waves in the other, all with straight seams. Lone Star and Dresden Plate go further, since strip sets are cut into diamonds or wedges before reassembly, so accurate cutting and seam matching matter far more than the starting width of the strips. The Christmas tree, mountain landscape, and stained-glass designs are pictorial or graphic.
They usually combine strips with additional pieces, and the stained-glass look needs separate black sashing between colored sections. The boho piece leaves enclosed seams behind, exposing raw edges and fringe, while the minimalist hanging depends less on technique than on proportion and a large field of solid fabric. Where the exact construction of an illustrated design can’t be known from an image, there is usually more than one realistic way to build it.
Choosing Fabrics and Building a Color Palette
Palette does much of the work in these designs, so it helps to decide what each one needs to show. Light-and-dark contrast is essential for Courthouse Steps and Basketweave, where value separation creates the stepped or over-under effect, while Bargello and Lone Star depend on a smooth progression through related hues or an ombré sequence.
Warm earth tones such as terracotta, olive, camel, and cream suit a rustic basketweave, vintage floral calico in faded tones gives a Rail Fence its cottage character, and coral, gold, and plum make a Bargello feel rich and contemporary. A mountain landscape reads clearly from across a room when cool slate ridges sit against a warm sky, and a stained-glass piece needs saturated jewel colors set against true black.
Quilting cotton is the practical choice for most of these, and mixing fabrics of different weights or fiber content can cause puckering or uneven shrinkage, so keep them consistent and wash them the same way. Print scale matters in a small piece, because tiny prints blend into solids at a distance while large motifs can swallow narrow strips. Solids, tone-on-tone prints, and a few bolder accents usually keep a design legible.
Planning Size, Shape, and Wall Display
Proportion and location are worth deciding early, because they influence almost every other choice. Tall, narrow formats suit entryways and the space between doors or windows, which is where a French Braid banner or a minimalist column quilt works best. Square formats give a Lone Star or Dresden Plate room for its central medallion and surrounding background, while wider rectangles suit a mountain landscape or Bargello waves above a sofa or sideboard.
The available wall space also affects border width and motif scale, and details such as sashing lines or fringe need enough contrast to stay visible from across a room. For hanging, a sewn sleeve with a dowel or rod spreads the weight across the top edge, and fabric tabs or clips can work for lightweight, sturdy pieces. Hardware should always match both the wall and the weight of the textile, since adhesive hooks are not suitable for every surface or every quilt. Low-loft batting, a stable backing, and clean binding help a piece hang flat, and between displays it is best stored flat or loosely rolled, away from direct sunlight.
Quilting Texture, Decorative Details, and Common Mistakes
Quilting choices shape how a wall hanging looks up close and how it behaves on the wall. Straight-line stitching reinforces the geometry of Log Cabin, Rail Fence, and Basketweave designs, while stitching that echoes mountain ridges, petals, or diamond rings emphasizes the focal shapes. In a minimalist hanging, fine linear quilting across the open background keeps the negative space looking intentional. Light quilting keeps a piece softer and flatter, while dense quilting adds texture but also stiffness.
Accurate seams matter most in Log Cabin, Lone Star, and Dresden Plate designs, where small misalignments show on a wall, and a Dresden’s curved petal edges need careful finishing. Common mistakes include too little value contrast, prints that overwhelm narrow strips, bulky seams where many strips meet, stretched bias edges on diamond or wedge pieces, and expecting one jelly roll to cover a design that needs extra fabric, such as black sashing or a solid background. Raw-edge and fringe finishes fray further with handling, so they suit display better than frequent washing, and any hanging method should support the full width of the piece so it doesn’t sag or distort.
About the Design Inspiration Images
The images in this article are meant to illustrate design possibilities. They may be AI-generated, digitally modified, or otherwise developed as visual concepts, and some designs may draw on existing quilting traditions, techniques, and motifs found elsewhere. They should not be read as photographs of physically completed or tested quilts, and a pictured design does not necessarily come with a matching pattern, verified cutting plan, or construction tutorial. Instead, use them as a starting point for your own fabric arrangements, color palettes, quilting choices, and display ideas, and follow a suitable pattern with carefully checked measurements if you decide to sew something similar.
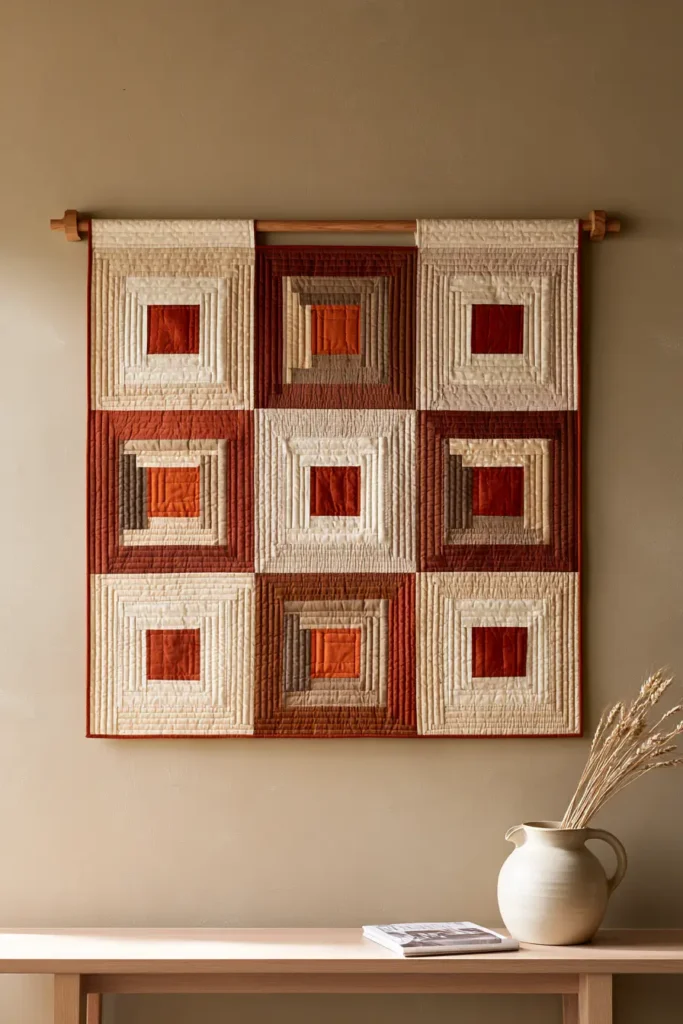
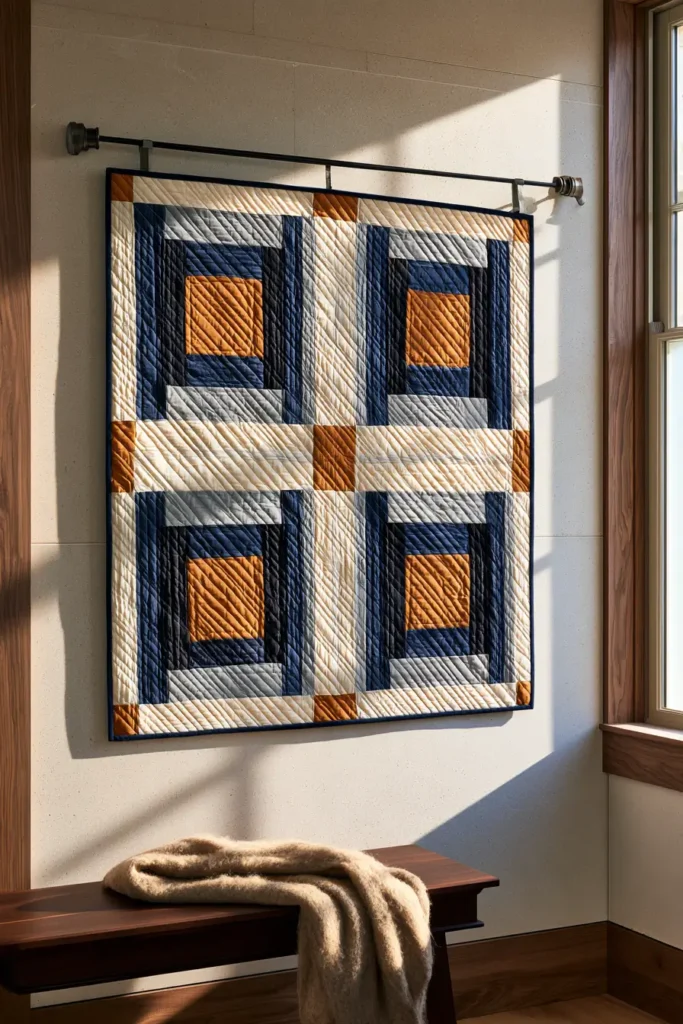
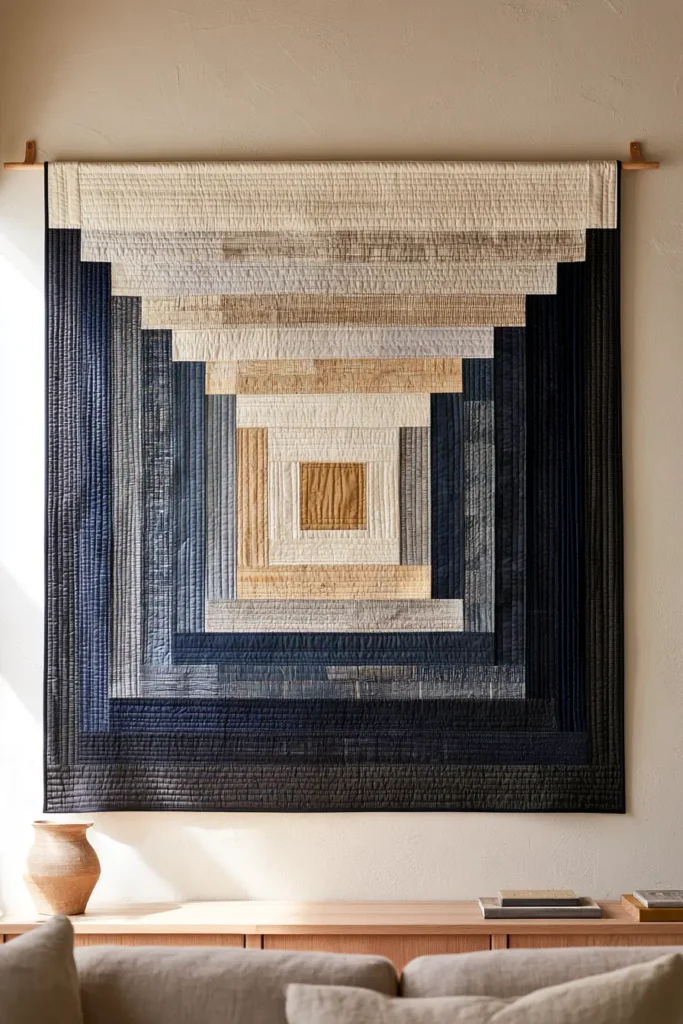
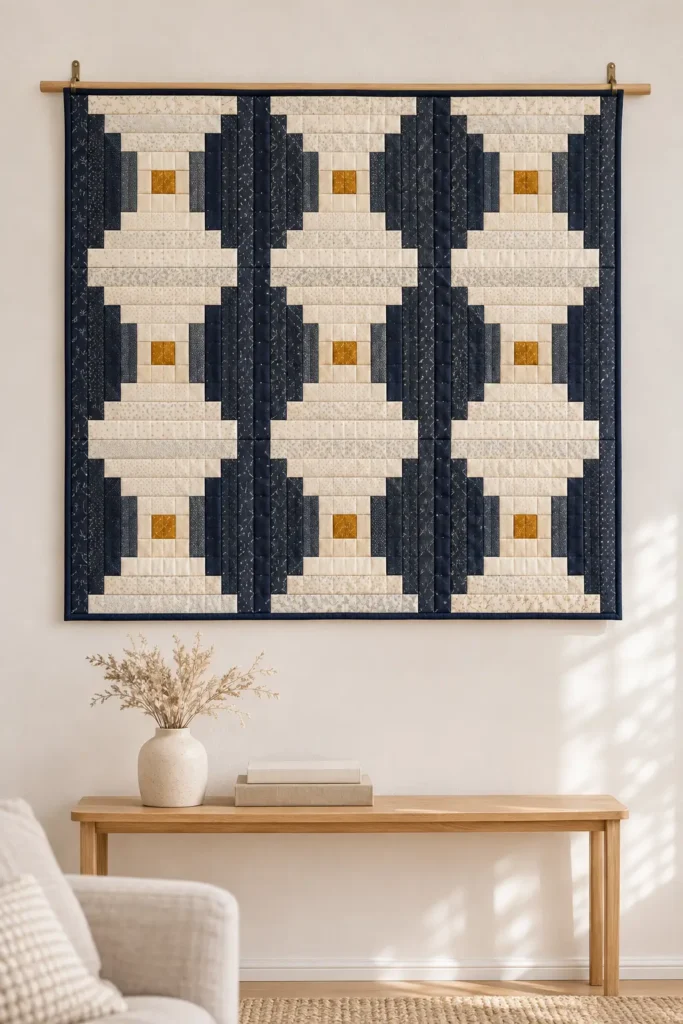
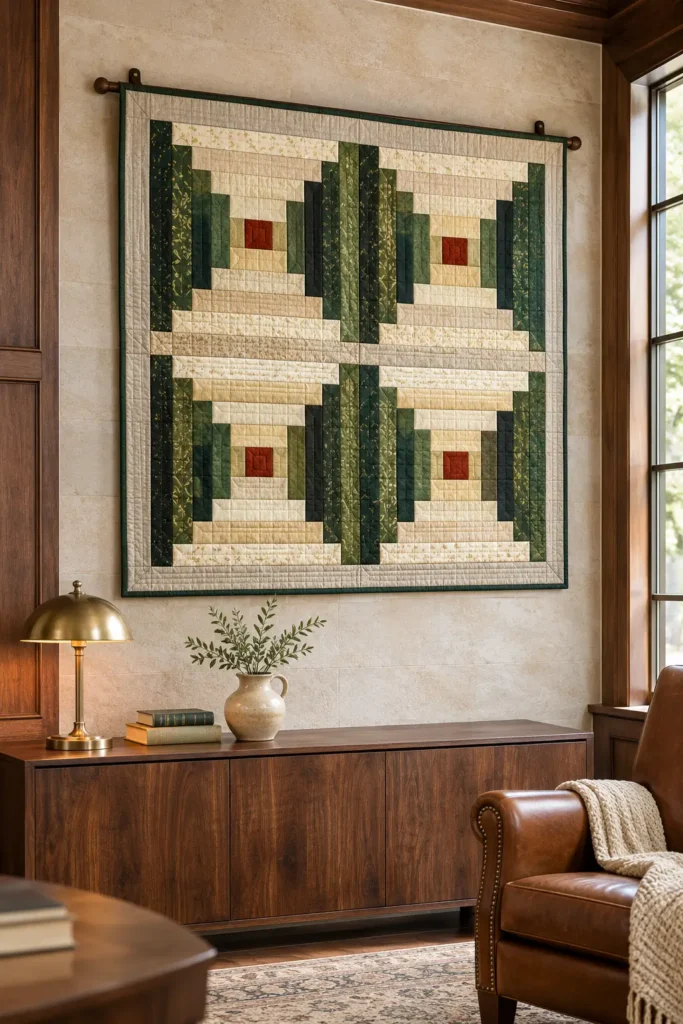
1. Courthouse Steps Log Cabin Jelly Roll Wall Hanging with Light-and-Dark Strips
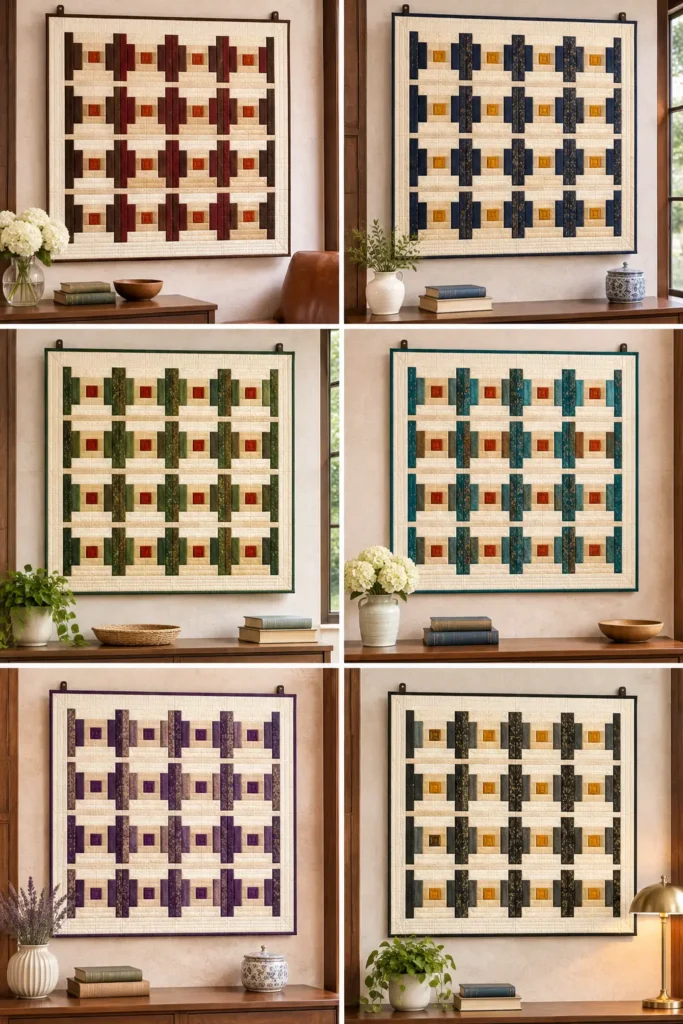
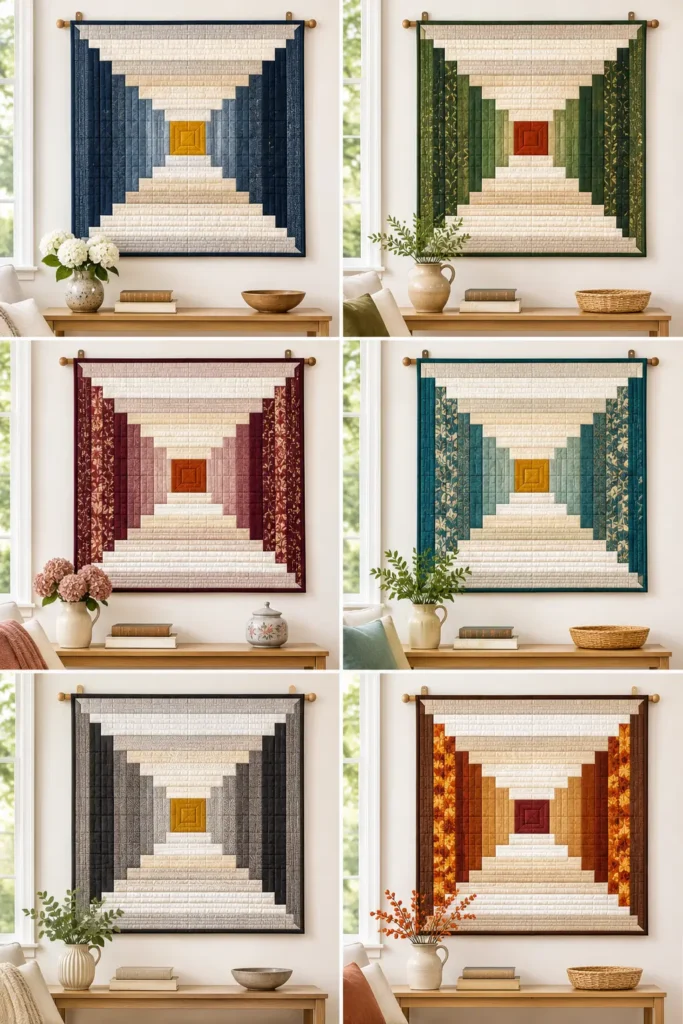
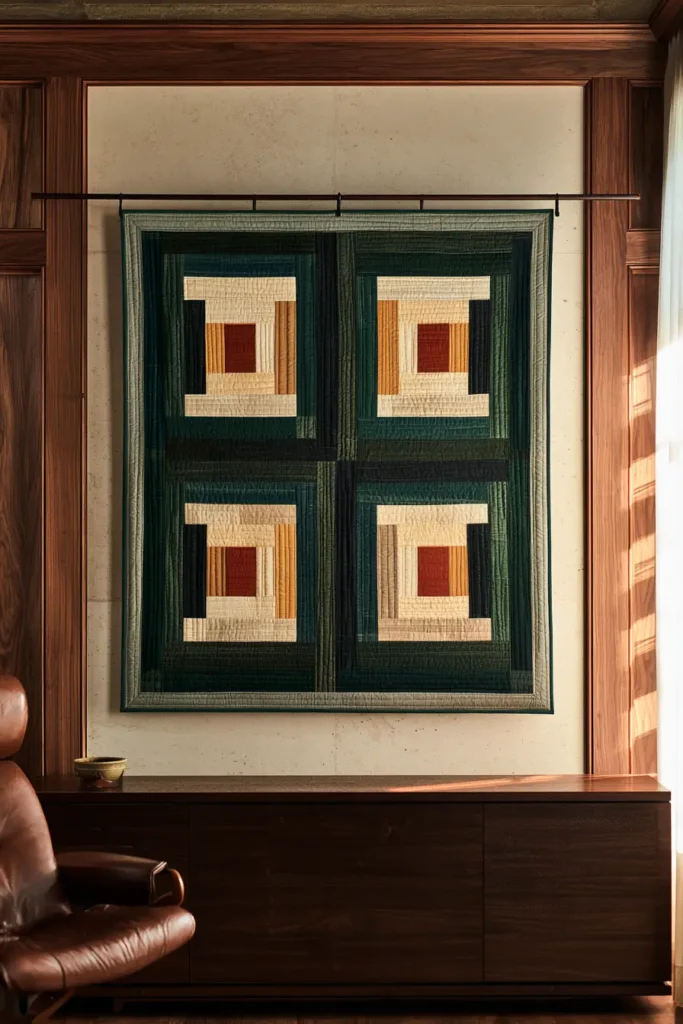
A Courthouse Steps Log Cabin Jelly Roll wall hanging creates a striking geometric composition through the careful arrangement of rectangular fabric strips around a central square. Unlike the traditional Log Cabin pattern, which typically develops in a spiral, Courthouse Steps builds its structure through pairs of strips added to opposite sides. This symmetrical arrangement produces a series of stepped rectangular frames, with contrasting light and dark fabrics emphasizing the design’s orderly construction.
The combination of deep indigo, charcoal, and slate blue against ivory, oatmeal, and pale flax gives this design a refined appearance that suits both traditional and contemporary interiors. Jelly Roll strips provide consistent fabric widths and coordinated colors, making them a practical starting point for exploring this pattern. A single oversized block creates a bold geometric statement, while several smaller blocks introduce repetition and visual rhythm. Both arrangements can work as decorative wall art when the contrast and proportions are carefully considered.
Design Inspirations – Digitally Modified Images. Texture and color may vary from the actual product.
How Courthouse Steps Creates Its Distinctive Geometry
The defining characteristic of Courthouse Steps is the symmetrical placement of fabric strips around a central square. Each pair extends from opposite sides of the growing block, alternating between the horizontal and vertical directions as the construction develops. This creates balanced rectangular layers rather than the continuous spiral associated with traditional Log Cabin blocks.
Color placement makes that structural difference particularly visible. Keeping lighter strips on the top and bottom and darker strips on the left and right produces distinct opposing sections. The arrangement draws attention toward the center while creating strong horizontal and vertical movement.
For a wall hanging, one large Courthouse Steps block can emphasize the complete stepped structure without competing motifs. Alternatively, a two-by-two arrangement of smaller blocks introduces a more intricate composition. In either case, consistent strip widths, accurate seam intersections, and carefully positioned center squares help preserve the recognizable geometry.
Choosing Jelly Roll Fabrics for Strong Light-and-Dark Contrast
Fabric value matters more than the number of colors in a Courthouse Steps design. A coordinated palette of ivory, cream, pale gray, and natural linen tones provides an effective contrast against navy, charcoal, forest green, or deep teal.
Standard Jelly Roll strips are generally 2½ inches wide before sewing, providing a consistent starting point for rectangular patchwork. Choose fabrics with reasonably compatible weights and arrange the strips by light, medium, and dark values before deciding on the final composition.
Small-scale prints, subtle woven-look textures, and understated tonal patterns add interest without obscuring the geometry. Strong directional prints or excessively busy patterns can make the stepped arrangement harder to recognize.
A useful approach is to examine the proposed fabrics in grayscale. If the light and dark groups remain clearly separated without color, the finished pattern is more likely to retain its visual definition from a distance.
A single coordinated bundle may not provide enough separation between values, so additional light or dark fabric may be useful.
Quilting, Borders, and Finishing Details
Straight-line quilting complements the rectangular structure of Courthouse Steps. Stitching that follows the fabric strips or echoes the stepped arrangement reinforces the geometric appearance without introducing competing decorative motifs.
Low-loft cotton batting provides subtle texture while helping the wall hanging remain relatively flat. A stable backing and evenly distributed quilting can also reduce distortion when the textile is displayed vertically.
A narrow charcoal, navy, or neutral binding creates a clean perimeter. For a traditional appearance, a restrained border can frame the blocks, while a modern interpretation may benefit from minimal bordering that allows the geometric arrangement to dominate.
Avoid overly elaborate quilting patterns that compete with the light-and-dark strip construction.
Displaying Courthouse Steps as Geometric Wall Art
A square Courthouse Steps wall hanging works particularly well above a console table, in a reading corner, or against a softly colored living room wall. Its structured geometry provides visual interest without requiring elaborate surrounding decoration.
A fabric hanging sleeve attached to the upper back can support a slim wooden or metal rod, allowing the quilt to hang evenly. Leave enough clear wall space around the textile for the stepped pattern to remain recognizable.
Helpful Note: When arranging multiple Courthouse Steps blocks, check that their light-and-dark orientations remain consistent with the intended overall design. Unplanned block rotation can change the pattern’s visual rhythm and weaken its symmetrical appearance.
Other Design Inspirations – Digitally Modified Images. Texture and color may vary from the actual product.
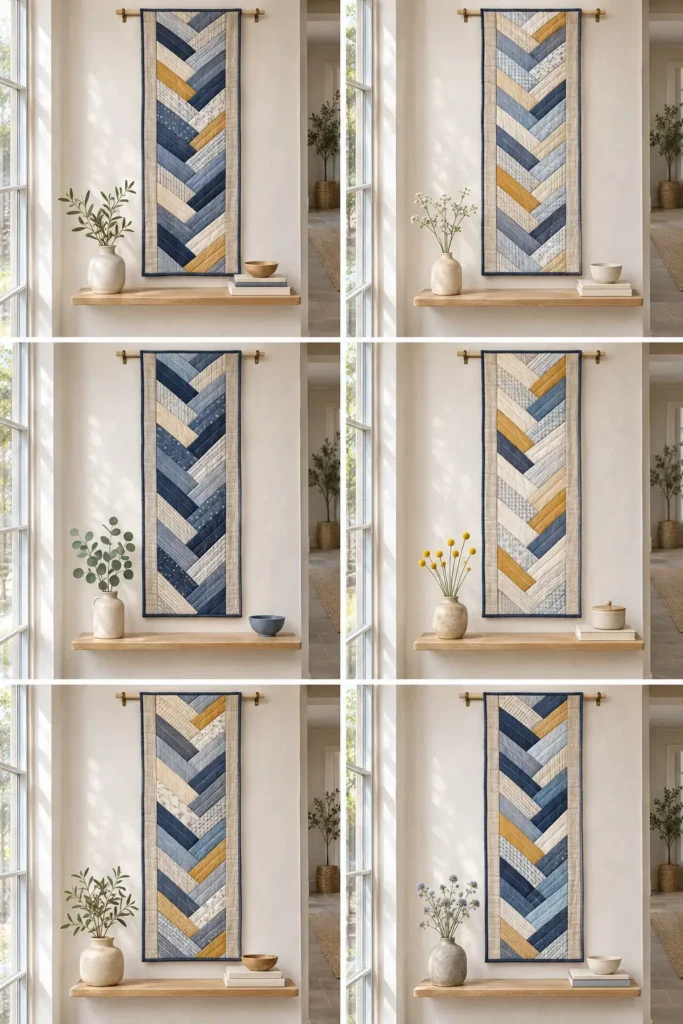
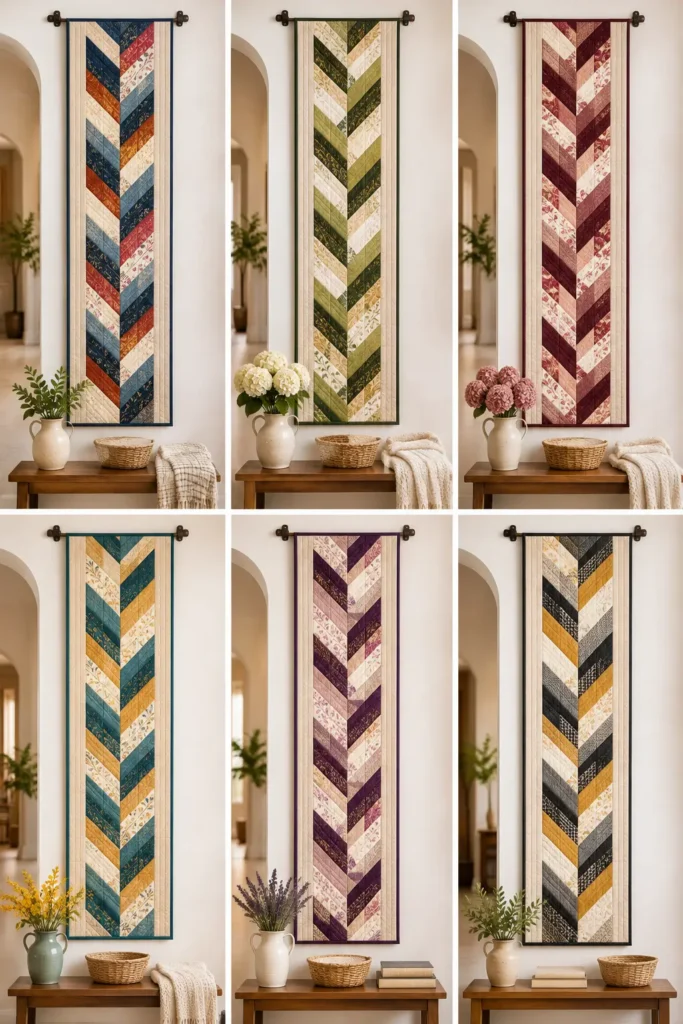
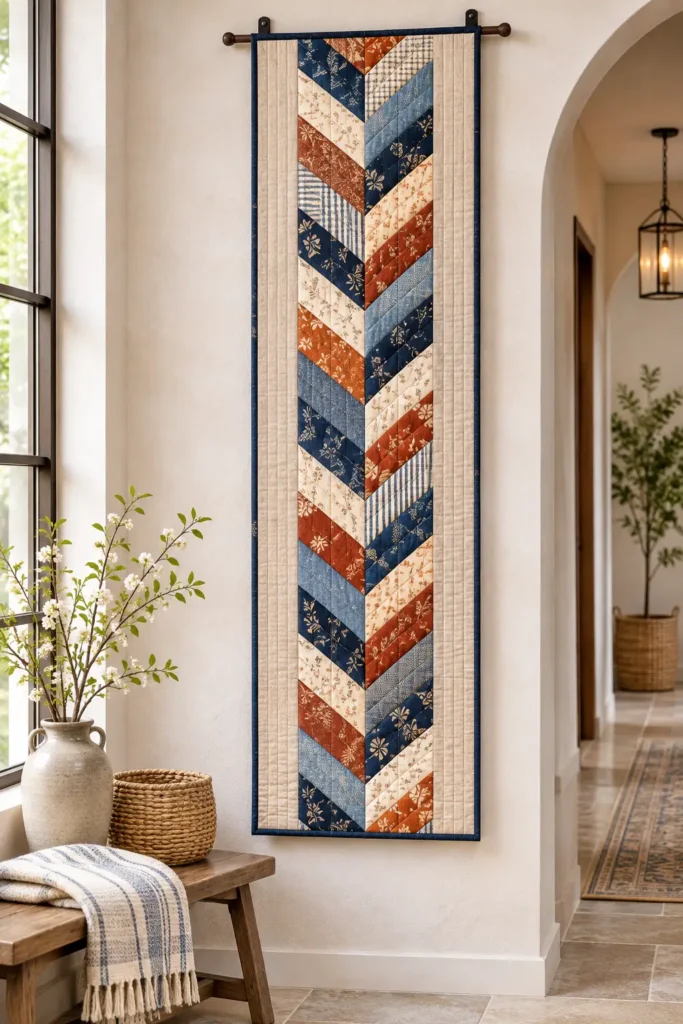
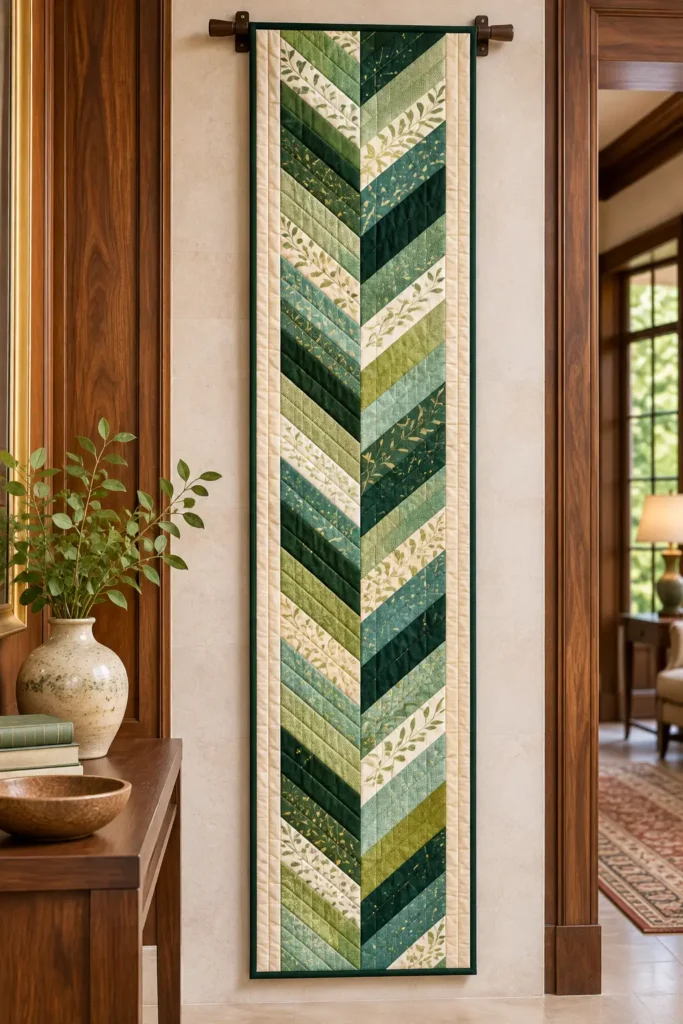
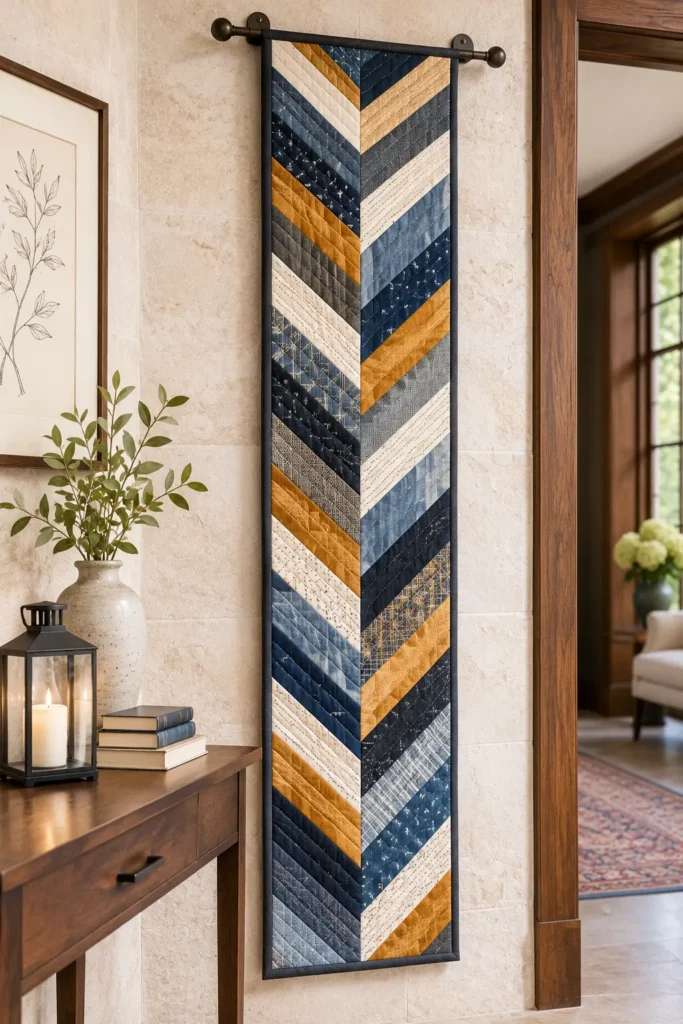
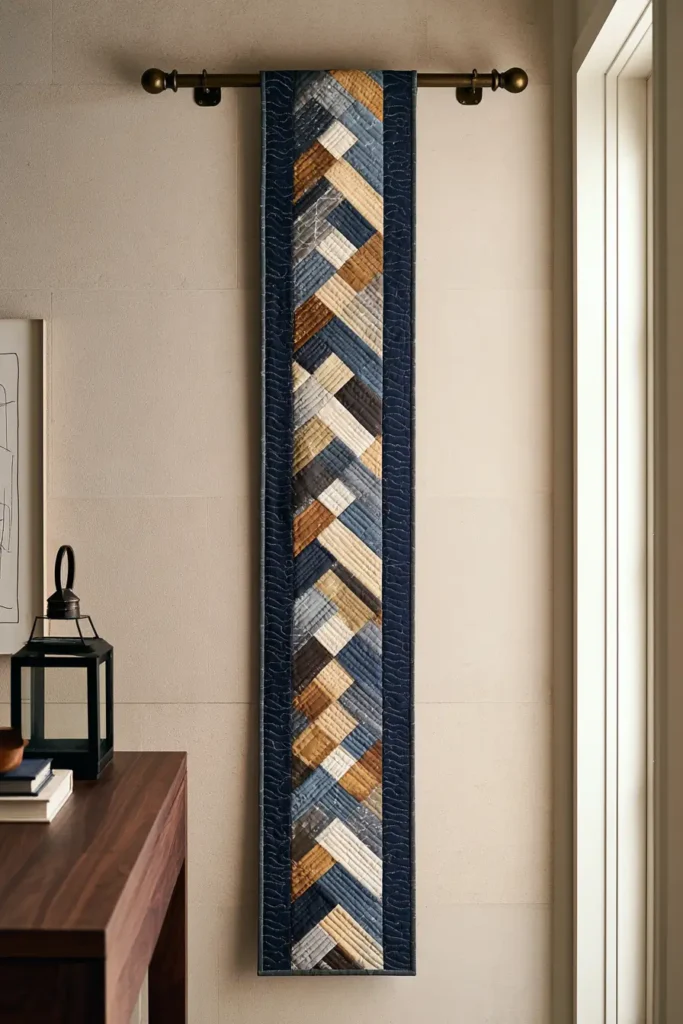
2. French Braid Jelly Roll Wall Hanging Banner for Narrow Entryways
A French Braid banner turns a bundle of jelly roll strips into a single tall column of staggered diagonal pieces. Strips step alternately to the left and right of a central seam, so the eye travels down the length of the hanging as if following a plait. The effect comes entirely from flat, sewn patchwork, not woven fabric, and it suits a narrow wall beside a door or between architectural features where a square quilt would crowd the space.
Jelly roll strips are a natural fit because their consistent 2½-inch width keeps the rhythm orderly, and a coordinated bundle already supplies a range of values. Plain side panels frame the column and give the banner a tailored outline. The look differs from a chevron quilt. Chevrons repeat full-width V-shaped bands, while a French Braid is one connected column with shallow angles, and the quiet side panels let that single braid stay the focal point.
Design Inspirations – Digitally Modified Images. Texture and color may vary from the actual product.
Palettes That Keep the Braid Readable
Value contrast does most of the work. Neighboring strips need to be clearly lighter or darker than each other, or the braid blurs into a general diagonal texture. Two palettes show the range. A soft, warm version mixes dusty sage, muted rose, camel, and warm cream with a touch of terracotta, which suits light, neutral entryways. A deeper version pairs indigo and faded denim with soft rust and ivory, giving crisper contrast and a more traditional feel. Small-scale prints and tone-on-tone fabrics hold up best, while large directional prints can break up the diagonal flow. Avoid placing several near-identical fabrics side by side, since their seams disappear at viewing distance.
Building a Flat, Straight Banner
Strips are 2½ inches wide before sewing, and the visible bands are narrower once seam allowances are taken, so the braid reads finer on the wall than the precut width suggests. A jelly roll supplies the strips, but the angled ends, side panels, backing, and binding usually call for extra fabric and cutting. Because the angled ends are bias edges, they stretch easily, and small misalignments can build up along a long column until the banner leans or waves. Consistent seam allowances, gentle pressing, and minimal tugging help.
Fine straight-line quilting that follows the strips keeps the surface flat and reinforces the braid, and low-loft batting with a stable backing helps a narrow piece hang without twisting. The design suits confident piecers and shouldn’t be treated as a beginner project.
Displaying a Narrow Banner
A sewn sleeve with a slim rod or dowel supports the full top edge, which matters more on a tall piece, since uneven support makes a narrow banner twist or sag. Leave clear wall space on each side so the diagonals stay visible. A pale oak console below suits the sage-and-cream version, while the indigo and rust version works against a limestone-look or plaster wall with darker wood nearby. Keep the hanging out of direct sun, which fades both pale and deep dyes over time.
Helpful Note: Preview the planned strip order from across the room, or as a grayscale photo. If neighboring strips blur together, increase the value contrast instead of adding extra decoration.
Other Design Inspirations – Digitally Modified Images. Texture and color may vary from the actual product.
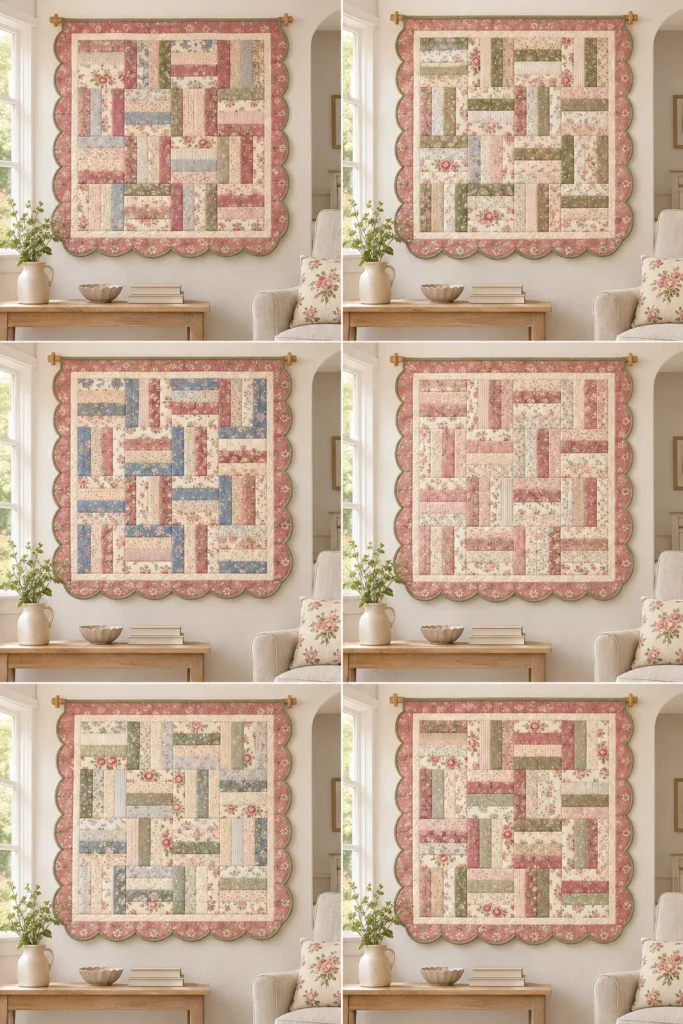
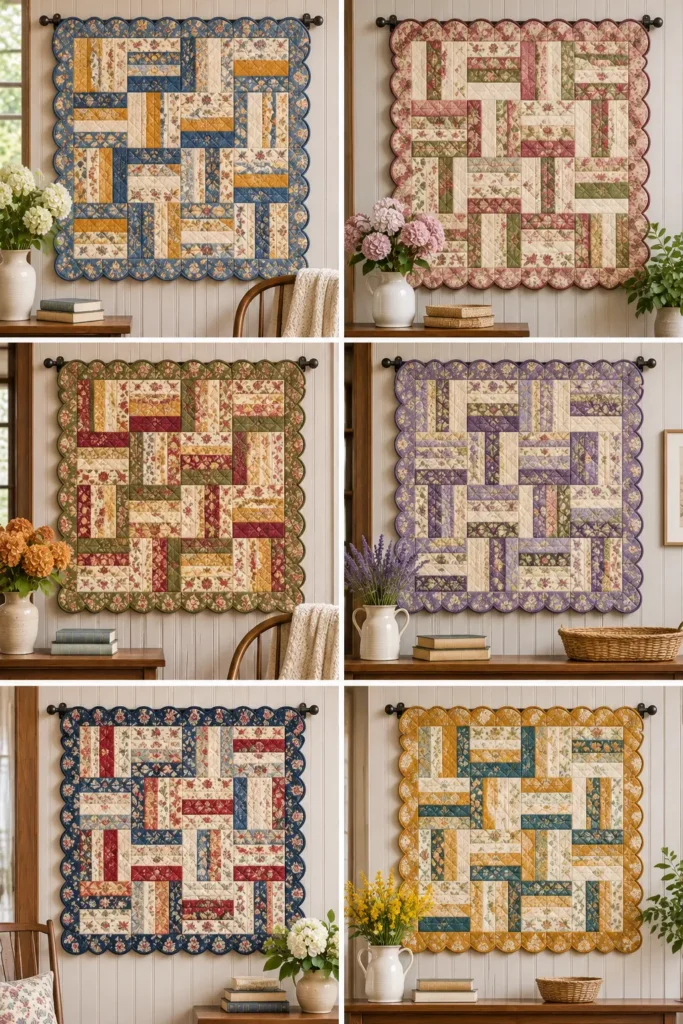
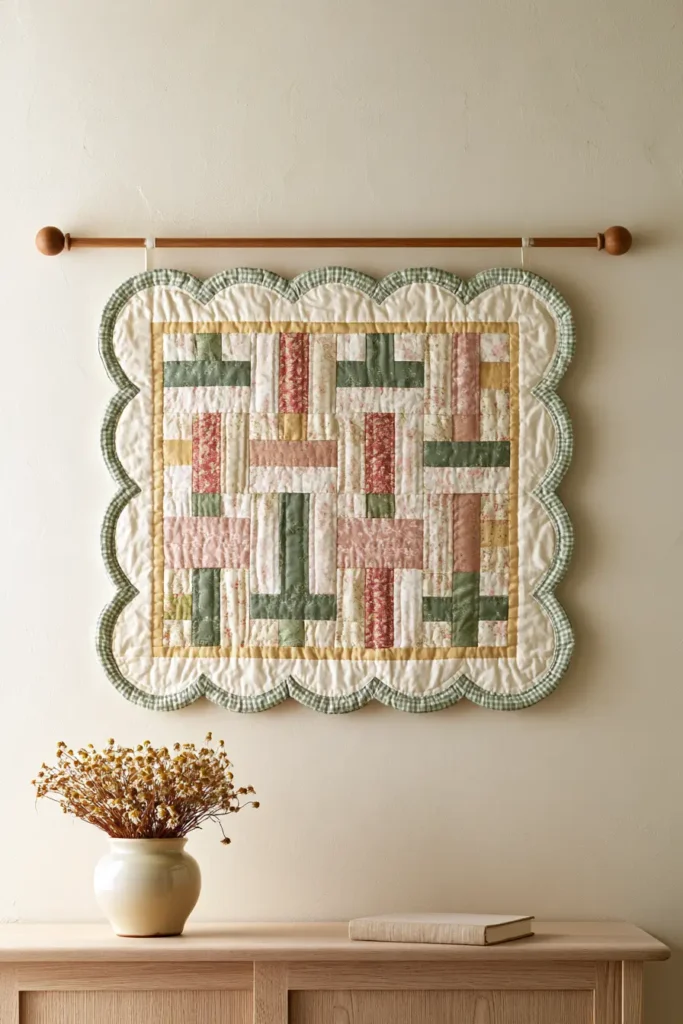
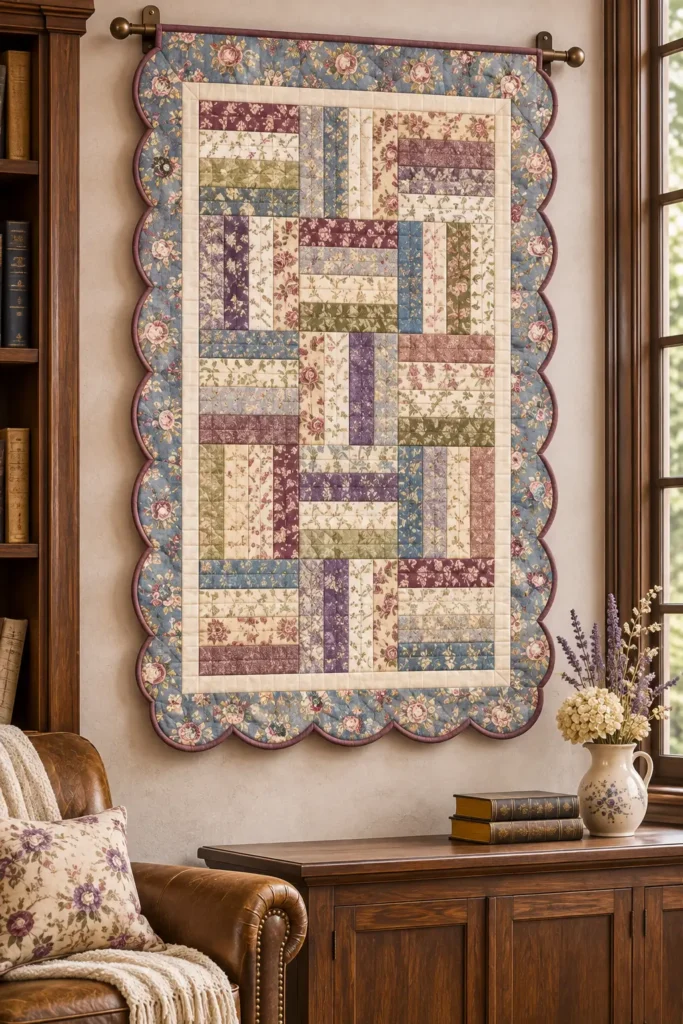
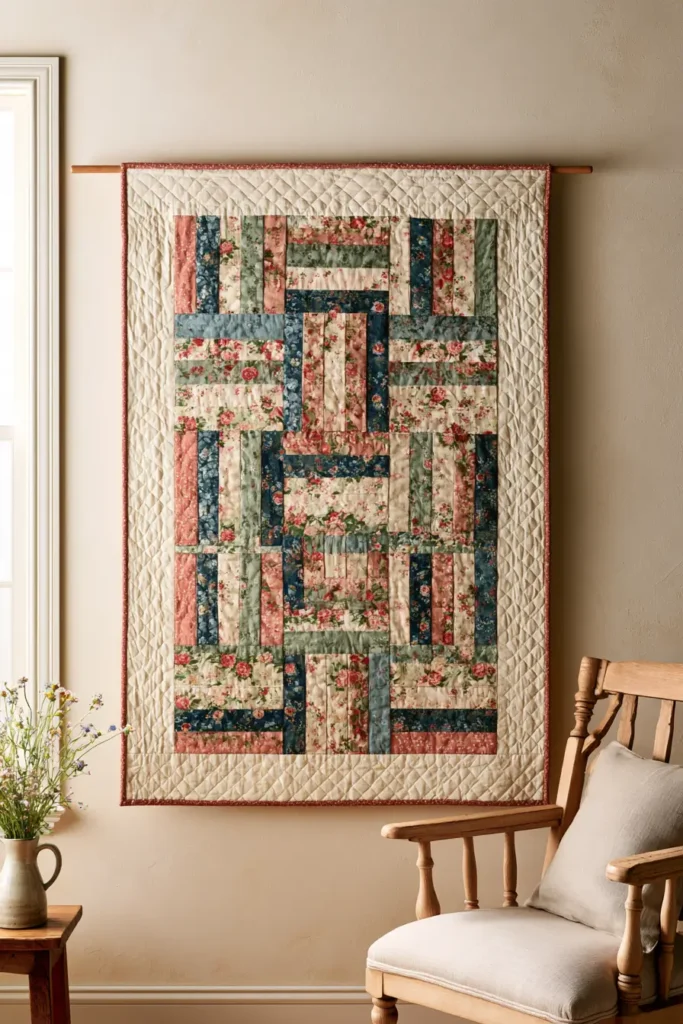
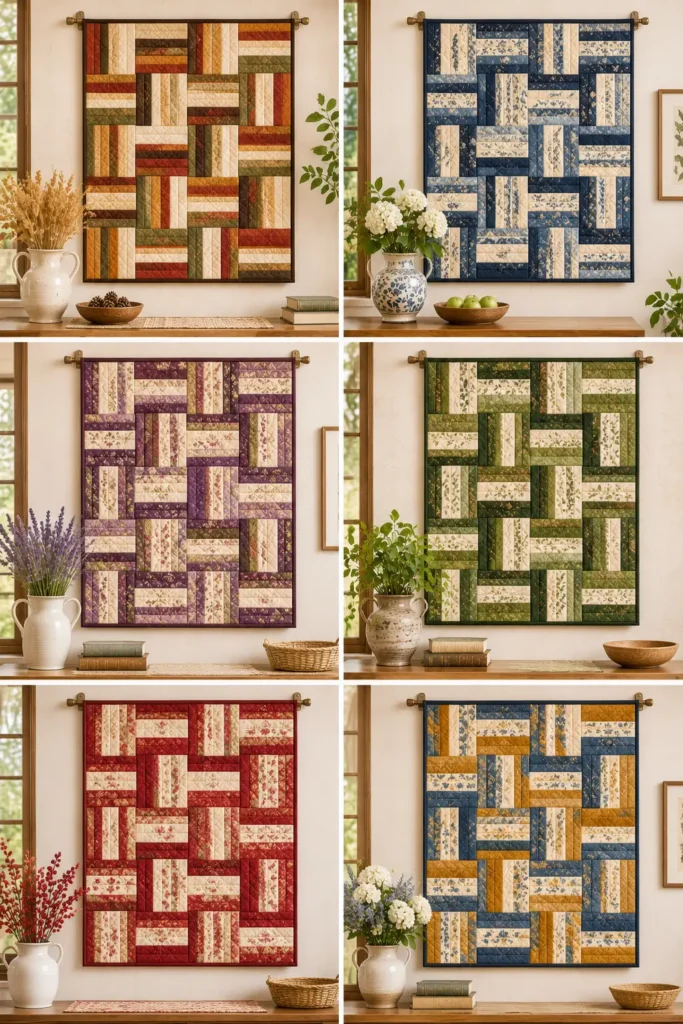
3. Rail Fence Jelly Roll Wall Hanging in Vintage Floral Calico with Scalloped Borders
A Rail Fence wall hanging pairs strict strip geometry with soft, cottage-style fabric. Each block is a set of parallel strips sewn side by side, and neighboring blocks turn a quarter turn, so horizontal and vertical groups alternate in a checkerboard rhythm. Small-scale vintage floral calico keeps that rhythm gentle, with tiny rosebuds, ditsy daisies, and sprigged leaves in dusty rose, sage, faded blue, and cream. The structure is simple, but the finish is where the design earns its character.
Jelly roll strips suit the pattern because Rail Fence depends on consistent strip width, and a coordinated bundle supplies a ready range of prints and values. The strips are 2½ inches wide before sewing and read closer to 2 inches once seam allowances are taken. Border, binding, and backing usually call for additional fabric. A plain solid border in cream or soft blue-gray, finished with a softly scalloped edge, frames the pieced center and turns a rectangular quilt into something more ornamental.
Design Inspirations – Digitally Modified Images. Texture and color may vary from the actual product.
How Rail Fence Differs from Basketweave
Both designs use parallel strips, but they read differently. In Rail Fence, each block keeps its own identity: a few strips sit side by side, and the quarter turn between neighbors is the pattern. Basketweave aims for continuous over-and-under bands, which demands tighter value control and a different layout. Keep the seams between Rail Fence blocks visible, and use a modest number of larger blocks so each strip group stays readable from across a room. Inconsistent seam allowances are the usual culprit when blocks won’t square up, and the problem shows most where horizontal and vertical groups meet.
Calico, Value, and Print Scale
Small-scale calico works because its prints add texture without competing with the strip structure. Contrast between neighboring strips matters more than the colors themselves. Pair medium florals with lighter cream or ivory prints and spread a few darker accents across the quilt, since a soft palette can flatten into a single tone and hide the quarter turns. Large floral motifs get chopped up by narrow strips, so favor tiny sprigs and tone-on-tone prints. Choose quilting cottons of similar weight, and consider prewashing deeply colored prints so dye doesn’t migrate later.
Scalloped Borders and Curved Binding
The scalloped edge is the most demanding part of this design. Straight binding won’t follow the curves, so the edge generally calls for bias-cut binding, which stretches around curves and needs careful handling at each inward point to lie flat. Allow a border wide enough that the scallops never cut into the pieced center, and keep the curves in proportion to the quilt, since tiny scallops look busy and oversized ones overpower a compact hanging. Binding in dusty rose or cream outlines the curves clearly. Treat this as an intermediate finishing job rather than a beginner project, and expect to practice on a sample edge first.
Quilting and Display
Straight-line quilting along the strip seams reinforces the geometry, while parallel lines or a scallop echo in the border keep the edge defined. Low-loft batting and a stable backing help the piece hang flat.
A sleeve sewn to the back, set just below the top edge, carries a slim dowel or rod behind the scalloped top so the hardware stays out of view, and the sleeve should support the full width so the curved edges don’t sag. Measure the available wall before choosing a size, since a scalloped quilt needs clear space around it to read as a shape. A pale oak console or warm ivory wall suits the soft palette, and keeping it out of direct sun slows fading in the prints.
Helpful Note: Before cutting, place a paper scallop template over the finished pieced top to see where each curve falls. Shifting the template slightly can keep points and dips away from block seams.
Other Design Inspirations – Digitally Modified Images. Texture and color may vary from the actual product.
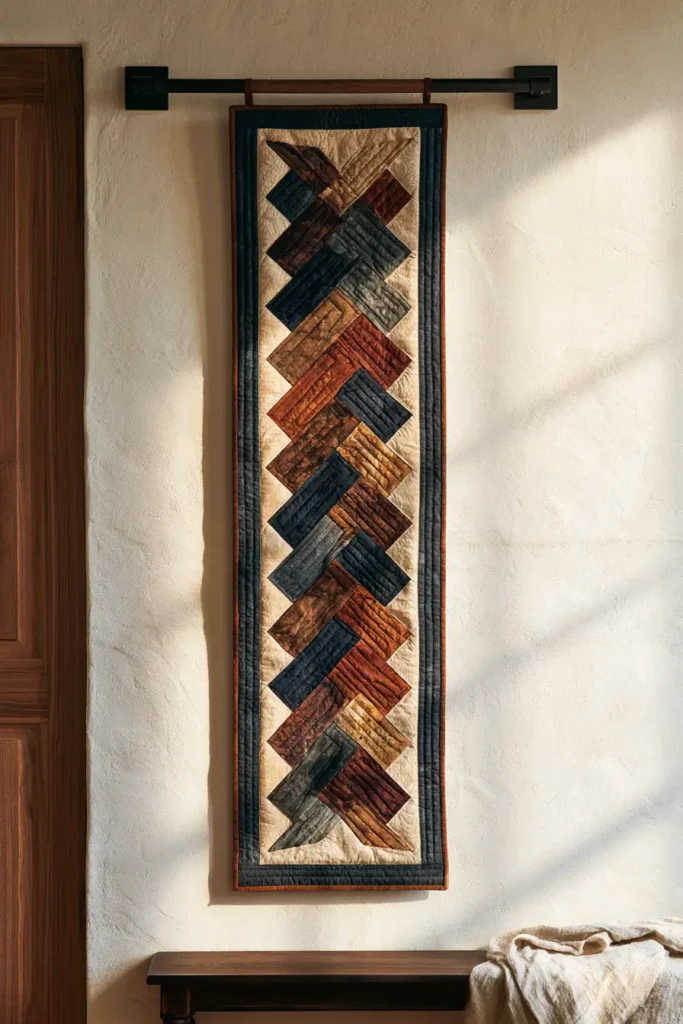
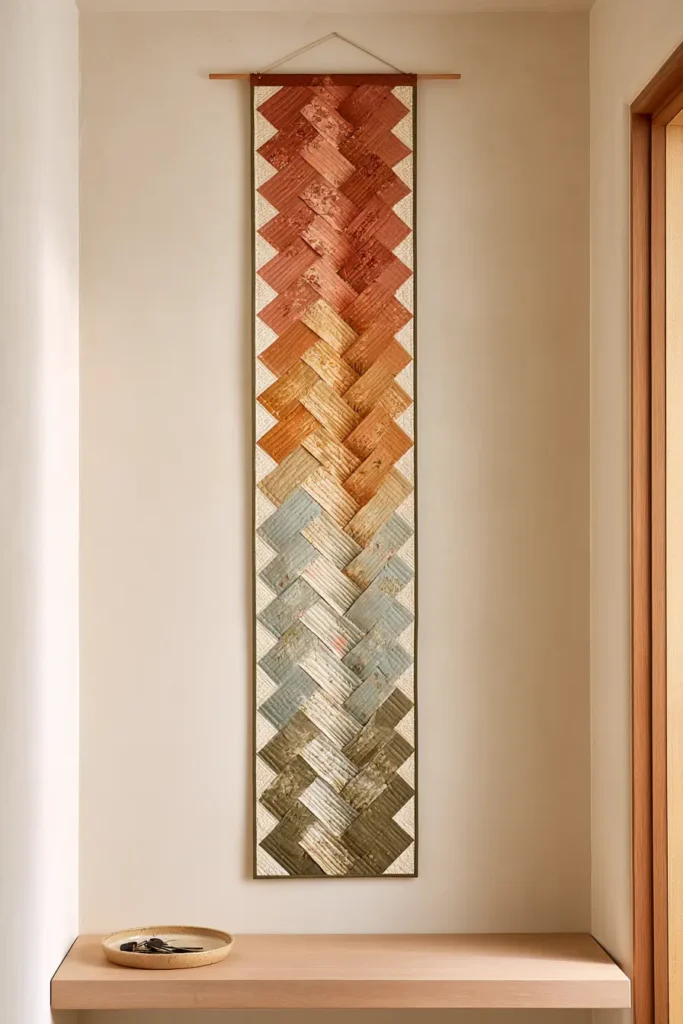
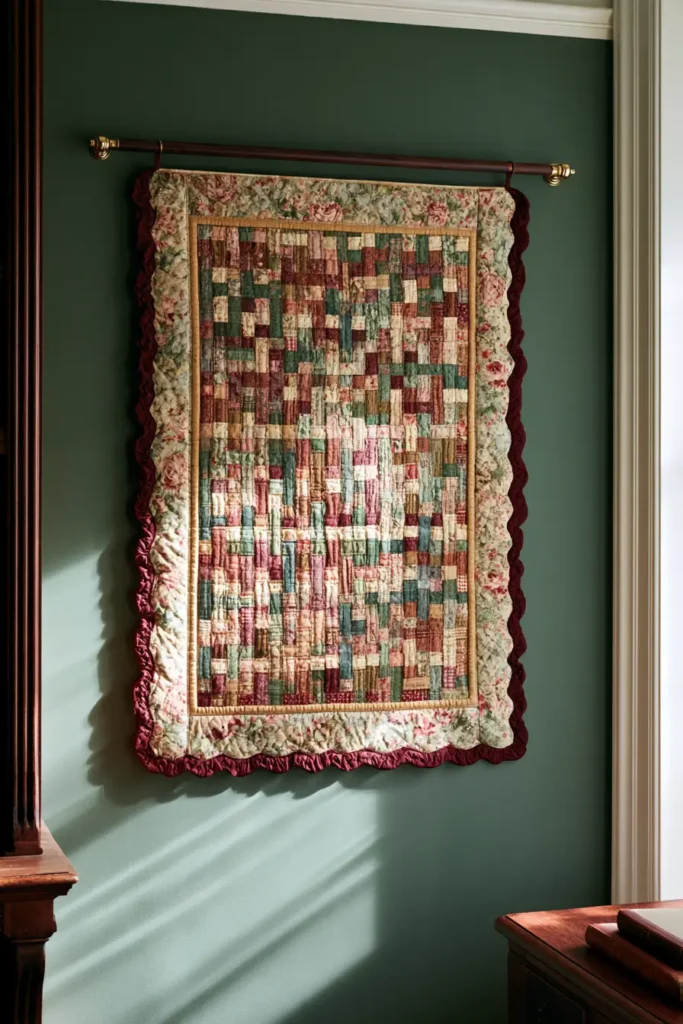
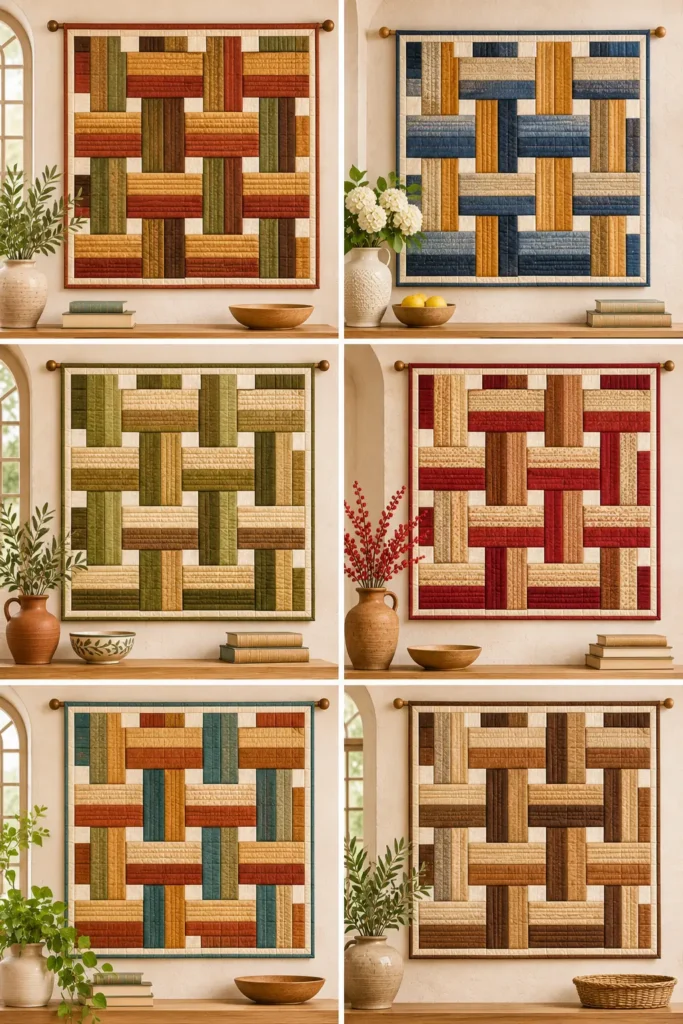
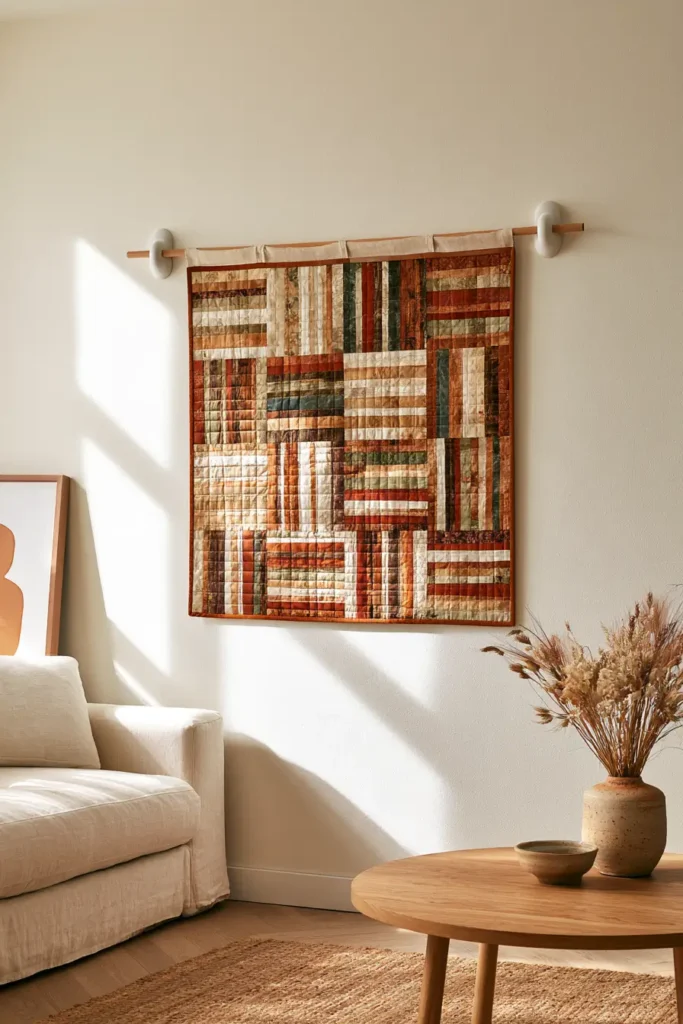
4. Basketweave Jelly Roll Wall Hanging in Warm Earth Tones
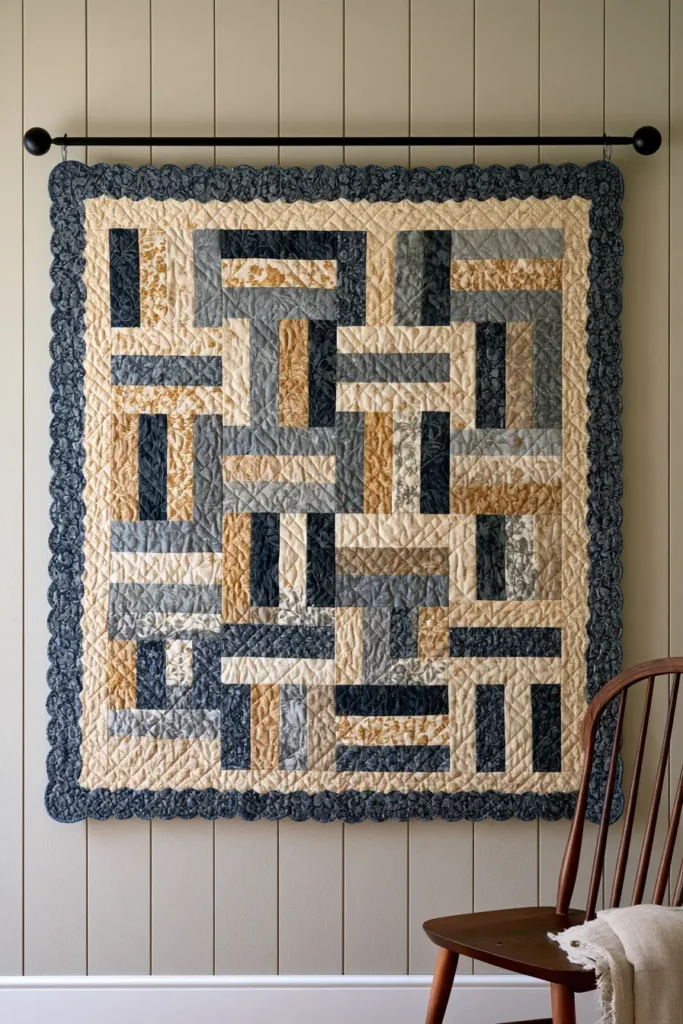
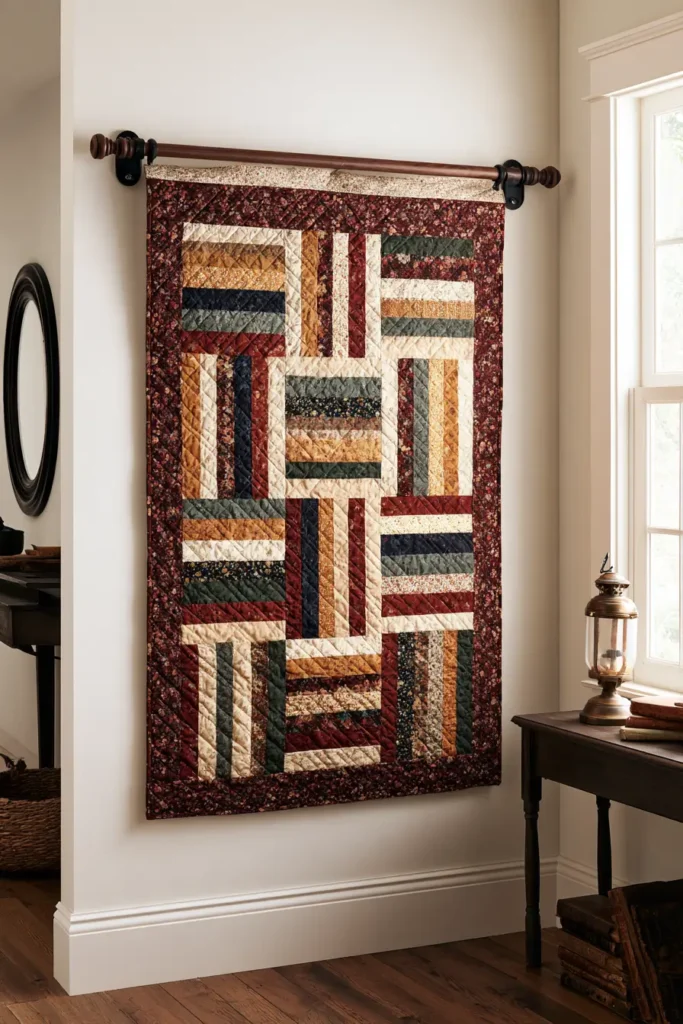
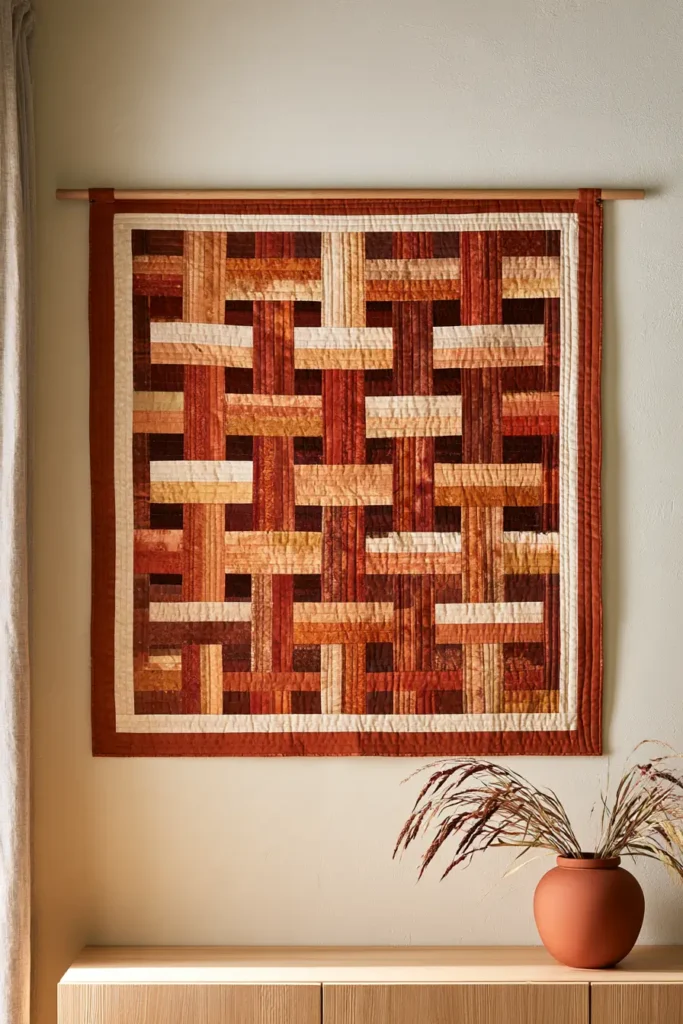
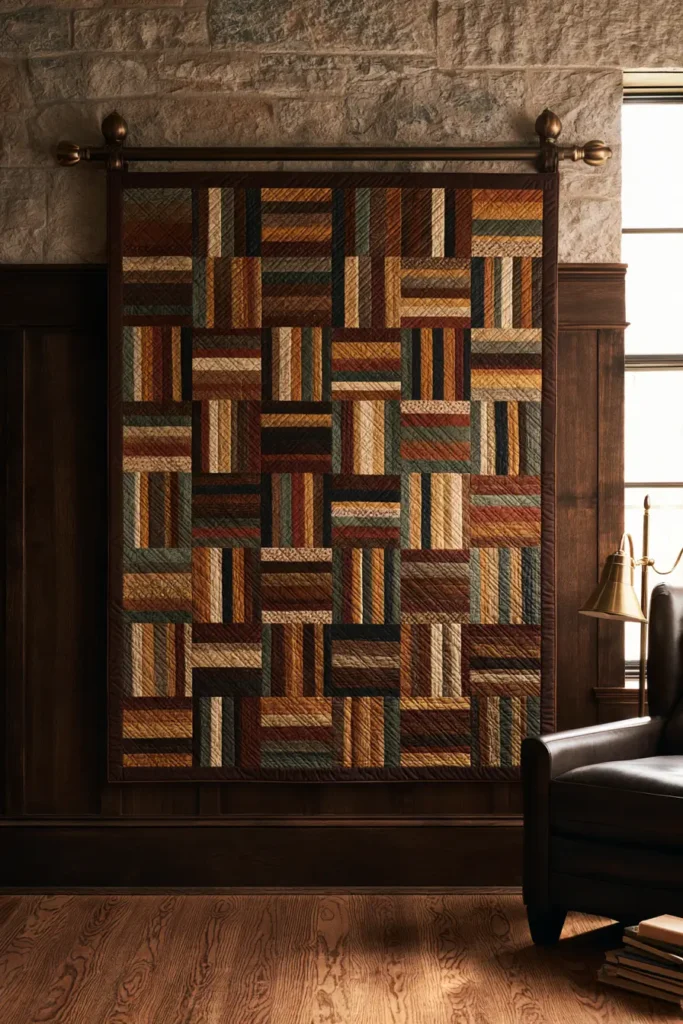
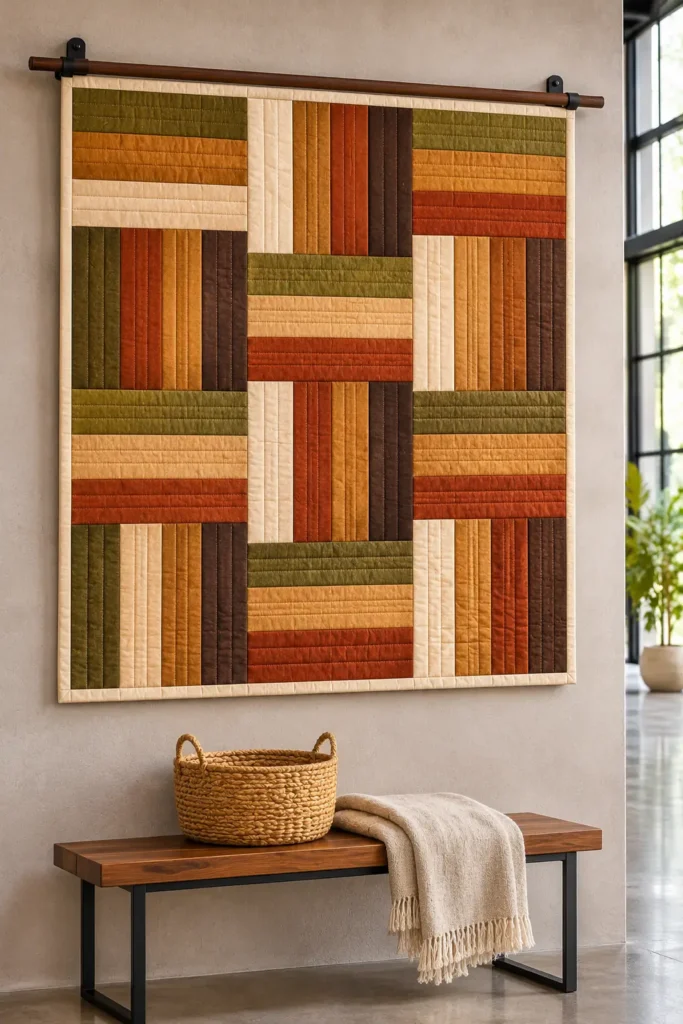
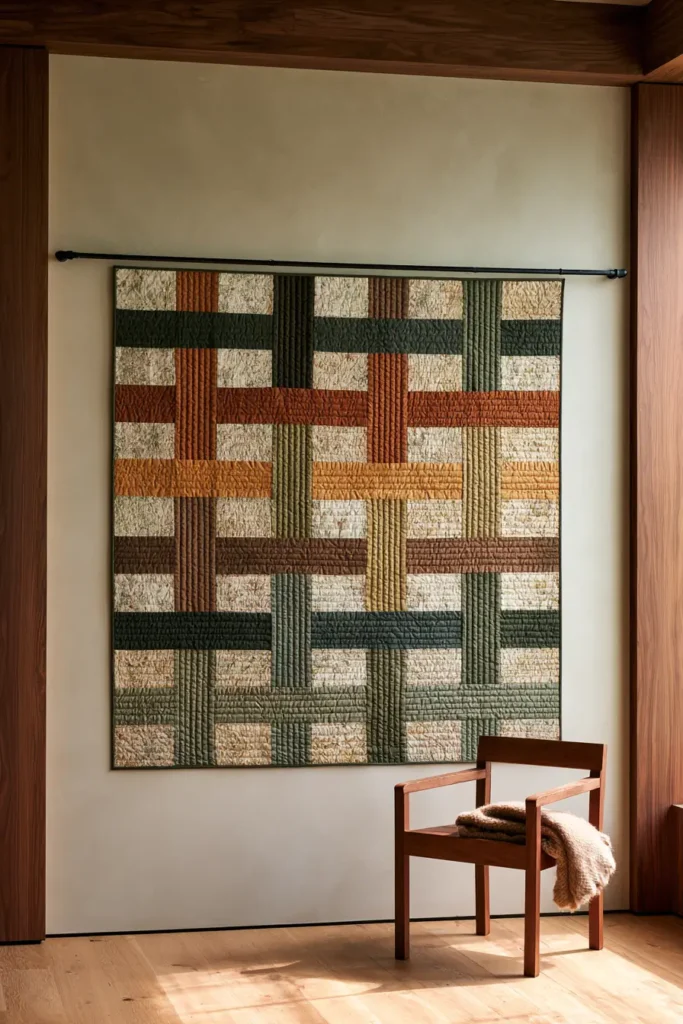
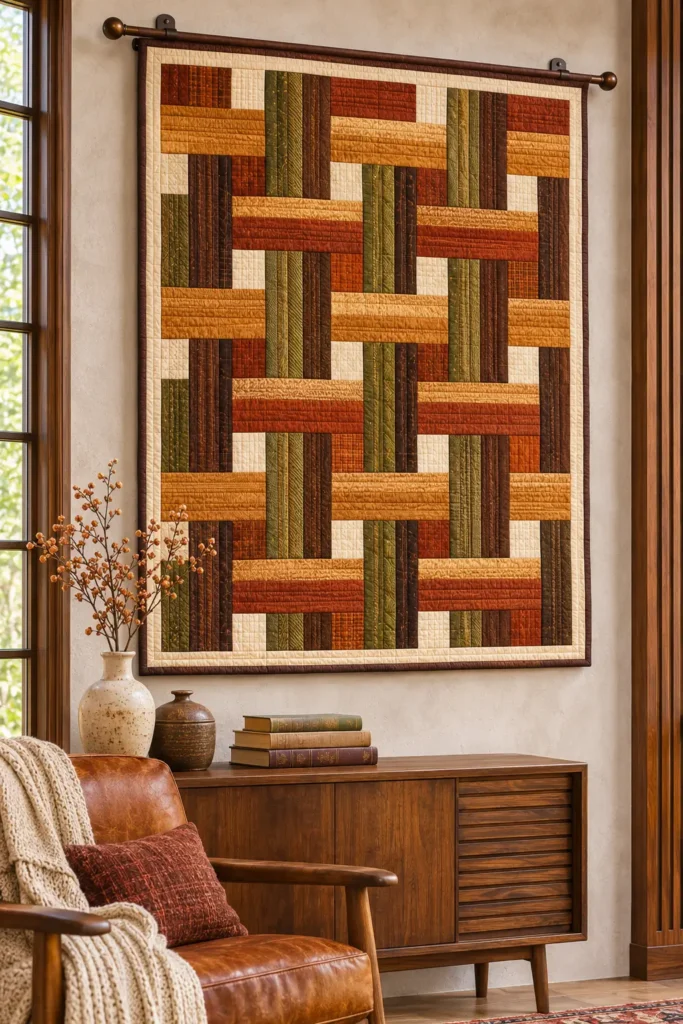
A basketweave wall hanging uses flat patchwork to imitate woven cloth. Square units made of parallel strips alternate between horizontal and vertical direction in a tight checkerboard, and because the strips inside each unit alternate light and dark, the bands appear to pass over and under one another. Nothing is actually woven or raised. The effect comes entirely from value placement and a consistent layout, which is why the pattern reads as texture from across a room.
Warm earth tones suit the look: terracotta, camel, olive, chocolate brown, and cream, in tone-on-tone cottons and softly mottled prints. Jelly roll strips supply the even width the pattern needs, 2½ inches before sewing and closer to 2 inches visible after seams, along with a ready range of values. Backing and binding take extra fabric, and extra cream or sand yardage is often worth planning for, since a single roll rarely contains enough light strips.
Design Inspirations – Digitally Modified Images. Texture and color may vary from the actual product.
How Basketweave Differs from Rail Fence
The two patterns are built from very similar units, so the difference lies in value and layout, not construction. A Rail Fence block usually uses strips of similar value, and the quarter turn between neighboring blocks is the whole pattern. Basketweave needs deliberate light-dark alternation inside every unit, and units kept equal in size and packed tightly, so the eye follows continuous ribbons instead of seeing separate blocks. Fewer, larger units keep the ribbons readable from a distance. If the light and dark strips bunch up or the units vary in size, the illusion collapses into ordinary striped blocks.
Planning Value with Earth Tones
Value does the work here, and color follows it. Cream and sand set against terracotta and olive give the strongest separation, with camel and brown as mid-tones. Assigning one color to horizontal strips and another to vertical ones flattens the weave, so alternate light and dark within each unit instead. The common trap with earth palettes is that olive, camel, and brown sit close in value, so they merge when placed side by side. Check the layout in grayscale, and if the ribbons still read without color, the contrast is working. Solids and tone-on-tone prints suit the pattern, while large or directional prints break up the narrow bands.
Piecing, Quilting, and Display
Equal unit sizes matter more than anything else, because small seam allowance differences accumulate across a tight grid and push the weave out of line. Pressing seams in alternating directions helps reduce bulk where many corners meet. Straight-line quilting along the strips reinforces the bands, and low-loft batting keeps the surface flat and the weave crisp. A narrow binding in chocolate brown or cream frames the straight edges, and a border, scallops, or fringe would compete with the geometry.
A sewn sleeve with a slim oak or walnut dowel supports the full top edge. The palette pairs well with pale oak, walnut, linen, and handmade pottery, whether in a farmhouse dining room above a sideboard or in a contemporary hallway. Keep it out of direct sun, which fades terracotta and olive unevenly.
Helpful Note: Lay out and photograph the first two rows before sewing the rest. The over-and-under effect shows up in a 2 by 2 cluster of units, so a strip-order mistake appears early, while it’s still cheap to fix.
Other Design Inspirations – Digitally Modified Images. Texture and color may vary from the actual product.
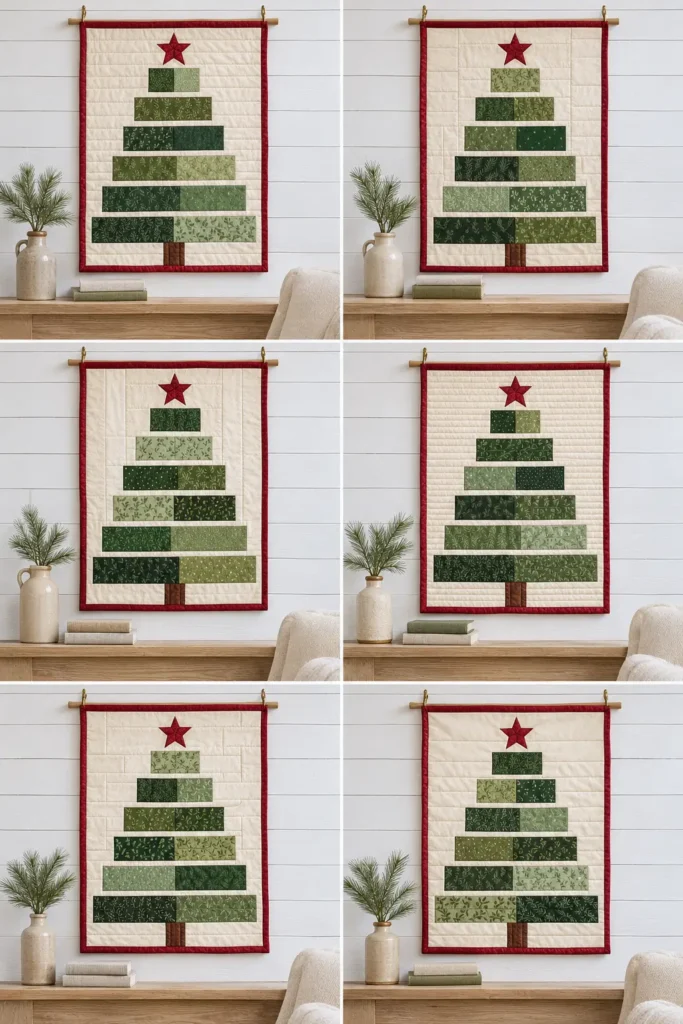
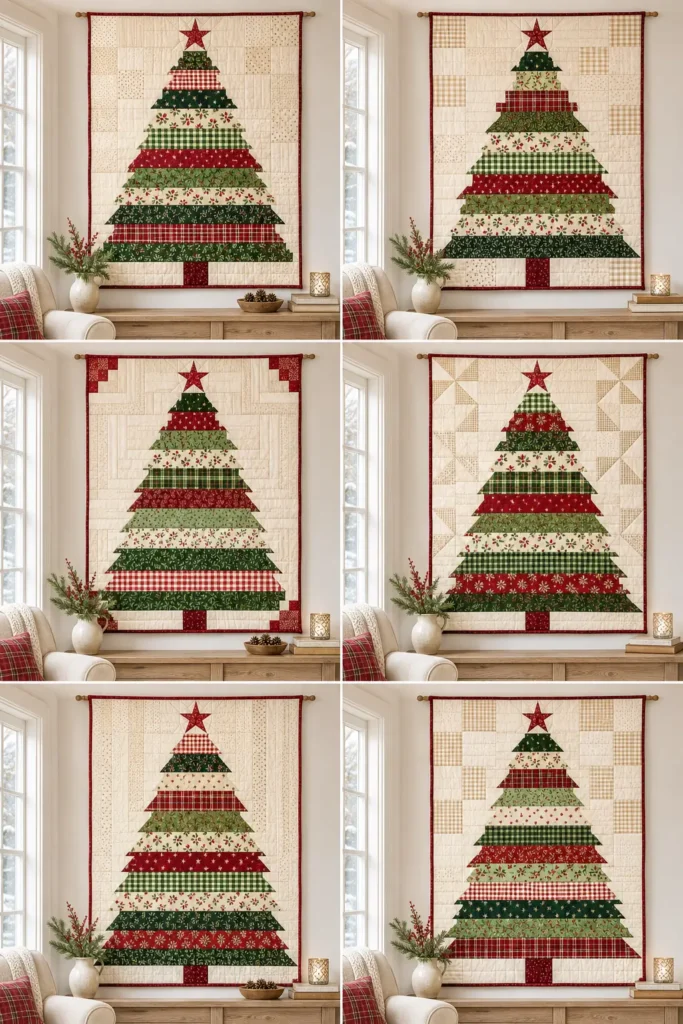
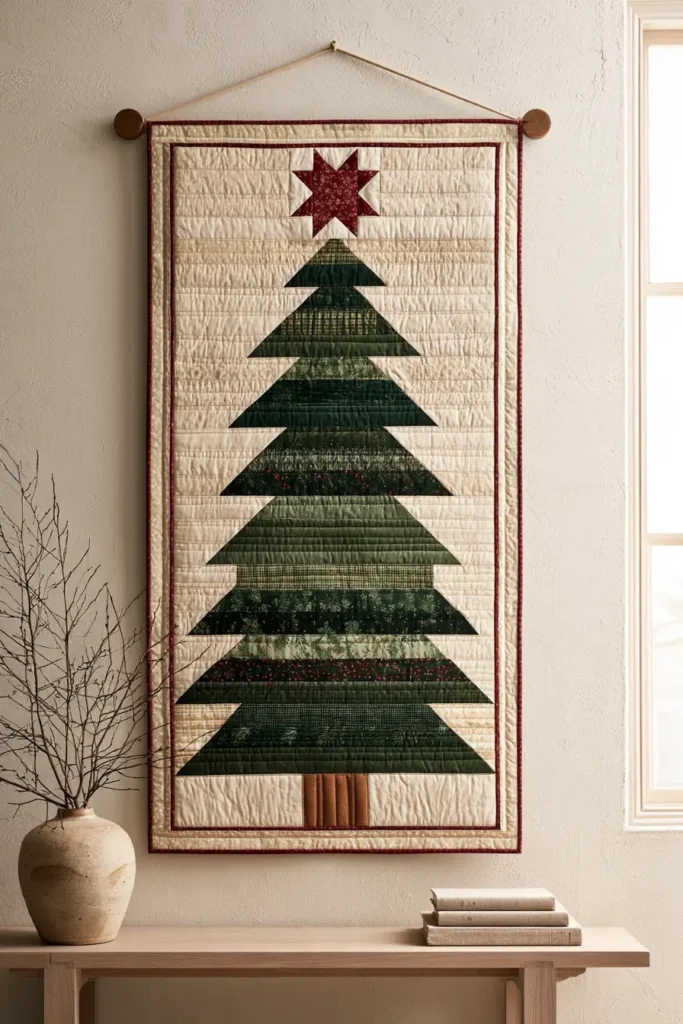
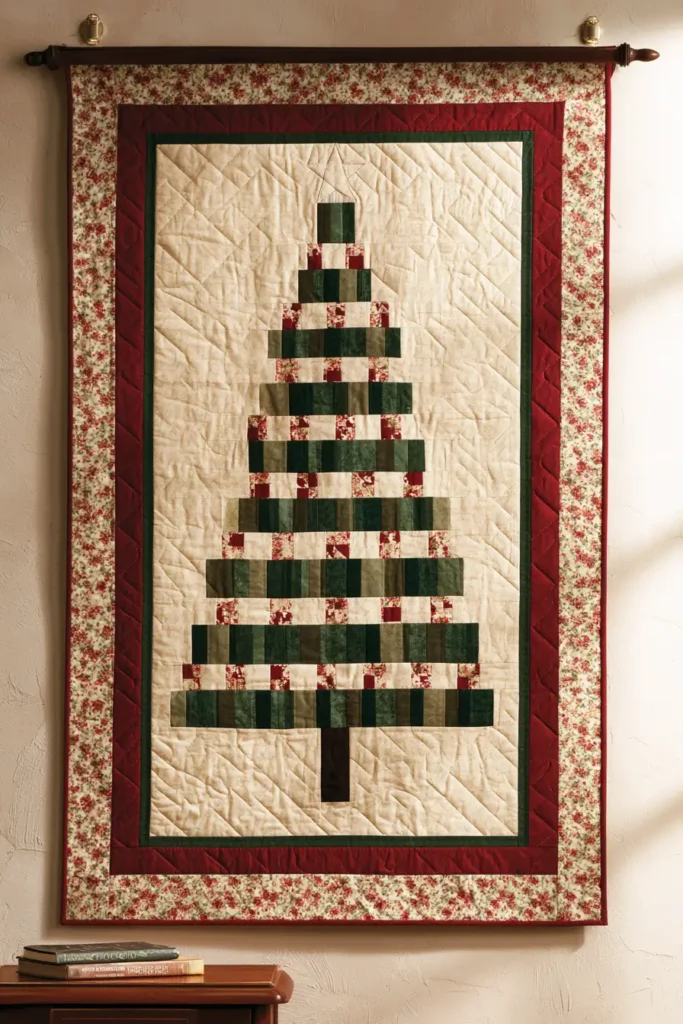
5. Tiered Christmas Tree Jelly Roll Wall Hanging in Red, Green, and Cream
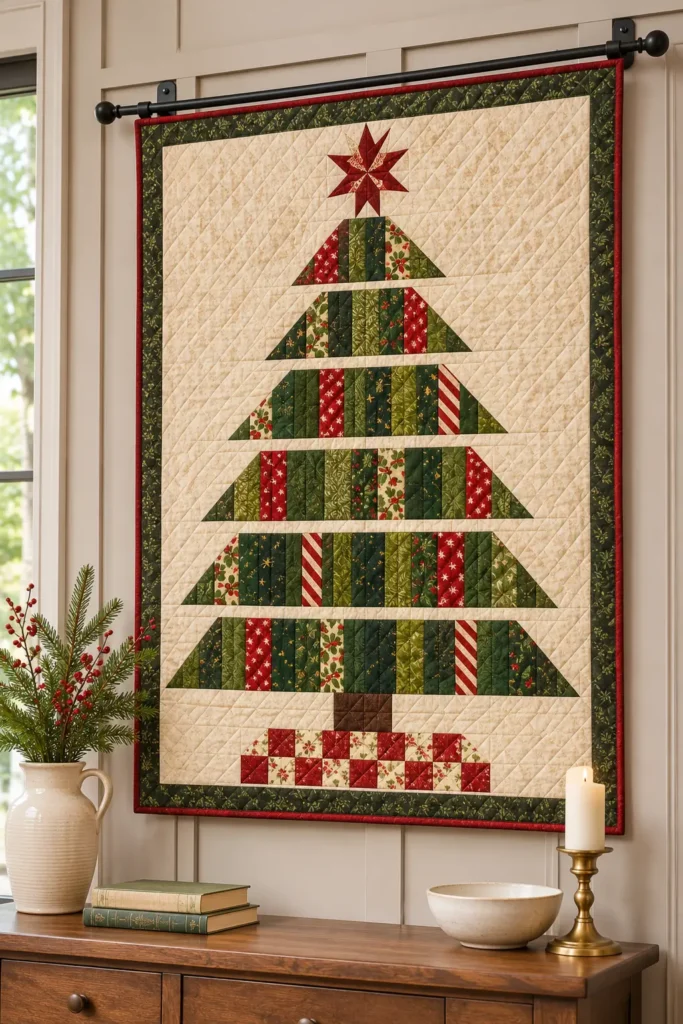
A tiered Christmas tree wall hanging builds its silhouette from stacked rows of green strips that shorten toward the top, with the widest tier at the bottom. Each tier is separated from the next by a band of cream background, which keeps every branch layer distinct and gives the outline a stepped edge. Without those cream gaps, the tree collapses into a plain triangle, which is the main risk in this design. A short brown trunk and a small pieced star finish the shape.
Green carries the tree, while red appears as an accent in the border, the binding, and the star. Jelly roll strips suit the tiers because their consistent 2½-inch width keeps the rows even, and a coordinated bundle supplies a range of greens. The strips are cut to different lengths for each tier, and the cream background, trunk, star, border, and binding usually require additional fabric.
Design Inspirations – Digitally Modified Images. Texture and color may vary from the actual product.
Keeping the Tiers Distinct
The stepped outline depends on three things: tier lengths that shrink in even increments, cream bands wide enough to read as gaps, and enough value difference between greens to separate neighboring tiers. Two or three strips per tier gives each branch some body, while a single strip looks thin from across a room. Five or six tiers suit a wall hanging, and more start to look cluttered. Keep the cream bands consistent in height, since uneven gaps make the tree look lopsided. The structure also differs from a mountain landscape. Mountains use irregular overlapping ridges in cool tones, while the tree uses regular, centered rows with symmetrical steps.
Red, Green, and Cream Without Overload
Use green for the tiers, red for accents, and cream for the field. A deep forest green, a pine, and a muted sage give the tiers dimension, and alternating a darker and lighter green between rows helps each tier stand apart. Red works best in a narrow inner border, the binding, and a small star, because a large amount of red competes with the tree. Brown suits the trunk and keeps it from blending into the cream. Small-scale tone-on-tone prints and subtle texture read well in narrow strips, while large holiday prints break up and lose their pattern. Choose quilting cottons of similar weight so the surface stays even.
Quilting, Finishing, and Display
Horizontal quilting lines follow the tiers and reinforce the stepped structure, and straight lines across the cream bands keep the background from looking flat. Low-loft batting helps the piece hang flat, and the star can be pieced instead of appliquéd so it stays flush with the surface. A narrow red border and matching binding frame the design without adding fussy detail, and extra border width risks overpowering the tree.
A sewn sleeve with a slim dowel supports the full top edge. This design suits a mantel wall, a dining room, or an entry hall. A pale shiplap wall or limestone-look plaster sets off the cream, while a walnut console gives the red some warmth. Because it is seasonal, it stores well flat or loosely rolled in acid-free tissue between holidays.
Helpful Note: Squint at the layout, or view a grayscale photo. If the tiers merge into one green mass, widen the cream bands or increase the value difference between greens instead of adding decoration.
Other Design Inspirations – Digitally Modified Images. Texture and color may vary from the actual product.
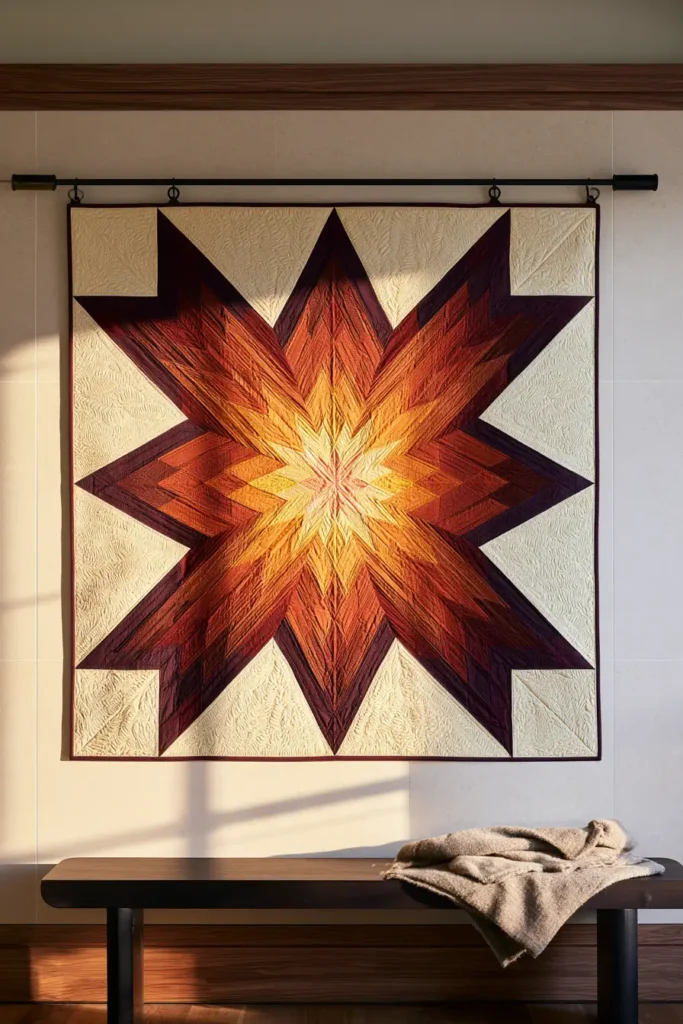
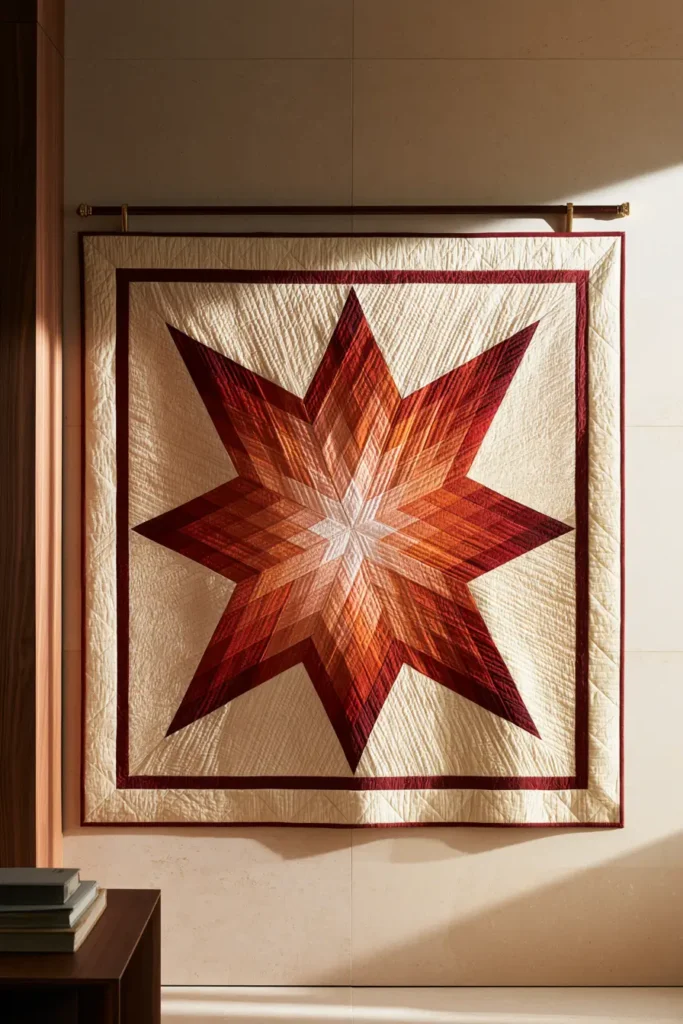
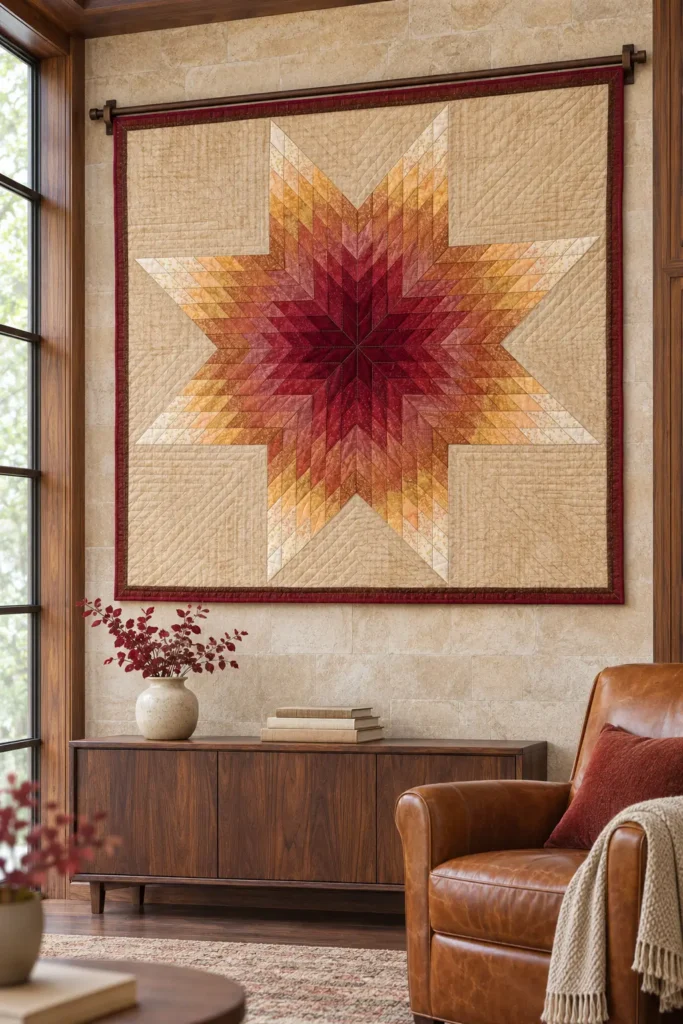
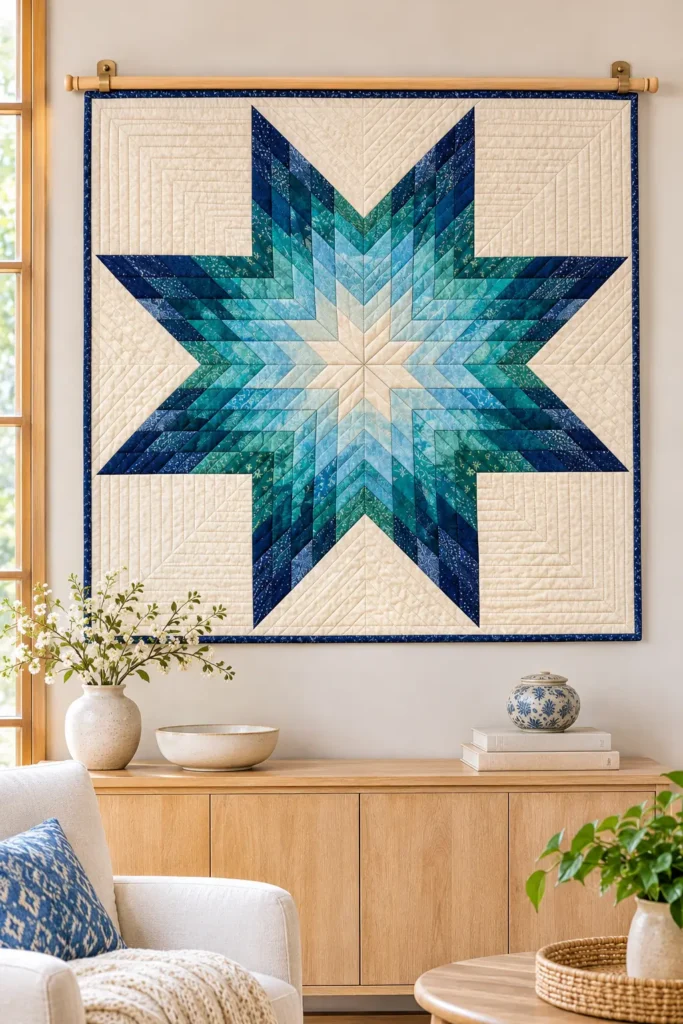
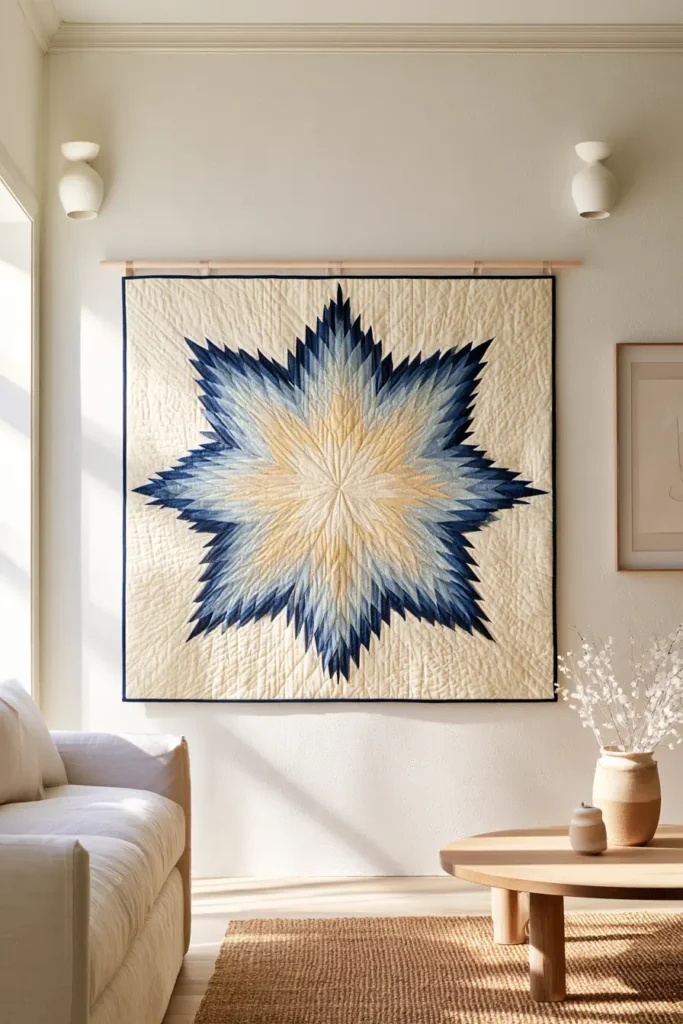
6. Lone Star Jelly Roll Wall Hanging with Ombré Diamonds
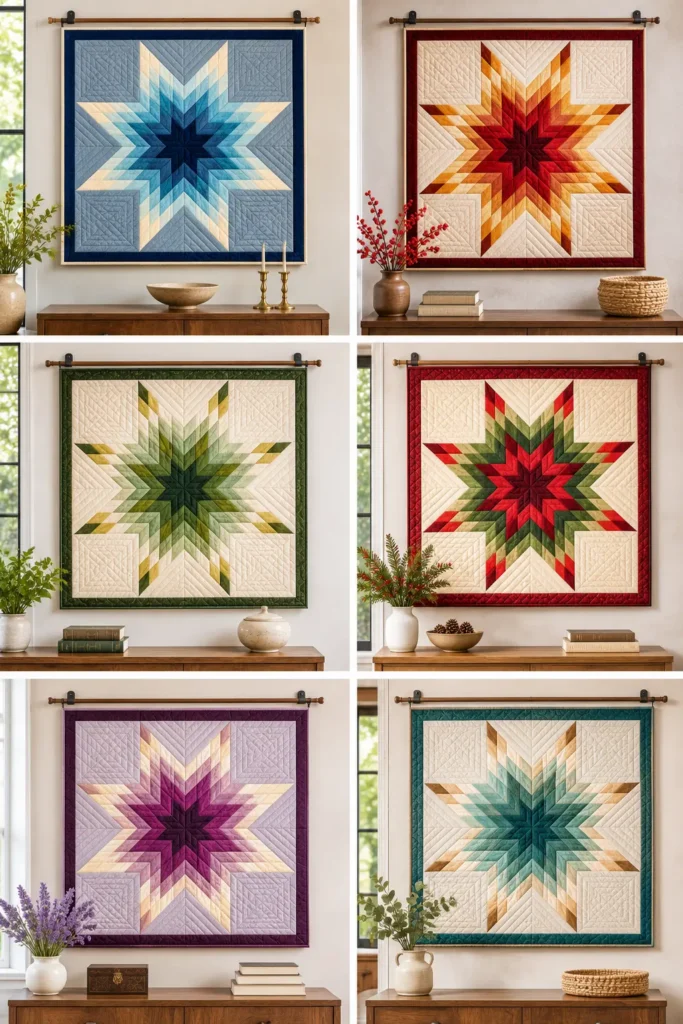
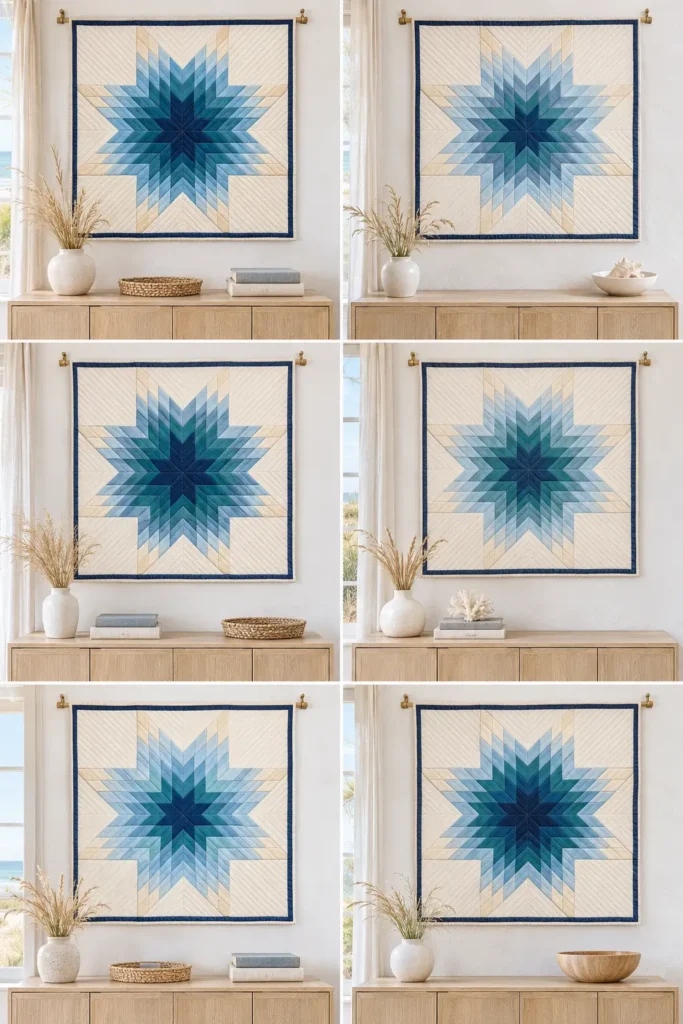
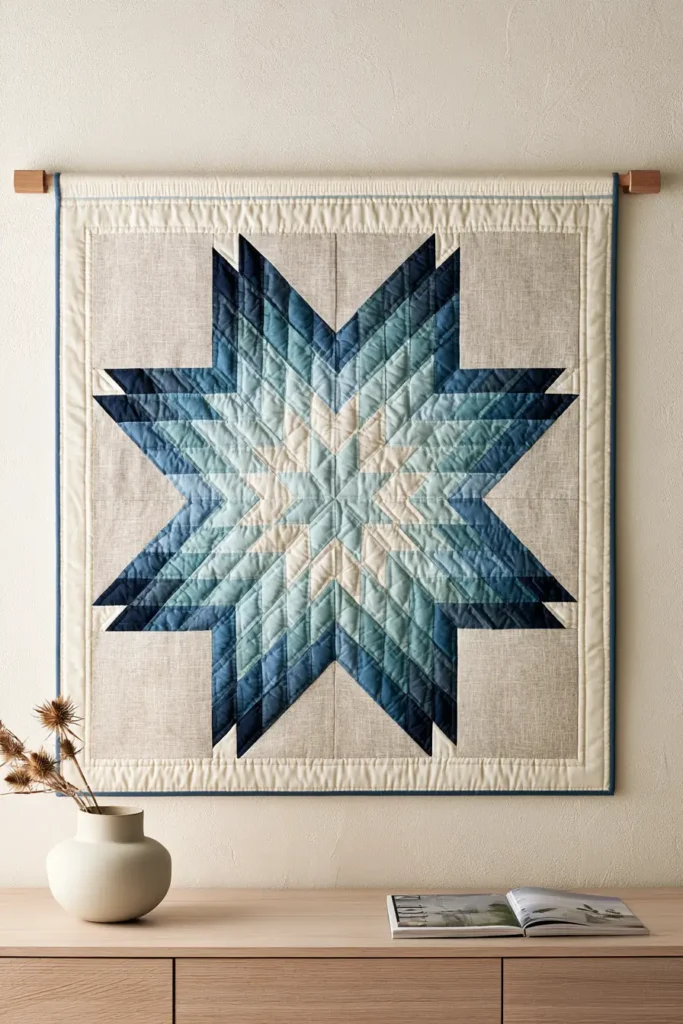
A Lone Star is an eight-pointed star made of eight large diamond arms radiating from a single center, with each arm built from rows of small diamonds. In this concept the color moves outward in rings, from deep indigo at the center through teal and mid blue to pale blue and cream at the tips. The star sits on a quiet cream or pale gray-blue background, so the points stay sharp and the gradient becomes the focal point.
Jelly roll strips are a natural starting point, because strips of different colors can be sewn into strip sets in gradient order and then cut at a 45-degree angle into diamond segments. The strips are 2½ inches wide before sewing and closer to 2 inches visible after seams. The background, corner pieces, border, binding, and backing all need additional fabric, so a single roll won’t cover the whole hanging.
Design Inspirations – Digitally Modified Images. Texture and color may vary from the actual product.
Why This Is Not Simple Strip Piecing
Unlike Rail Fence or Log Cabin, a Lone Star can’t be made by sewing parallel strips together. The angled cuts leave bias edges, which stretch easily, and small errors compound toward the center, where eight points meet. The background corners and side triangles are set into the angles between the arms, which usually takes set-in seams. Treat it as an advanced project, even at wall-hanging size. The design is also easy to confuse with a Dresden Plate, but the two read differently. A Dresden Plate has rounded petals arranged in a circle, while a Lone Star has sharp diamond points and straight seams, so keep the points crisp and the outline angular.
Planning an Ombré That Reads as Rings
The gradient depends on strip order and value steps. Sewing strips in color sequence into each strip set carries the gradient into every diamond row, so the order you choose controls how the star reads. A cool sequence of indigo, teal, steel blue, pale blue, and cream gives clear separation, and each ring needs to be visibly lighter than the one before. Solids and tone-on-tone cottons keep the diamonds clean, while prints fragment when cut on an angle. One jelly roll rarely holds a smooth five-step gradient, so planning for supplemental fabric avoids gaps and abrupt jumps. Check the planned order in grayscale. If the rings still step evenly, the contrast will hold up on the wall.
Background, Quilting, and Display
Keep the plain background pieces quilted so they read as part of the textile and not empty space. Straight-line quilting along the diamond rows reinforces the radiating geometry, and parallel or echo lines across the plain corners add texture without competing with the star. A narrow indigo border frames the piecing, and a thin cream binding keeps the edge light. Low-loft batting helps a square piece hang flat.
A nearly square format gives the star room, and it needs clear wall space so all eight points stay visible. A sewn sleeve with a slim oak or walnut dowel supports the full top edge. The cool palette suits a coastal sitting room or a contemporary dining room with pale oak or walnut furniture. Keep it out of direct sunlight, which fades blues unevenly over time.
Helpful Note: Eight seams meet at the center. Pressing them in a spiral, or pressing them open, reduces the lump that would otherwise stop the center from lying flat.
Other Design Inspirations – Digitally Modified Images. Texture and color may vary from the actual product.
7. Bargello Wave Jelly Roll Wall Hanging in Coral, Gold, and Plum
Design Inspirations – Digitally Modified Images. Texture and color may vary from the actual product.
Other Design Inspirations – Digitally Modified Images. Texture and color may vary from the actual product.
8. Mountain Landscape Jelly Roll Wall Hanging with Layered Peaks and a Sunset Sky
Design Inspirations – Digitally Modified Images. Texture and color may vary from the actual product.
Other Design Inspirations – Digitally Modified Images. Texture and color may vary from the actual product.
9. Dresden Plate Jelly Roll Wall Hanging with Scrappy Petals on a Solid Background
Design Inspirations – Digitally Modified Images. Texture and color may vary from the actual product.
Other Design Inspirations – Digitally Modified Images. Texture and color may vary from the actual product.
10. Stained-Glass Jelly Roll Wall Hanging with Bold Black Sashing
Design Inspirations – Digitally Modified Images. Texture and color may vary from the actual product.
Other Design Inspirations – Digitally Modified Images. Texture and color may vary from the actual product.
11. Boho Jelly Roll Wall Hanging with Raw-Edge Strips and Fringe
Design Inspirations – Digitally Modified Images. Texture and color may vary from the actual product.
Other Design Inspirations – Digitally Modified Images. Texture and color may vary from the actual product.
12. Modern Minimalist Jelly Roll Wall Hanging with an Off-Center Strip Column
Design Inspirations – Digitally Modified Images. Texture and color may vary from the actual product.
Other Design Inspirations – Digitally Modified Images. Texture and color may vary from the actual product.
Final Thoughts on Jelly Roll Quilt Wall Hanging Ideas
What ties these designs together is not a single technique but the way fabric, construction, and composition interact. Courthouse Steps and Rail Fence show how value contrast alone can create structure, Bargello and Lone Star turn color progression into movement, and French Braid and Basketweave create texture-like effects with flat, straight seams. Dresden Plate, stained glass, and the mountain landscape add pictorial or graphic interest, while the boho and minimalist pieces show how finishing and restraint can change a design as much as piecing does. Some of these hangings are approachable and others, particularly the Lone Star and Dresden Plate, reward patience and careful cutting, so none should be assumed to be a quick project.
When choosing a concept, start with the wall and the maker: the available space, the viewing distance, and the skills and fabrics already on hand. A narrow entryway, a wide wall above a sofa, and a quiet corner each favor a different proportion, and motif scale, color contrast, quilting density, and hanging method should follow from that choice. Whether the result is a small accent or a larger statement piece, the strongest wall hanging is usually the one whose pattern, palette, and finish suit the room it will live in.

